Setting the time interval in the calendar
Good afternoon.
Today we would like to tell you about our recent enhancements to the "Date" form element. This element is very commonly used when creating various online appointment and booking forms.
In the settings of this element you can set the time interval that will be displayed after selecting a date. Previously, you could set the time increments on the calendar to anywhere from 5 to 60 minutes. With this setting, users would first need to select the date, then the hour, and then the minutes:
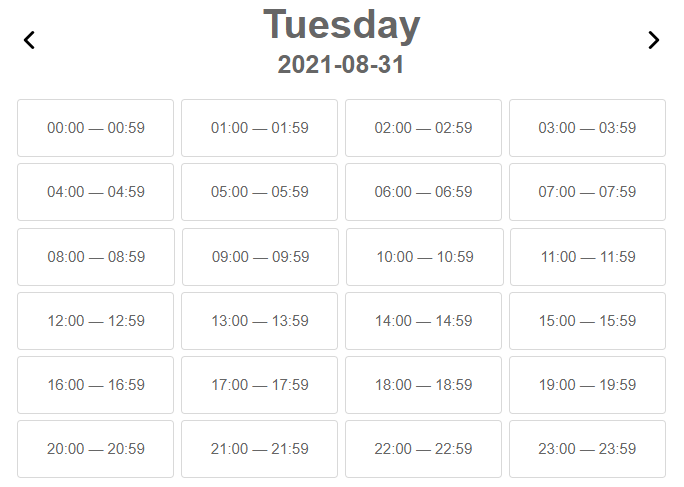
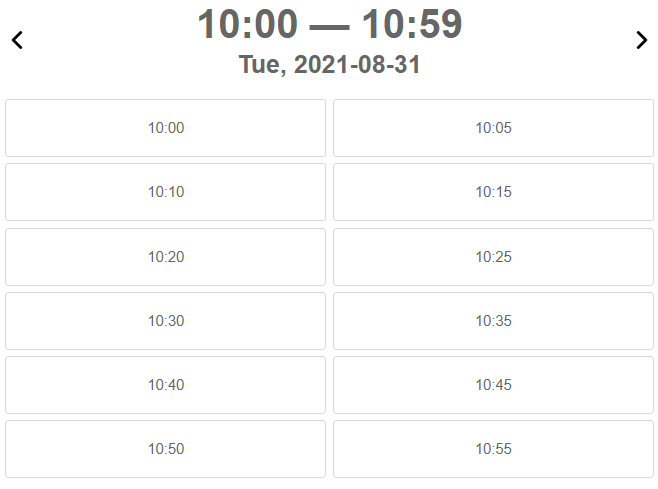
The time step in the calendar is 5 minutes.
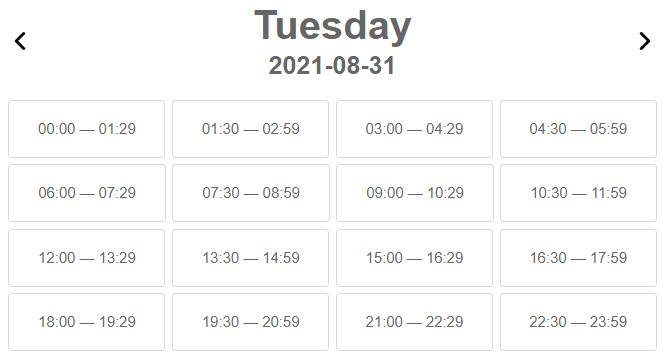
And it worked fine, but to the point where the time step needs to be set greater than 60 minutes. This is useful when there is a specific amount of time for a service and you can only book for that amount of time. For example, we have a 90 minute service and we need to set it so we can only record at 12:00, 1:30, 3:00 pm, etc.
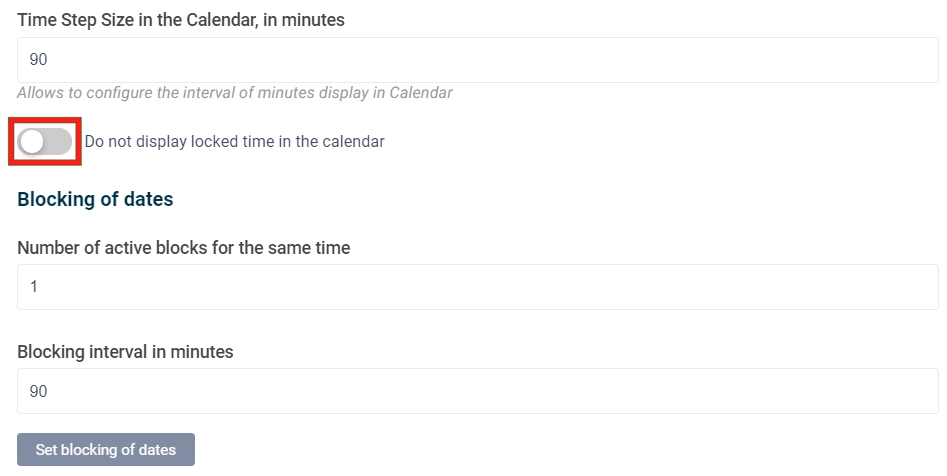
It wasn't possible to set this up before, but now it works just fine. To do this, just set the desired time step in minutes in the "Calendar Time Step, Minutes" field of the "Date" form element, and everything will work:
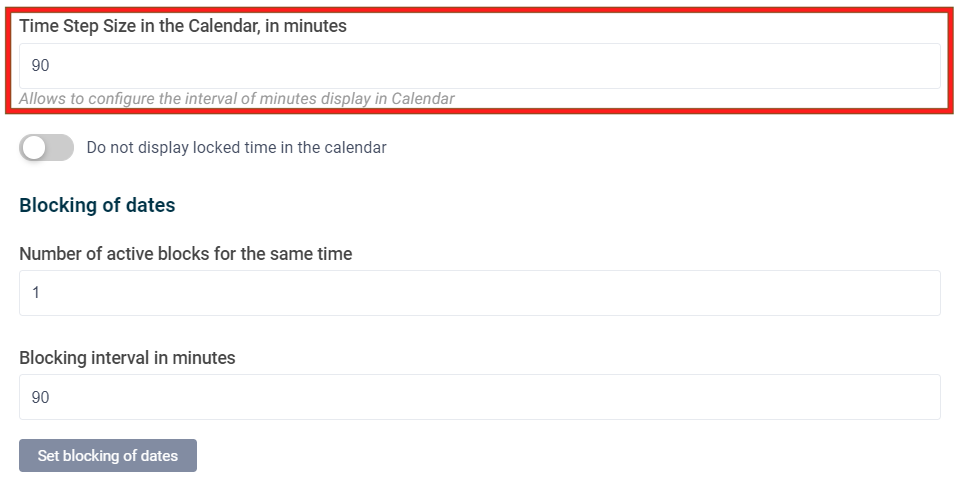
With this, we select the desired hour and minutes right away:
In addition to this, there is another option in the Date item settings: "Don't show locked time on calendar:
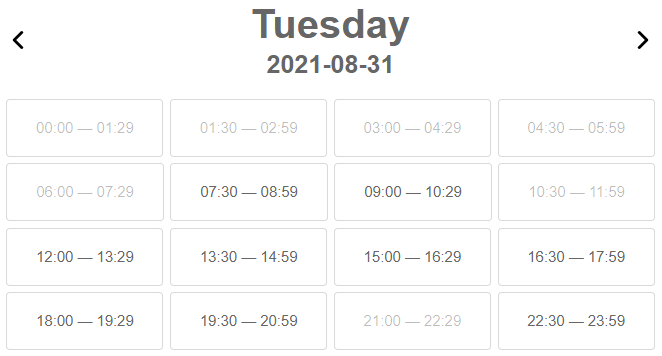
If it is disabled, the time that is already locked and unavailable for recording is still displayed on the calendar, but is not available for selection:
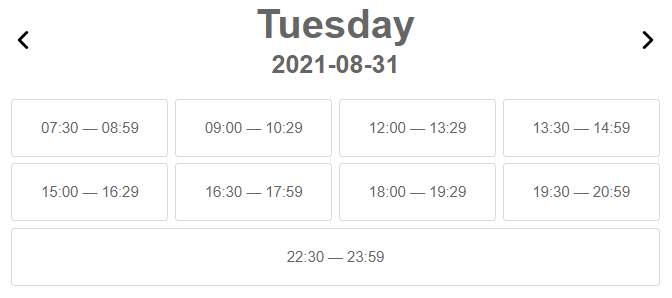
If you enable this option, locked time will not be displayed at all:
That's all for today. Leave your comments in the form below.


