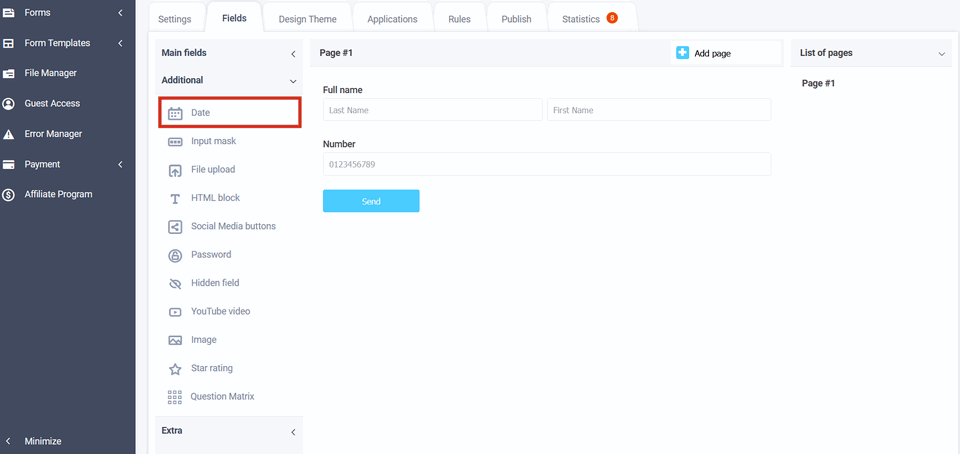
To add the "Date" element to the form, you need to click on the selected item or drag it to the right, then you will see the added element on the right:
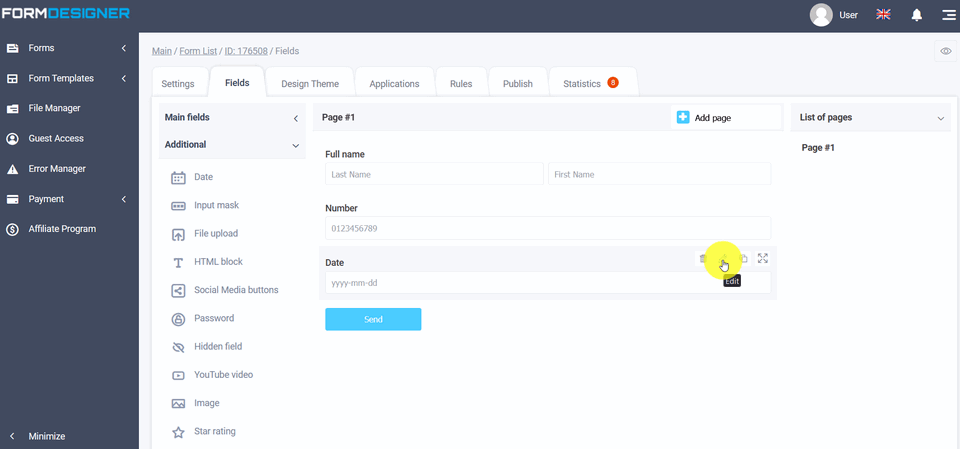
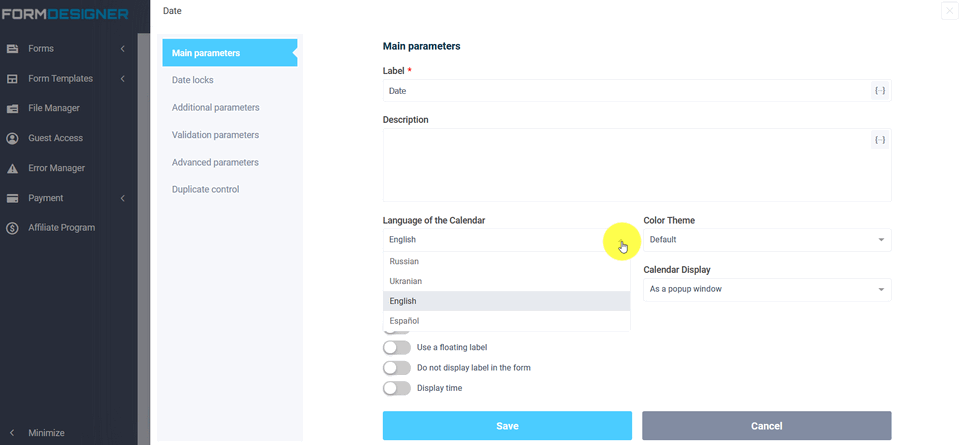
After you have added the "Date" element, click on the "Edit" icon and a pop-up window for editing this element will open in front of you:
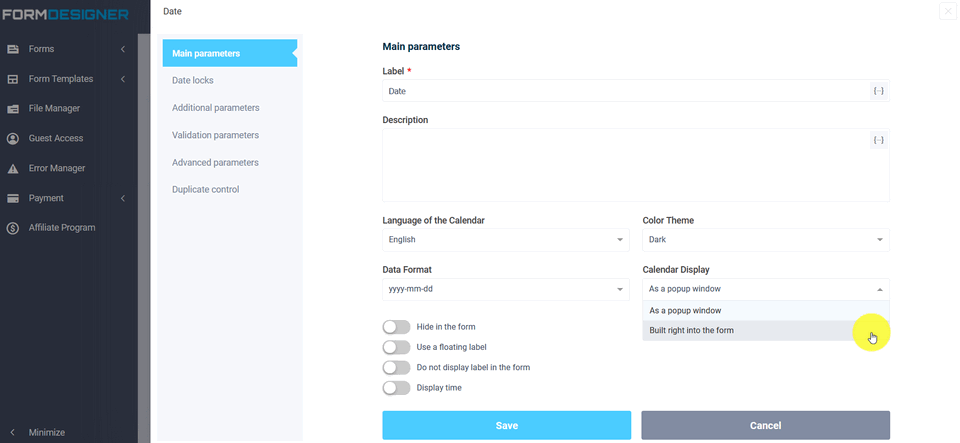
In the settings of this element in the "Date Format" field, you can choose how the date will be displayed when filling out the form, for example, "Day-Month-Year" or "Year. Month. Day". The value and description of other fields, you can see here "The main parameters of the elements".
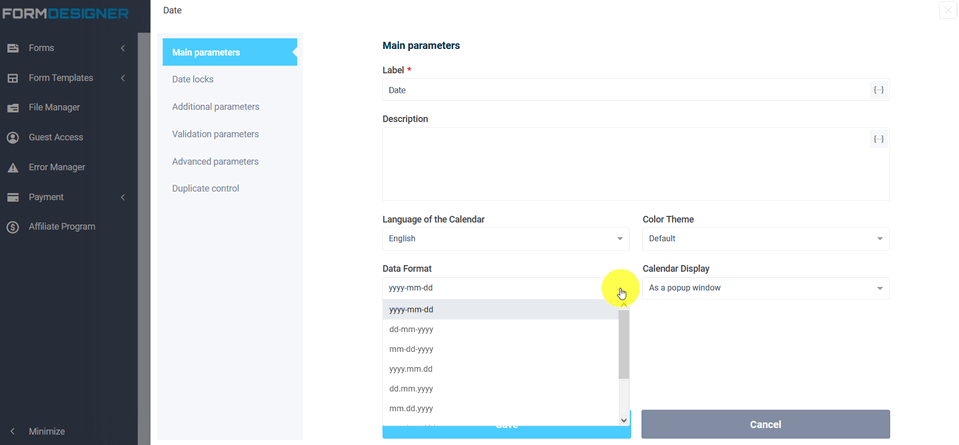
In the settings of this element there is a "Color theme" field where you can choose the style of the pop-up calendar. Currently available styles:
- Dark
- Material blue
- Material green
- Material red
- Material orange
- Airbnb
- Confetti

Also in the settings of this element in the "Calendar language" field, you can select the language of the displayed calendar:
In the main parameters settings, you can activate the necessary items, i.e. by clicking on the menu item "Display time":
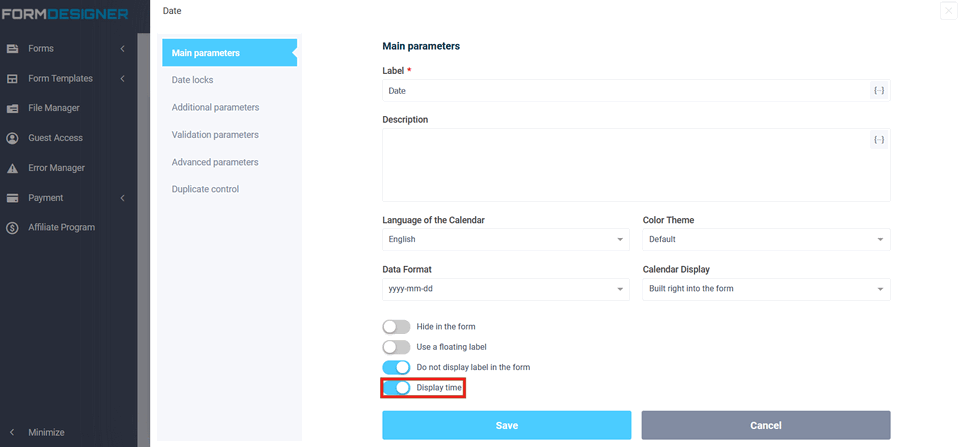
Or "Block the past", the time will be displayed accordingly, and it will not be possible to select the past date:
Or "Block the past", the time will be displayed accordingly, and it will not be possible to select the past date:
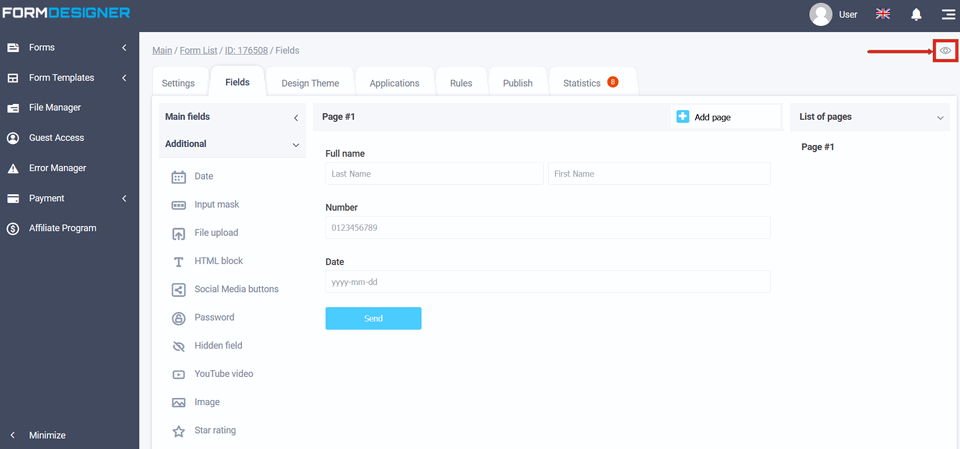
To view an already configured form, click on the "View" icon and the form will open in a new tab in your browser:
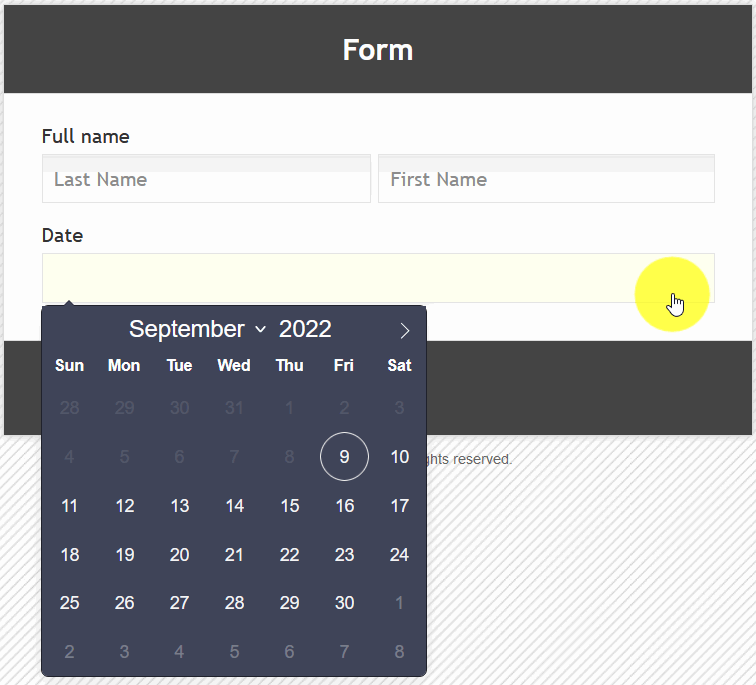
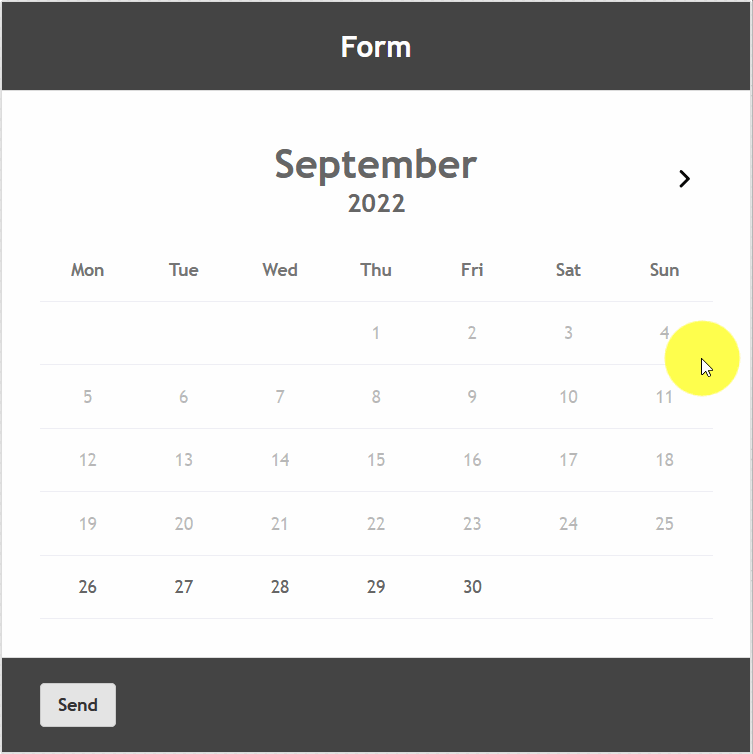
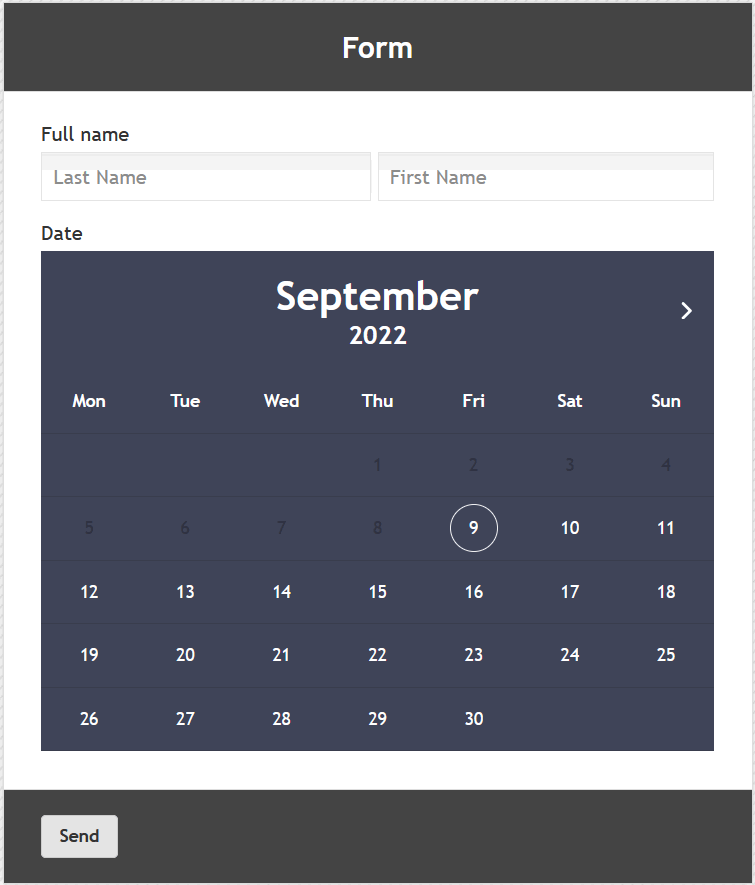
If you select in the settings "Calendar display" in the form - "Embedded directly into the form":
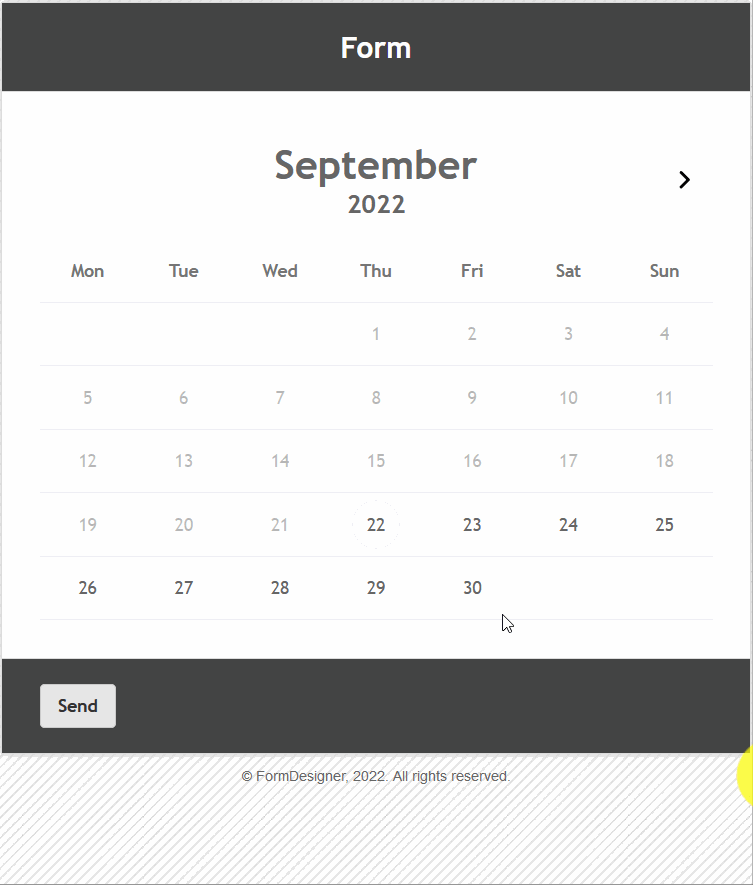
Then in the viewing mode, the calendar will look like this:
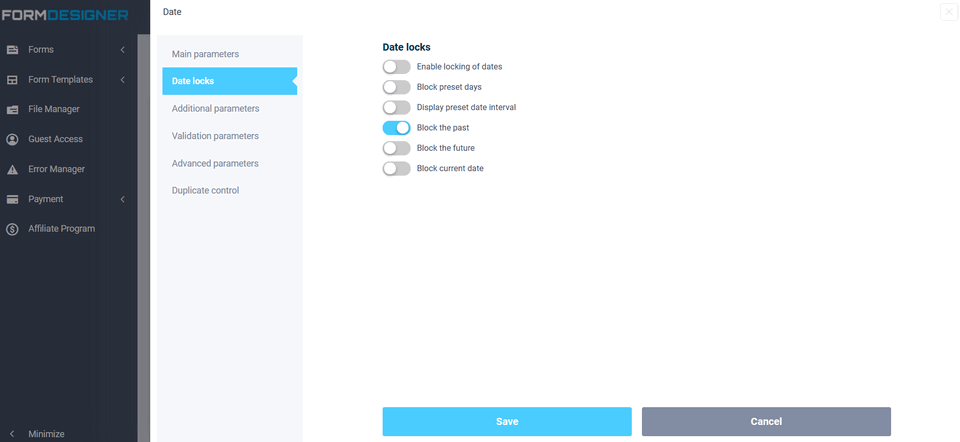
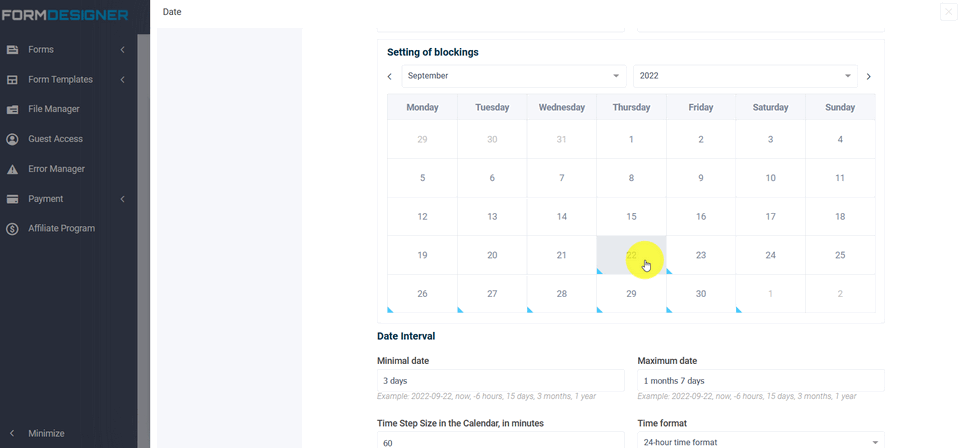
In the Date locs parameters, if you activate the "Enable locking of dates" checkbox, you will be able to configure "Date Blocking":
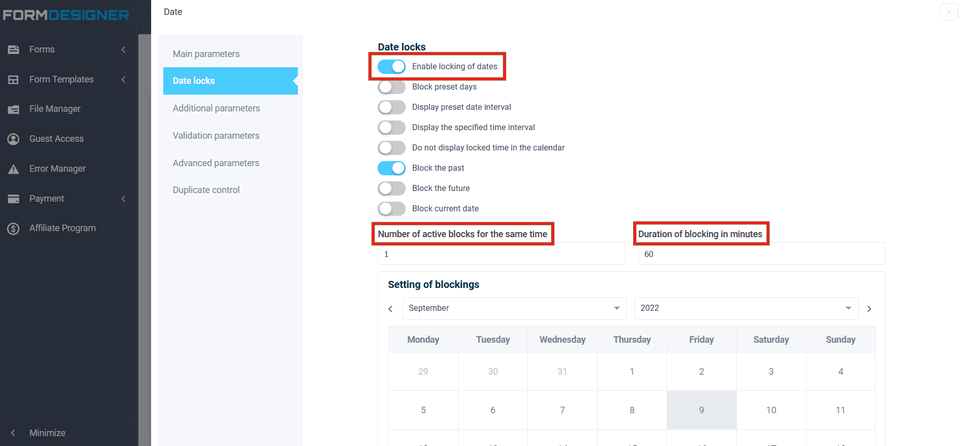
And setting the number of active locks for the same time, as well as the lock interval in minutes and specify the interval of minutes in the "Duration of blocking, in minutes" field to display the time in the calendar. For example, if an interval of 30 minutes is specified, as in the screenshot above, then the display of the available time will look like this:

If we set a step of more than 60 minutes, the time in minutes will not be displayed in the calendar, and only the choice of hours will be available::
Here you can set up time blocking, for example, one time will be available at an interval of 60 minutes, i.e. the user choosing the time 12:00, the second time this time will not be able to choose.
For more information about setting up locks, you can see here.
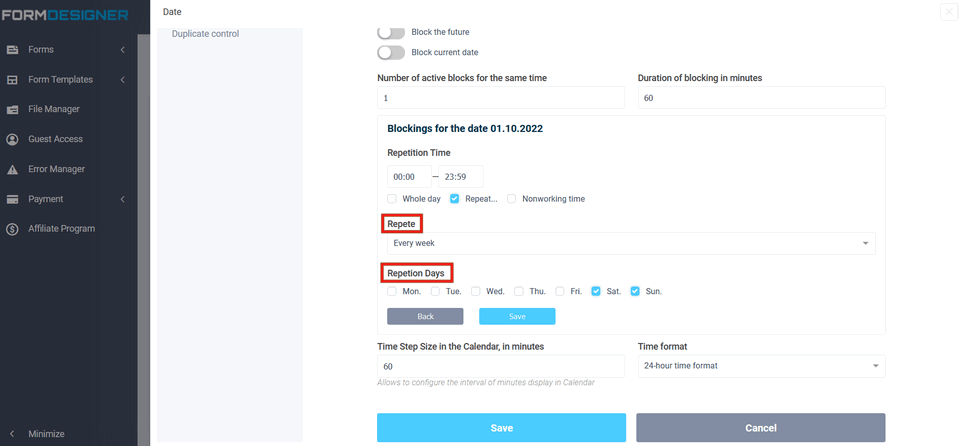
Also, if in the date locks section, click on any day in the calendar:
You can adjust the time locks, configure whether to repeat this lock and if so, how and on what days, and there is also an option “Off-hours”.
With this option, you can set up a work schedule. For example, you can choose the blocking time “All day” and the frequency of repetition “Every week” and day “Sunday.” Thus, every week on Saturday and Sunday you will have non-working hours and these dates cannot be selected in the calendar.
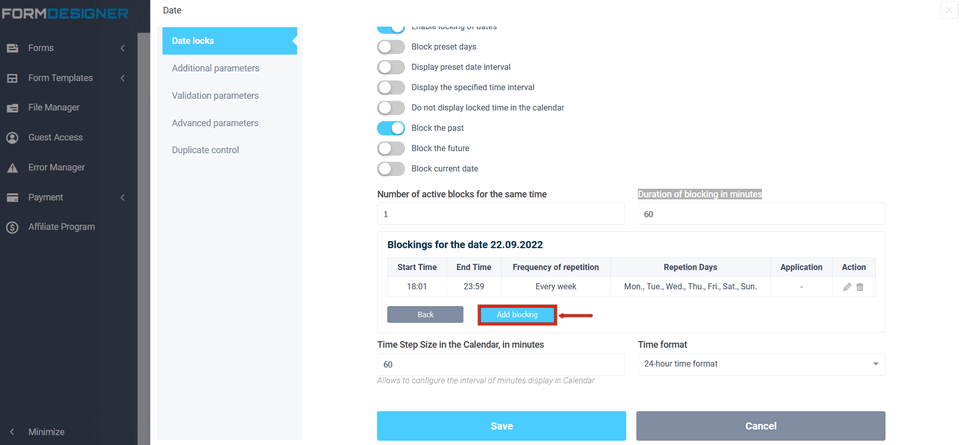
In the same way, you can add a break, for this you need to click the "Add lock" button. Next, specify the time, select "Repeat Every week" in the list and select the days of repetition:

As you can see in the image below, non-working days and days where there is no free time, and days with a given break, are immediately highlighted in gray and cannot be selected.
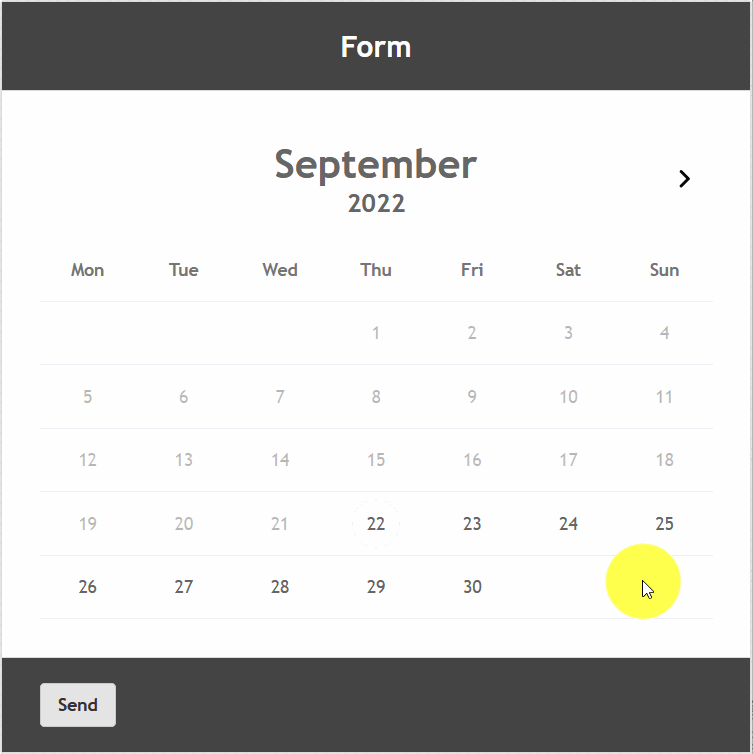
It is worth noting that since we have chosen one lock and the lock interval is 60 minutes, then, as can be seen above in the image, the time before the break is free only for 12:00. The next time 12:05 is not available due to the time interval, because the time 13:05 falls into the blocked time (added break time).
Also, it can be easier to set up days off, for this it is enough to activate the "Block specified days" checkbox in the validation parameters. Then the "Days to block" field will be displayed below, where you can choose which days of the week can be blocked:
If you make an entry for the purchase of a product that can be ordered taking into account delivery in 3 days and the order period of the product is 1 month and 7 days, then you can display only those dates for which you can sign up, and block all others. To do this, in the validation parameters, you need to activate the checkbox "Output the specified date interval" and the "Date Interval" setting will be displayed below:

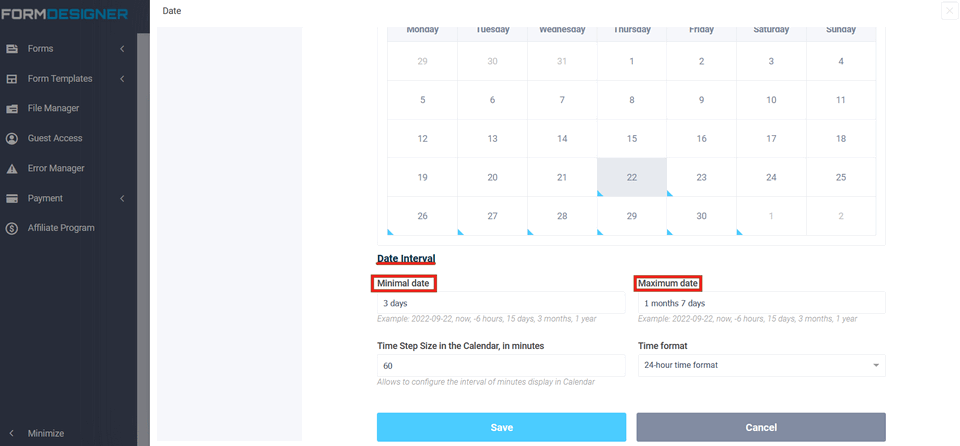
Where you can set the minimum and maximum dates in the corresponding fields. In the settings of these fields, you can specify certain values and you can also configure dynamic dates. To do this, you need to use special phrases:
- now - displays the current date
- 5 days - displays the date with the following calculation: the current date plus 5 days
- -5 days - current date minus 5 days
- 2 weeks - current date plus 2 weeks
- 1 month - current date plus 1 month
- 1 year - current date plus 1 year
- 2 months 5 days - current date plus 2 months and 5 days
If we set dynamic date values as above in the screenshot, then we will only have a choice of date and time in the period: from the current date plus days and duration, one month and 7 days.