Create a capture form on the site in 3 minutes.
Hello.
In the last post we told you about the form for landing page. Today we will show you in detail how to quickly and efficiently create form a capture for a website or lead form using the web form designer FormDesigner.ru.
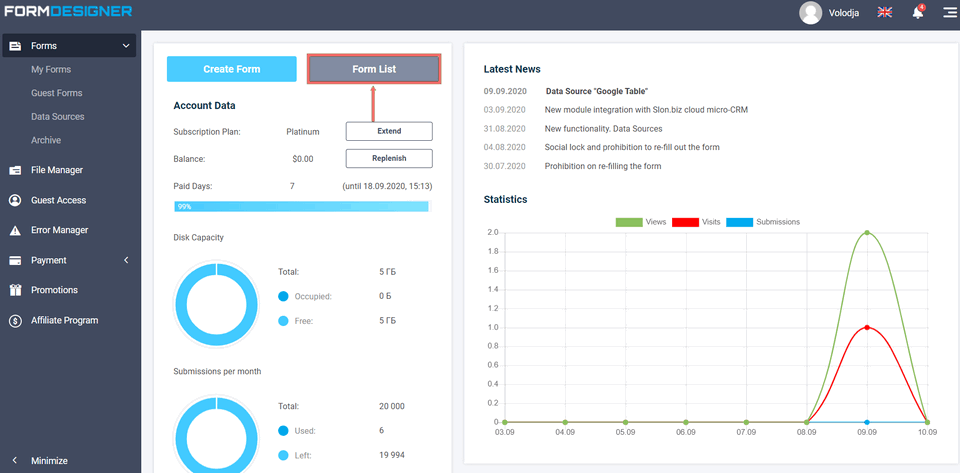
If you don't have an account in our form constructor yet, now is the time to register. After registration, log in to your personal cabinet and open the list of forms.
Creating a capture form for a website based on a ready-made template
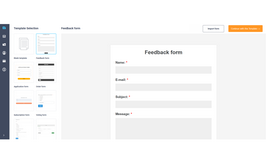
On the form list page, click the "Create form" button and select a ready-made template "Application form":
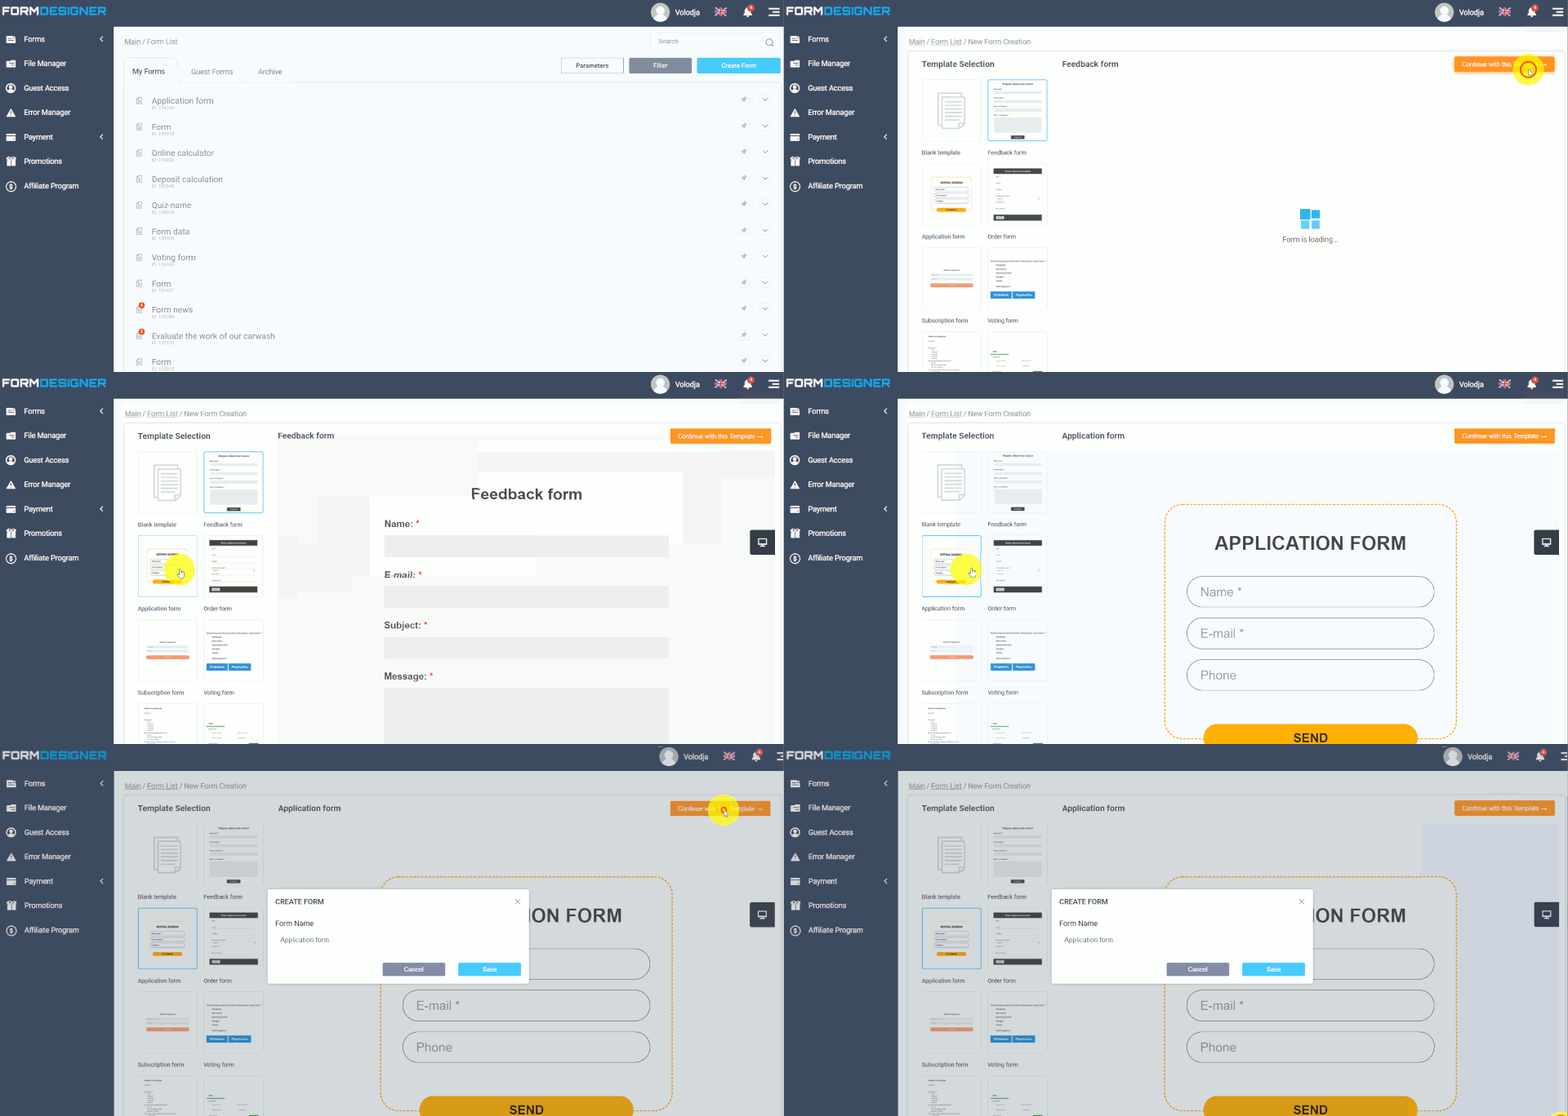
After that a pop-up window will open in front of you, where you should enter the name of your future form lead:
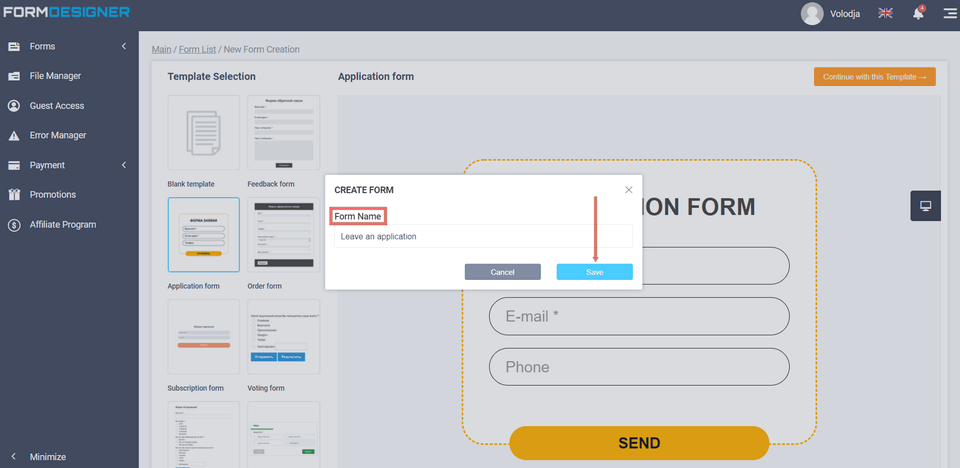
This name will be displayed as a header in the form of a capture, if necessary, the header can be hidden. After you have invented the name, you need to click "Create" and you will go to the "Elements" page in the web form.
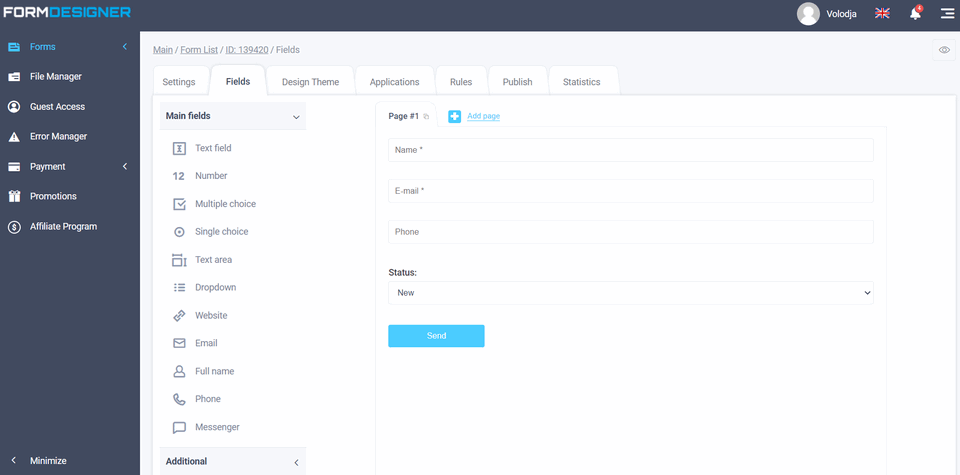
In fact, that's it! We have created a conversion form of capture to the site. If you now open the lid form by a direct link, it will look like this:
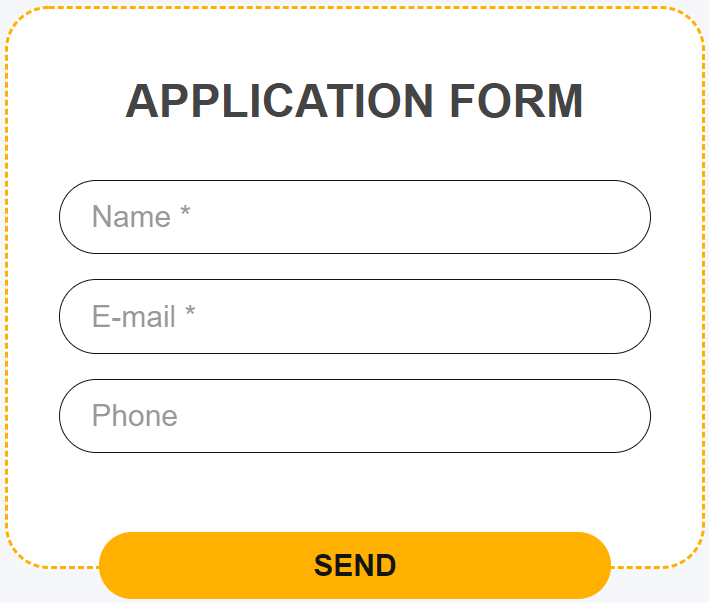
Example of a ready-made capture form on the site
Adjustment of form lid elements
Now our form consists of the following elements:
- A field for entering a name. Obligatory to fill in.
- A special field for entering an e-mail address, with automatic verification of the correctness of the entry. Required to be filled in.
- Required to be filled in.
- Status of request - this field is not displayed in the form and is available only for administrator, which is displayed when editing the request in the "Statistics" section.
By default, the "Numbers" form element is used to enter the phone, i.e. you can only enter numbers in this field. If necessary, you can replace it with a special element of the form "Phone", which allows you to enter the number by input mask.
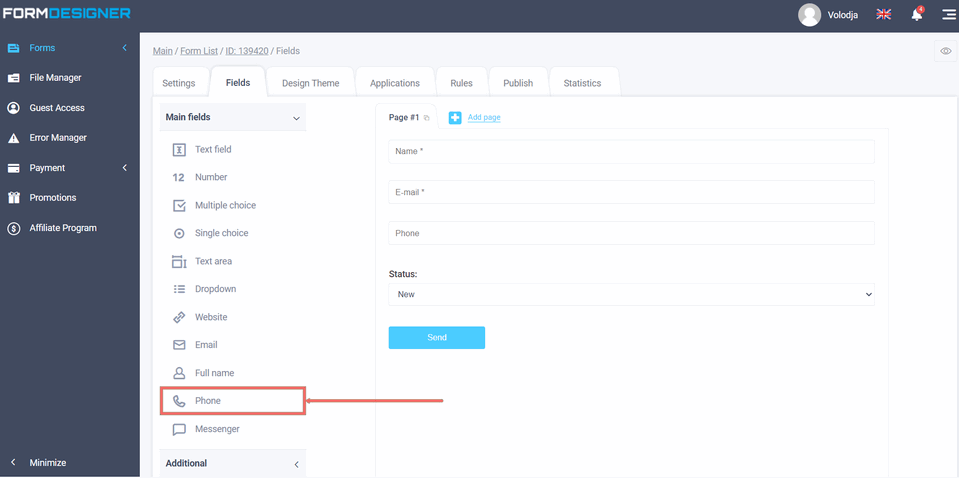
For all these fields (except for the request status), the "Do not display the name in the form" option is enabled in the settings and the default value is specified to display the title inside the input field.
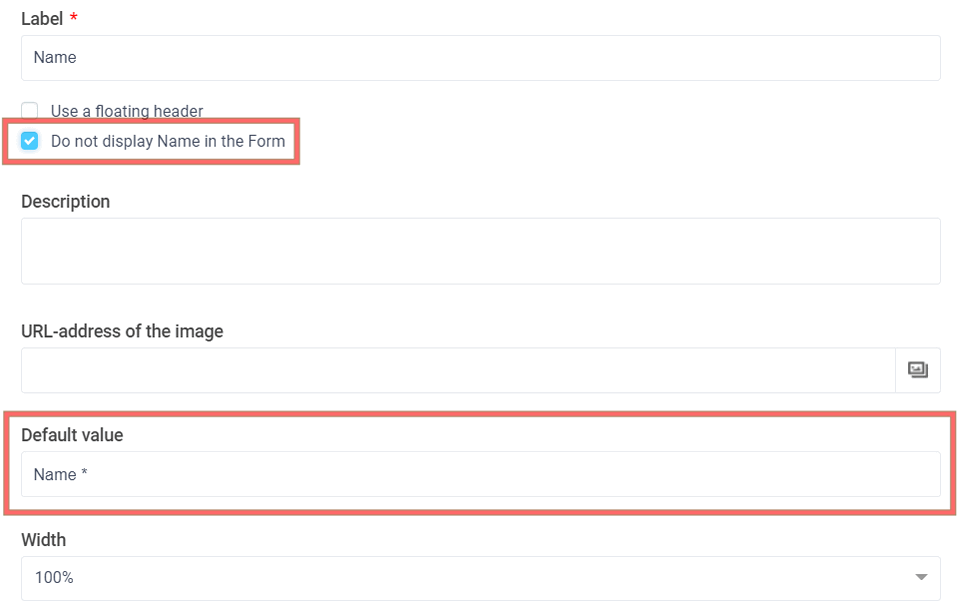
If necessary, you can always delete unnecessary fields or add new ones, edit existing ones - change names, display and validation parameters, etc. E-mail notifications in the capture form
E-mail notifications in the capture form
After we have sorted out the fields of our capture form, we need to configure e-mail notifications. To do this you need to go to the form link settings in the "E-mail notifications" section:
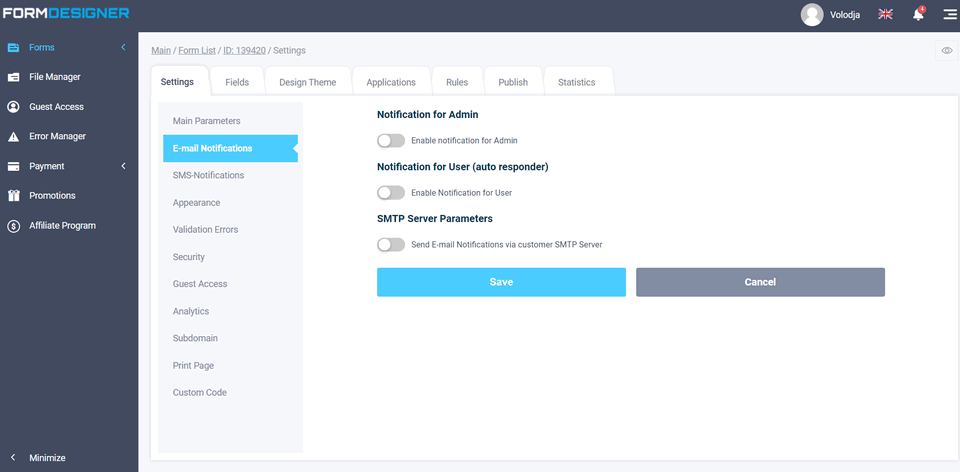
Here you can configure e-mail notifications for the form administrator and, if necessary, e-mail notification for the user (answering machine). In order to activate the required type of e-mail notifications, click on the special switch.
Let us set up a notification for the administrator of our capture form:
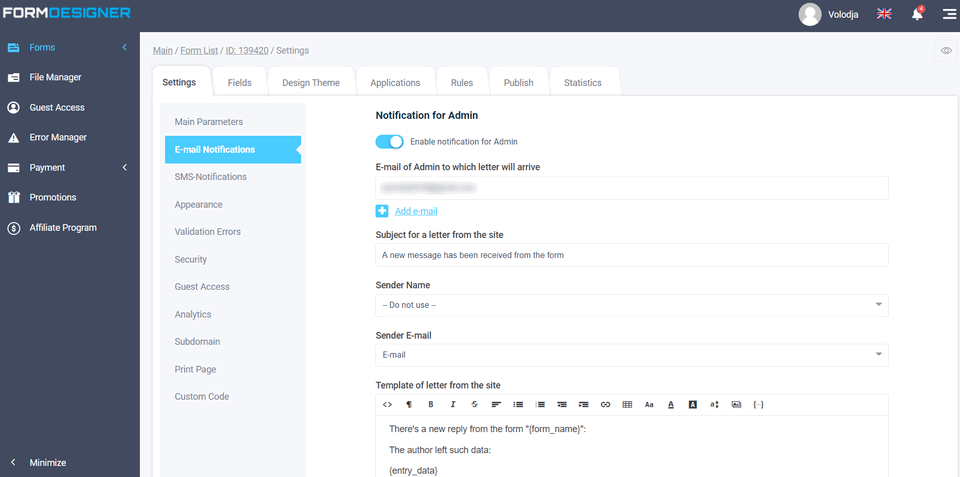
Here you specify to which e-mail addresses the notifications will be sent (you can specify several e-mail addresses), set up the necessary subject of the letter, the sender's name and e-mail address, as well as the text of the letter itself. For the sender's name and e-mail address, you can select the values from our capture form, so that in an incoming email to our mailbox, automatically substituted values from the form, as the sender.
Similarly, you can also activate e-mail notifications for the user who sent the form - the auto-responder. There you can write that your order has been received and our manager will contact you. But we will not do it now.
Besides e-mail notifications, you can also activate sms notifications. But this is a paid service.
In order to monitor the effectiveness of the form and read the conversion, you can go to the section "Analytics" and there you can connect the counter Google Analytics and/or Yandex.Metrics, as well as prescribe the desired goals that will work if the web form is successfully completed.
Customize the contact grip shape design
Once you've finished with the contact capture form settings, you can go to the «Design Theme» tab:
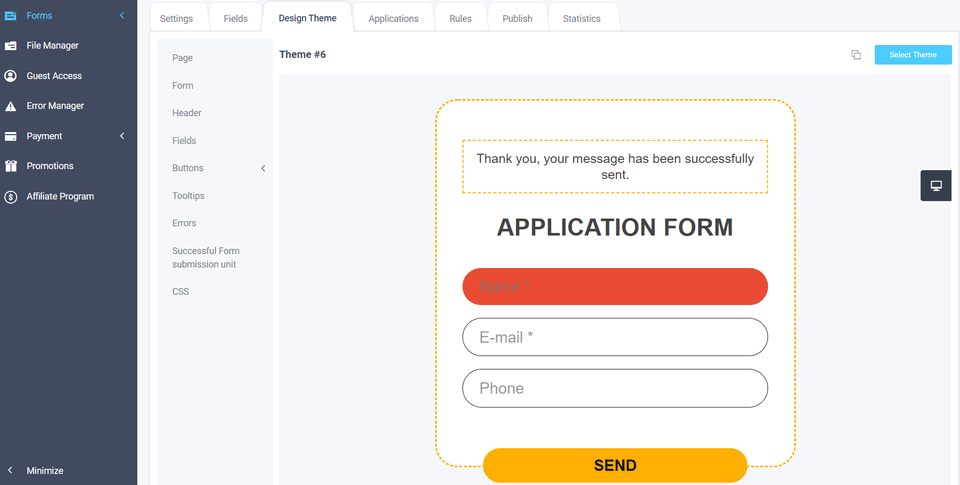
Here you can choose another ready-made design theme. To do this, click on the "Select theme" button:
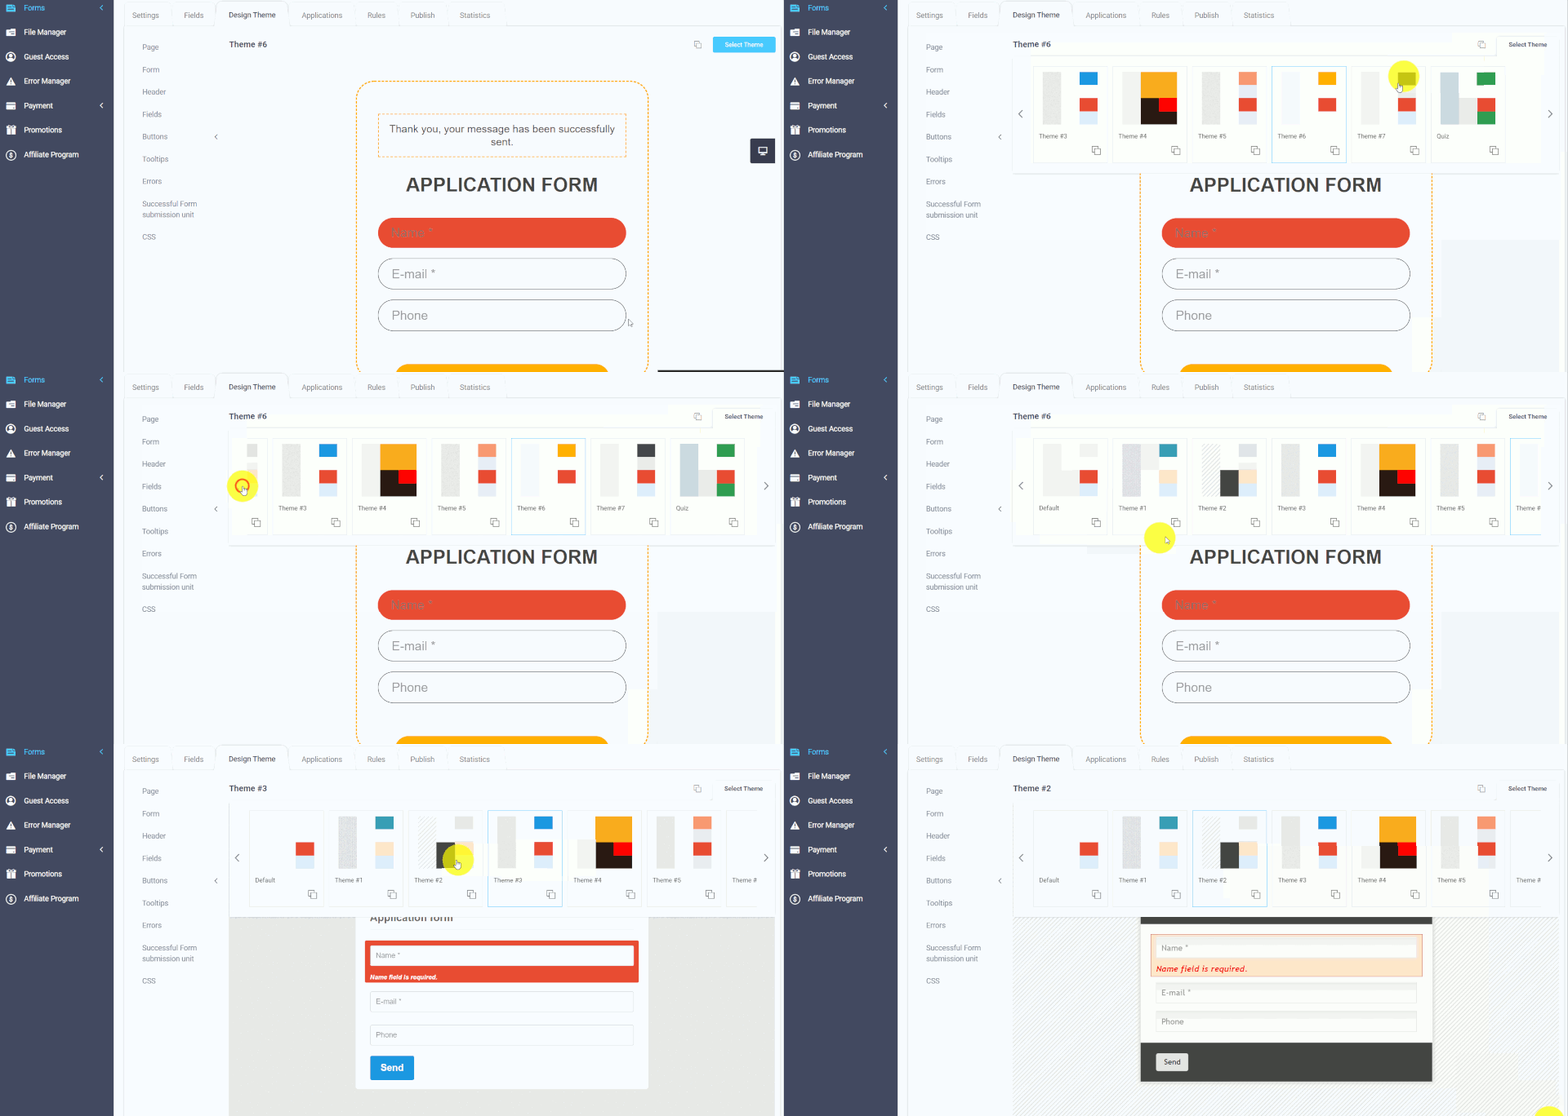
In addition, you can change any theme to suit your needs, as you prefer. To do this, you will need to copy the design theme and then you can edit it:
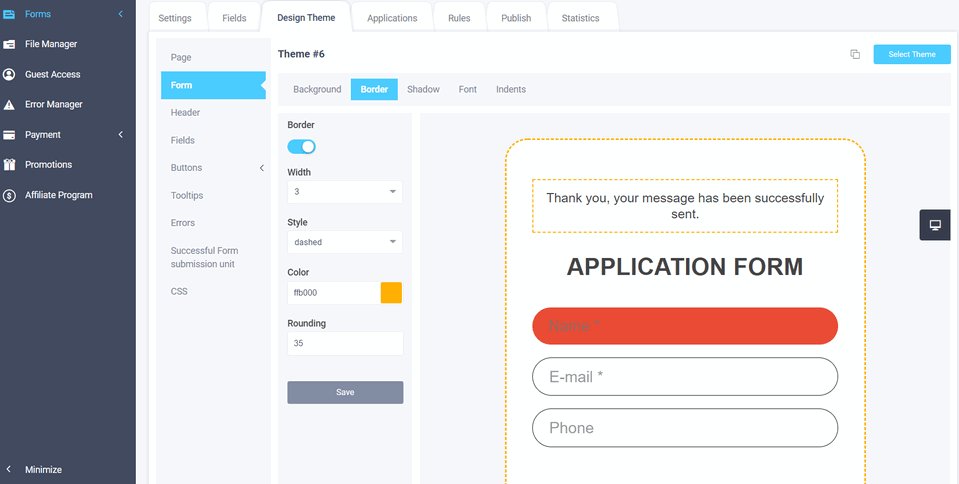
You can change parameters such as: background, frame, shadow, font, indents, alignment and dimensions. All these parameters are grouped in such sections: page, form, title, elements, buttons, hints, errors, block of successful completion. And for those who are familiar with CSS, you can prescribe your own styles for the form.
After selecting and configuring the design theme, you can go to the tab "Get the code" and copy the finished code to paste the form guide to your site:
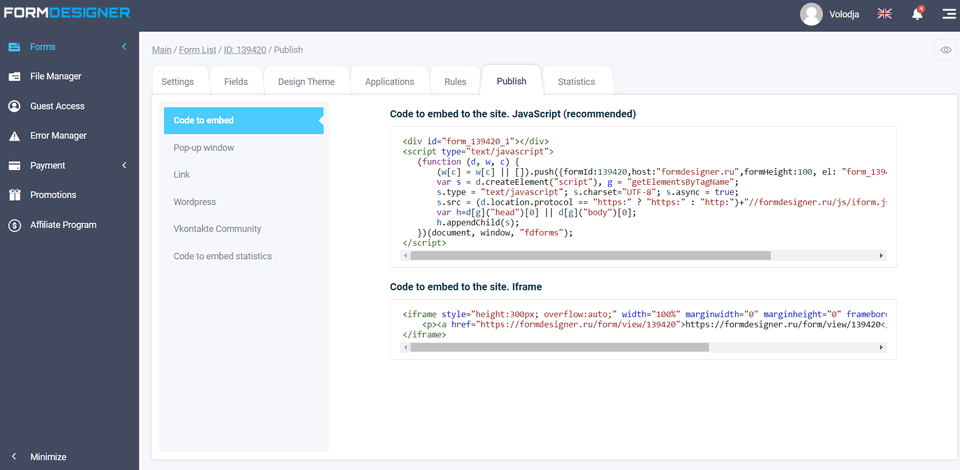
As you can see, you don't have to be a programmer and know all the subtleties of creating and layout of the site in order to create a form of a capture for landing page and adjust the appearance. Everything can be set up in a simple and convenient web form builder in a few minutes.
Video lesson on creating a capture form on the site
Good luck and high conversion rates for you!


