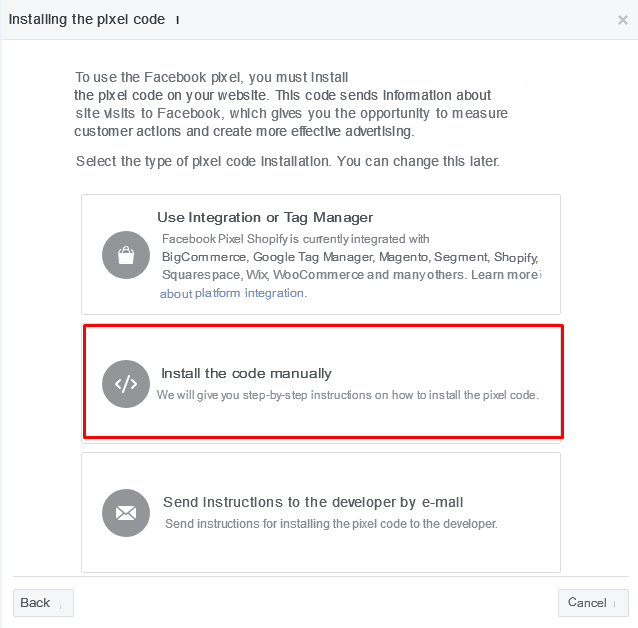
Often, you need to connect Facebook Pixel to the form. This is a piece of code for a website that measures the effectiveness of your promotion, optimizes advertising and creates an audience. In fact, it is needed for the same thing as Yandex.Metrica with Google Analytics. Facebook Pixel To connect to the form, you need to find the pixels section in your personal account in the "Measurements and reporting" section and add the data source – the Facebook pixel. After that, you will see a window with 3 options for installing the Pixel code and we need to select "Install manually":
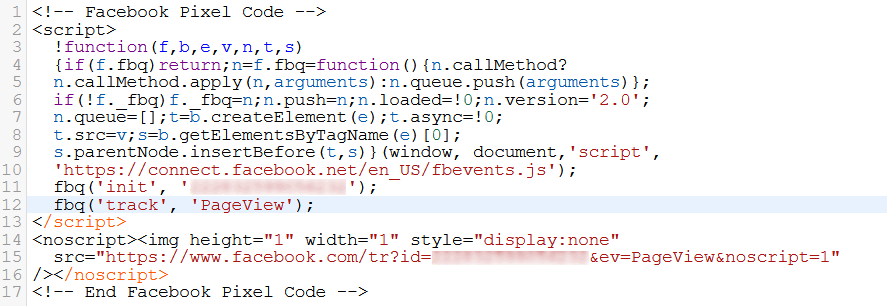
Next, you need to copy the code of this type:
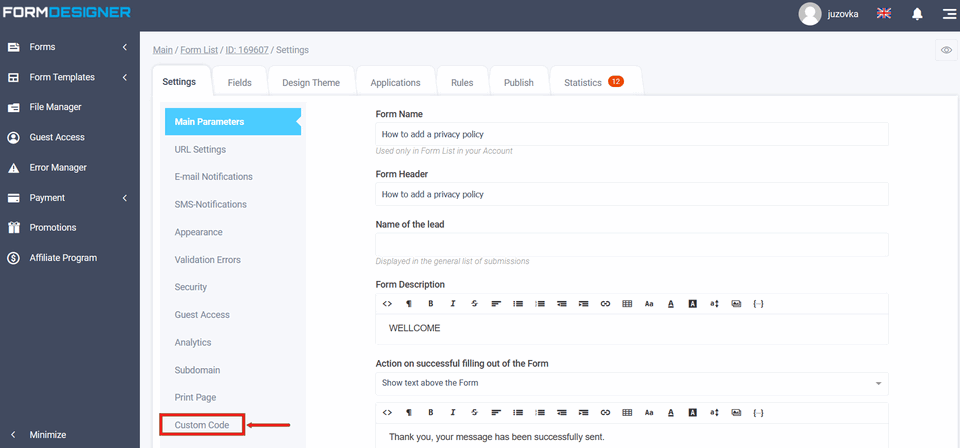
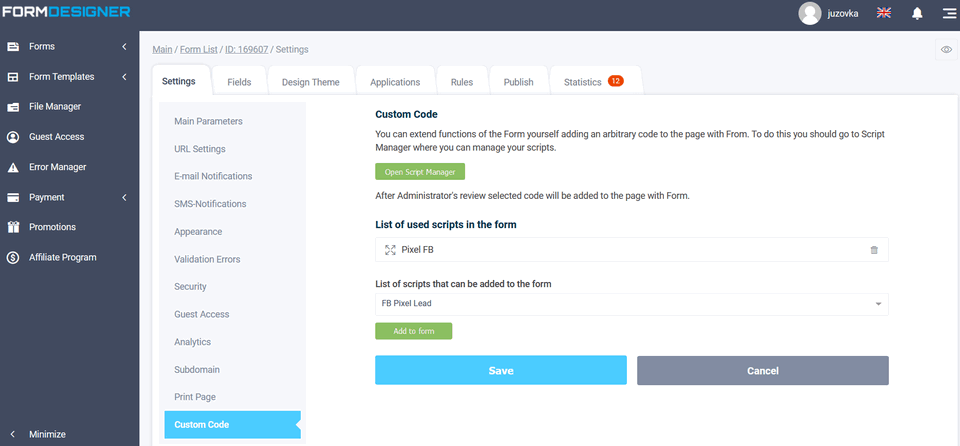
Open the form settings and select the "Custom Code" section:
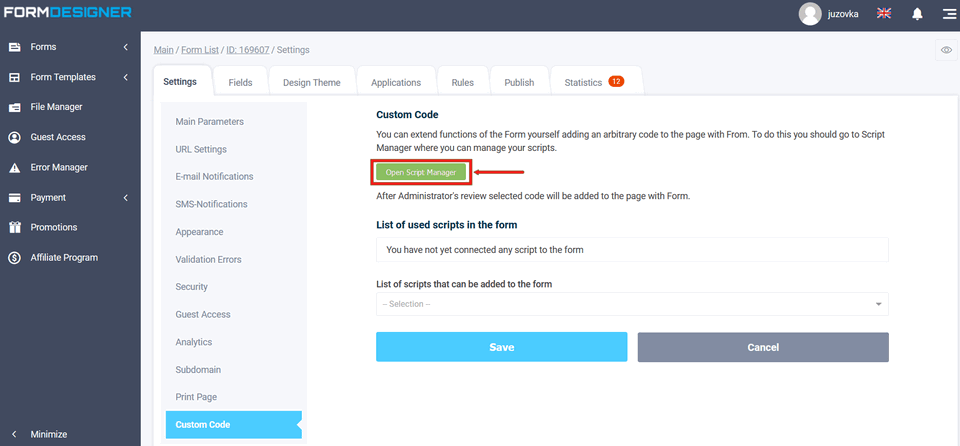
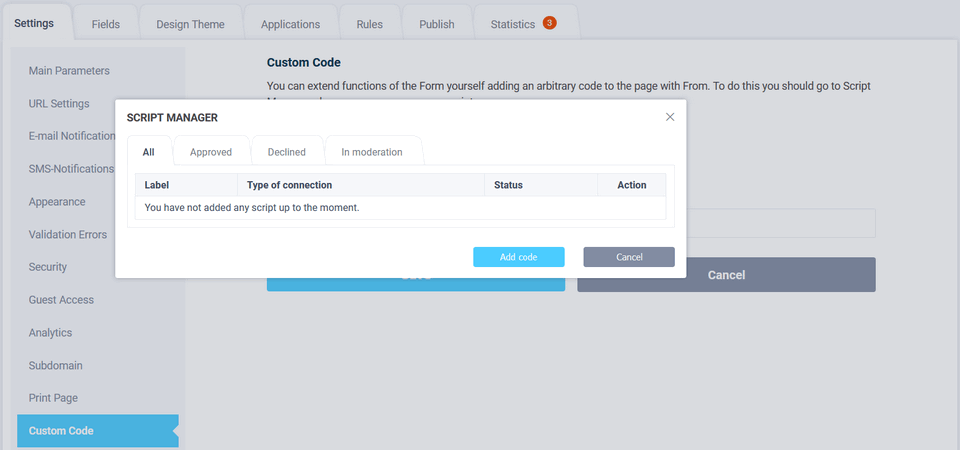
In the "Custom code" section, click "Open Script Manager":
Click the "Add Code" button:
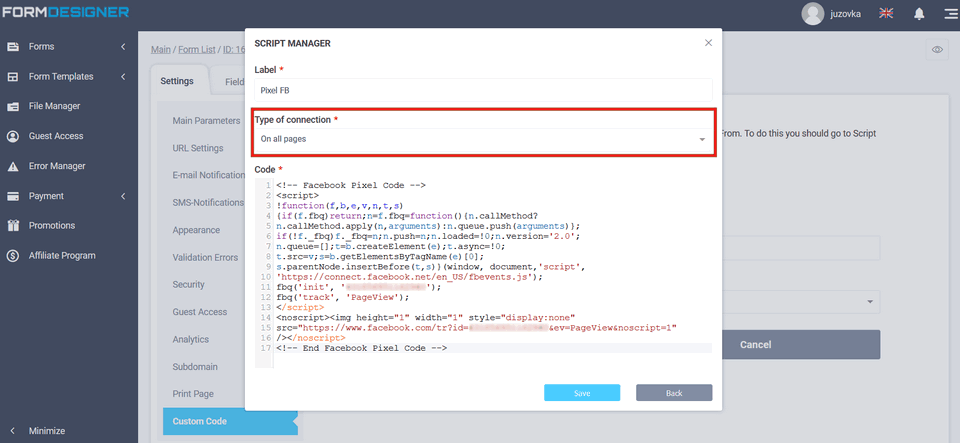
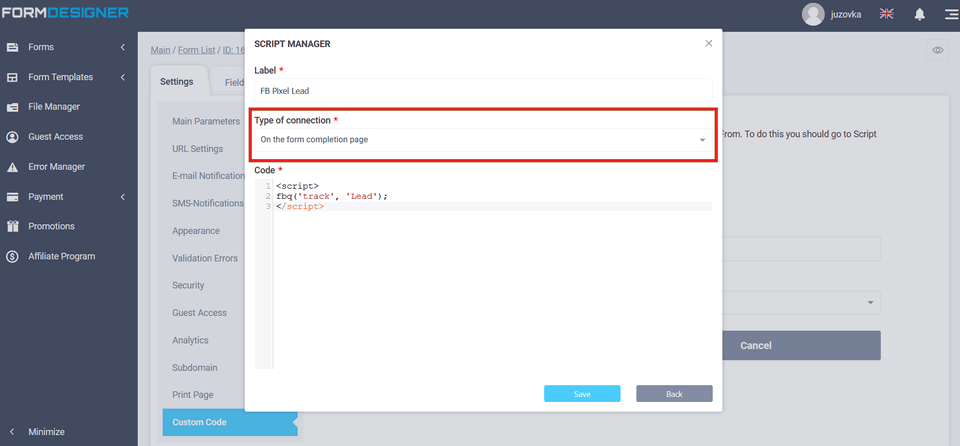
In the window that opens, you need to fill in the "Name" field, in the "Code" field, insert the previously copied Facebook Pixel code:
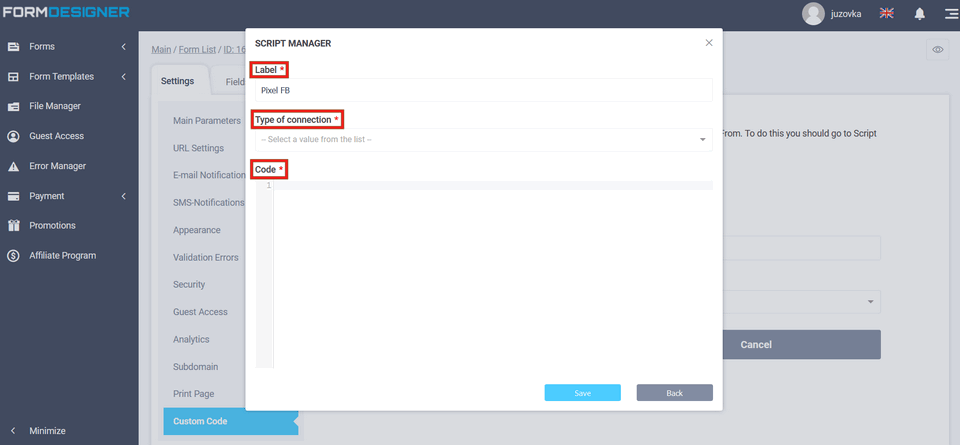
The following functions are available in the Connection Type drop-down list:
- on all pages
- on the page with the form
- on the page of successful completion of the form
For the main pixel code, you need to select the connection type "On all pages":
The added code will be moderated. You need to wait for the code to pass moderation:
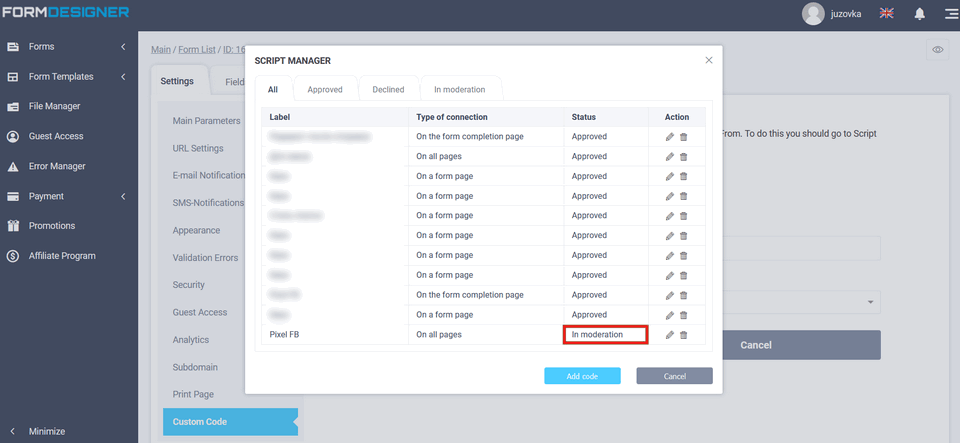
After the code passes moderation, it will be available in the list of added scripts:

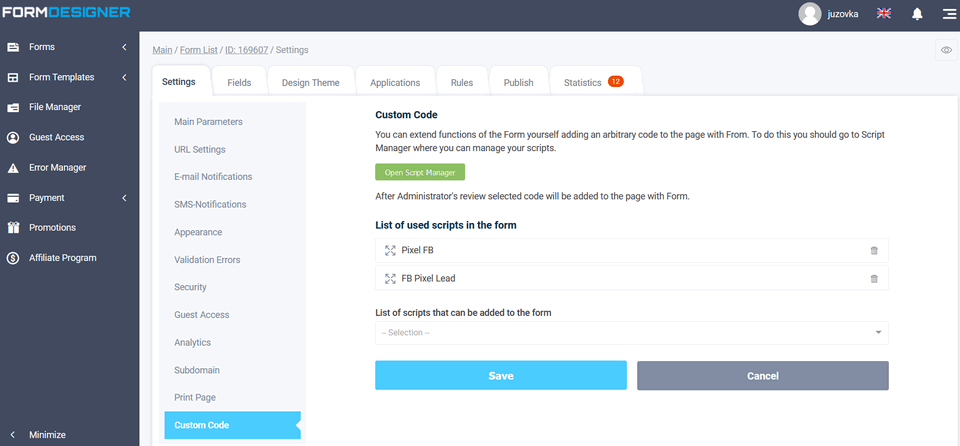
Select the added code and click the "Add to form" button, then do not forget to click on the "Save" button. So we added the basic Facebook pixel code to all the pages of the form. In order to track the form submission event, you need to add another code that will send the Lead event or any other event after the form is submitted. To do this, open the script manager again and add a new event script with the connection type "On the page of successful form filling":
After that, we also add it to the form:
It is very important to follow the order of connecting scripts. The main code of the Facebook pixel should be connected first, and after it the script with the form submission event should be connected:
After both scripts are added to the form, click on the "Save" button and you can test sending events. The PageView event will be triggered when the form is opened, and the Lead event will be triggered only after the form has been successfully submitted.
But there is one caveat, if you have a redirect to some page after sending the form, then the page about the successful submission of the form will not be shown and, accordingly, our event will not be sent. To avoid this, we need to add a handler for the form submission event and send the Lead event at the time the form is submitted. To do this, create a new script with the connection type "On the form page" and add the following code:
<script>
addSubmitFormCallback(function() {
   fbq('track', 'Lead');
});
</script>
This code adds a handler for the form submission event and at the time of submission, the Facebook event will also be sent.