Connect FormDesigner to hundreds of other applications with Zapier
Zapier allows you to configure the integration of FormDesigner with more than 5000 other online services. Automated connections, called Zaps, are set up in a few minutes without programming, can automate your daily tasks and create workflows between applications with which we have no integration.
Each Zap has one application in the form of **Trigger**, where your information comes from and which triggers one or more **Actions** in other applications, where your data is sent automatically.
How do I connect FormDesigner to Zapier?
Log in to your Zapier account or create a new account, after which you will be taken to the main page in your personal account:
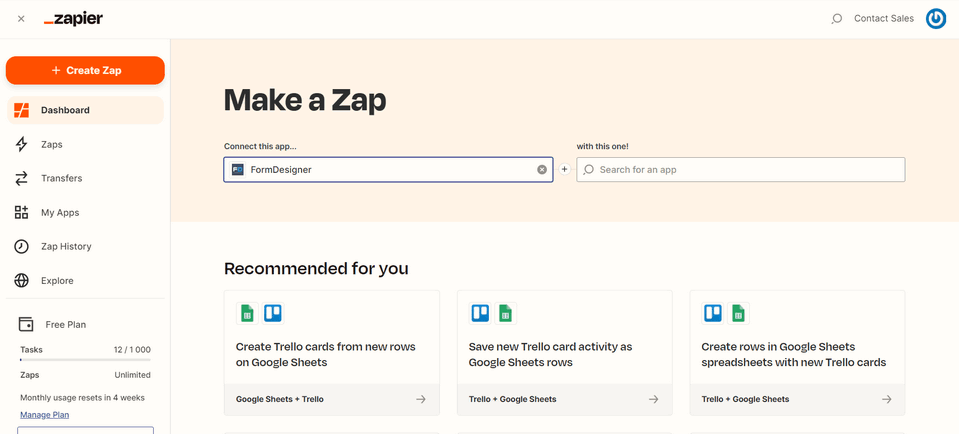
In the field on the left, enter the name of our application “FormDesigner”, and on the right - the name of the service with which you need to configure integration. For example, let's look at how to configure the integration of FormDesigner and Trello.
To do this, enter the name “Trello” in the field on the right:
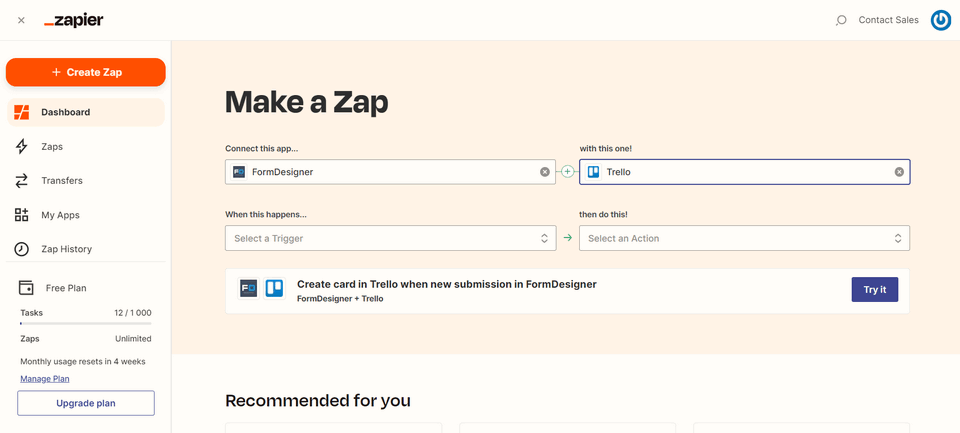
Next, you need to select the FormDesigner trigger, at which this integration and action in Trello will be triggered, i.e. what should happen when the trigger is triggered:
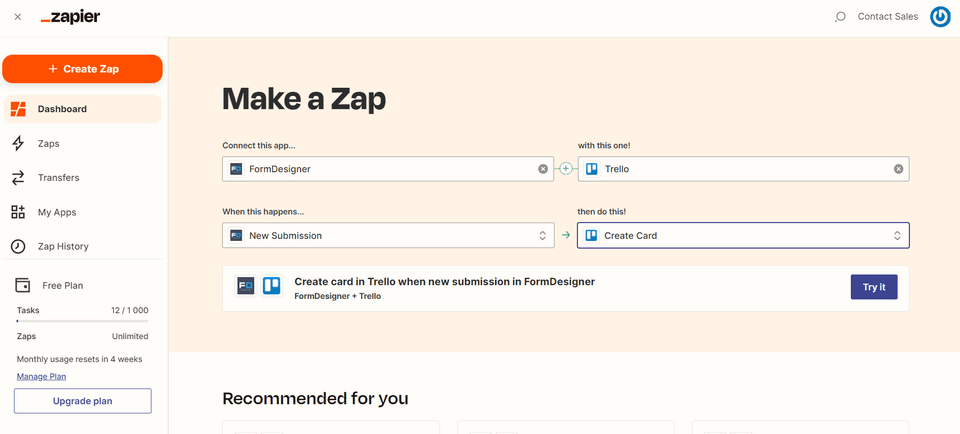
As a trigger, we use only one value “New Submission”, i.e. a new submission of the form, and Trello's action is the creation of a new card.
After everything is set up, you need to click on the “Try it” button, after which you will be taken to the Zapier integration editor:
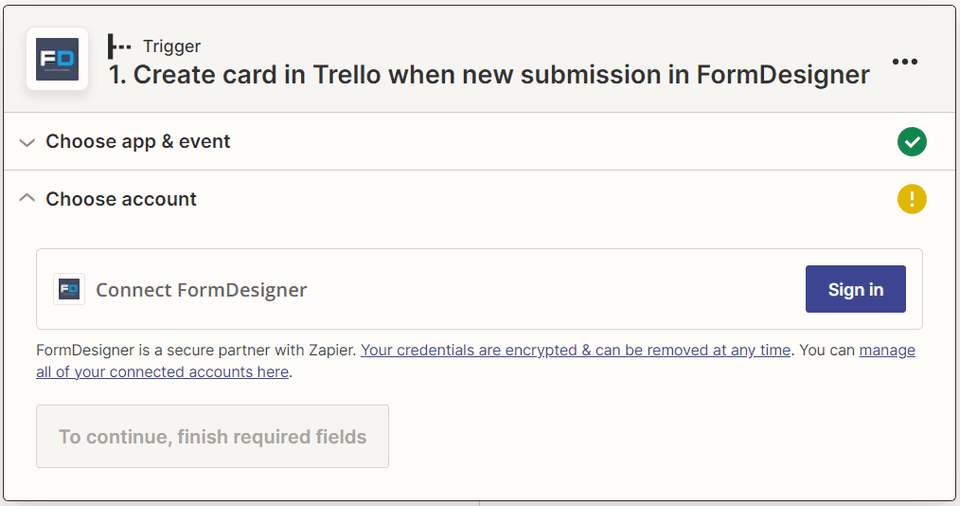
The first step is to connect your FormDesigner account to Zapier. To do this, click on the “Sign in” button, after which you will be taken to our website, where you will need to confirm access to the FormDesigner data:
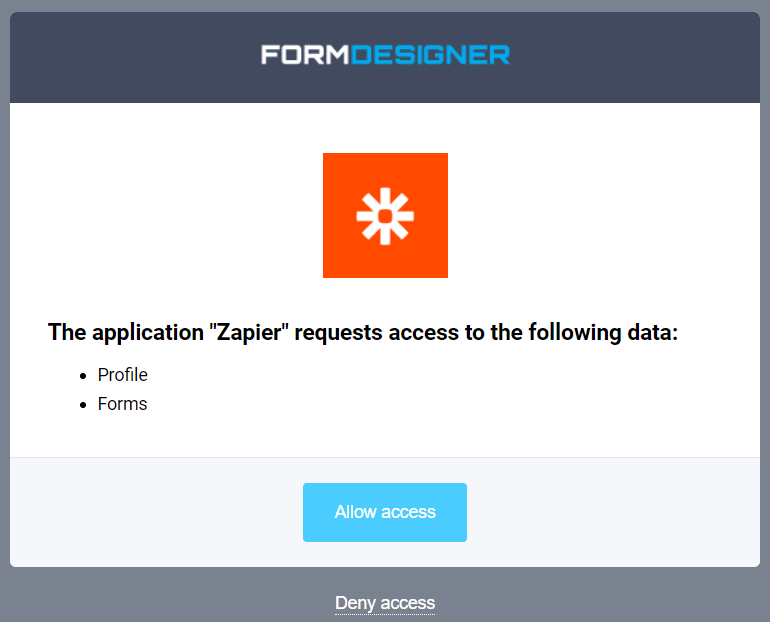
Here you need to click on the “Allow access” button, after which you will return to Zapier and he will get access to your forms:
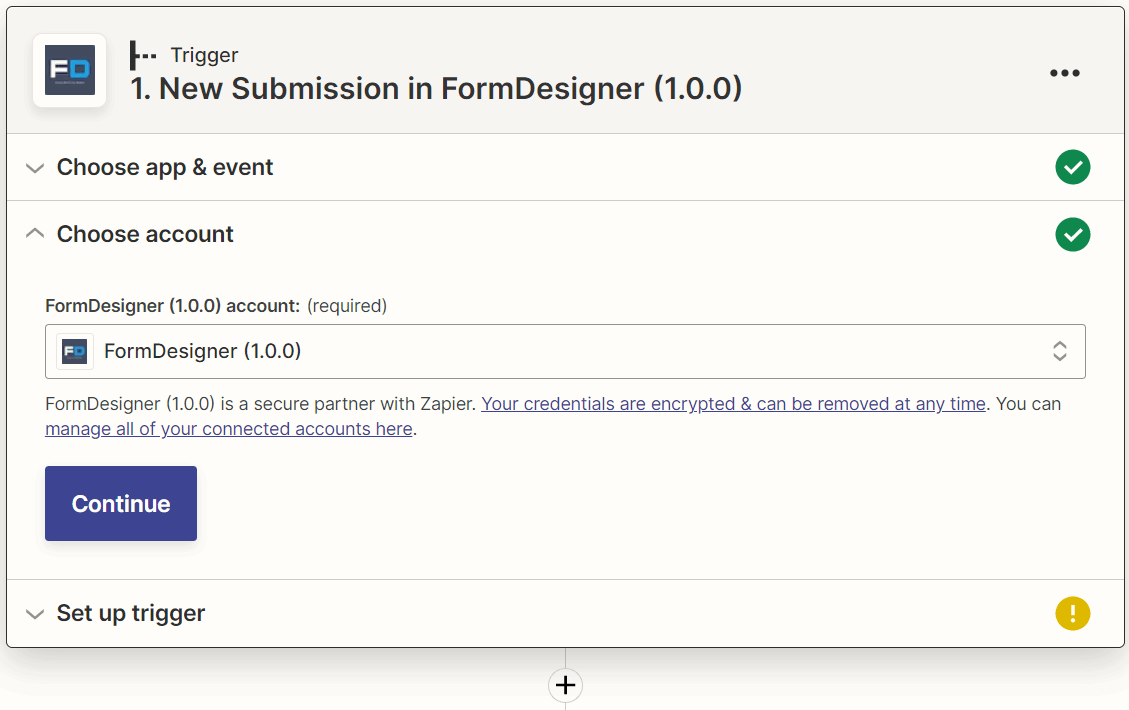
Next, you need to click on the “Continue” button, after which you will proceed to the selection of the form from which you need to receive data for transmission to Trello:
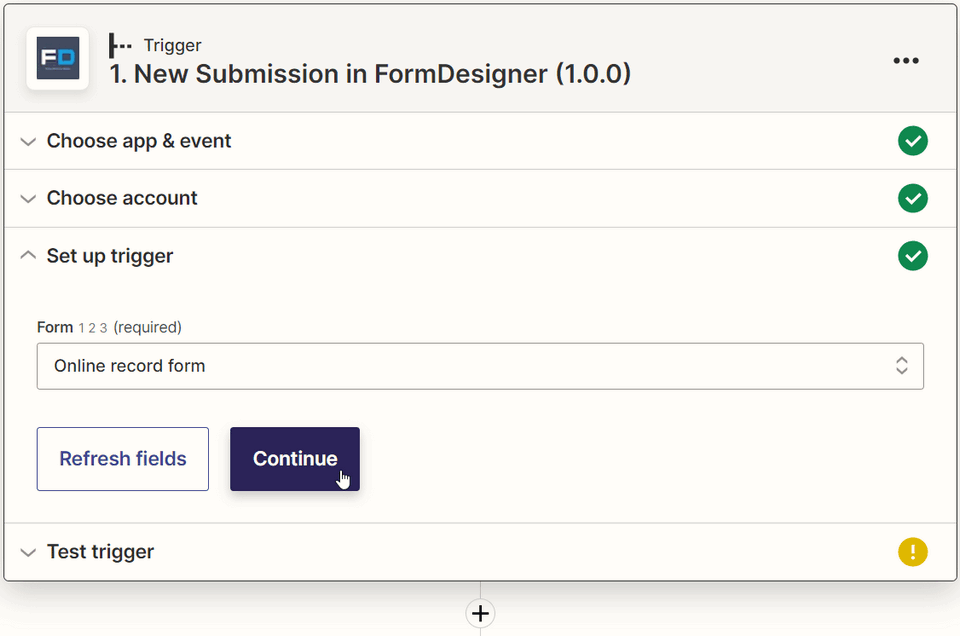
In the “Form” list, select the desired form and click “Continue”, after which Zapier will try to get data from this form (it is important that there are already some applications in the statistics):
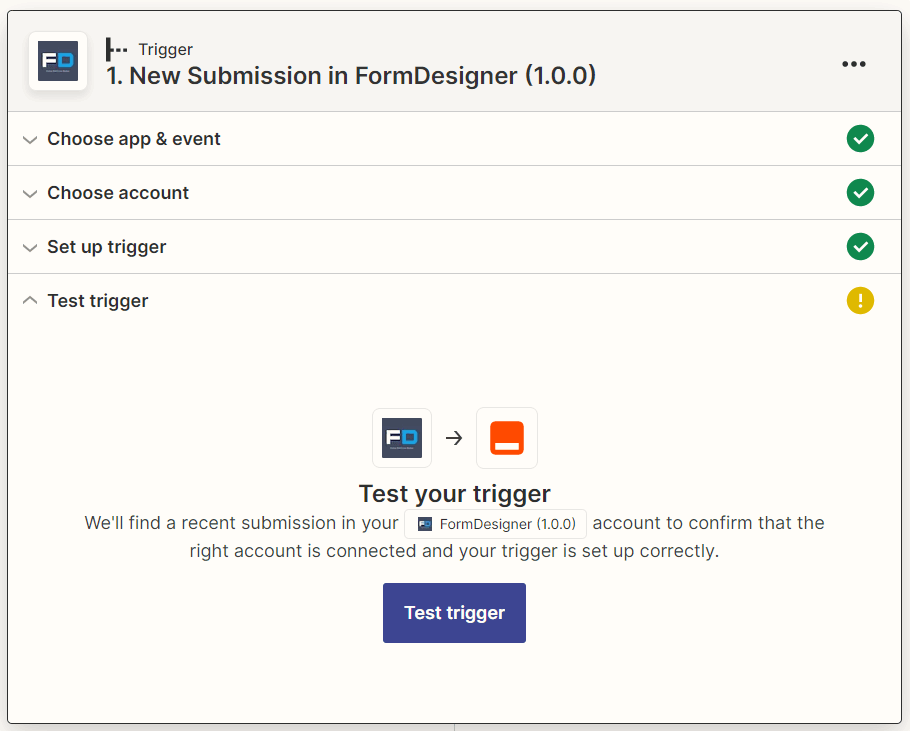
Click on the “Test trigger“ button, after which you will proceed to the Trello tincture:
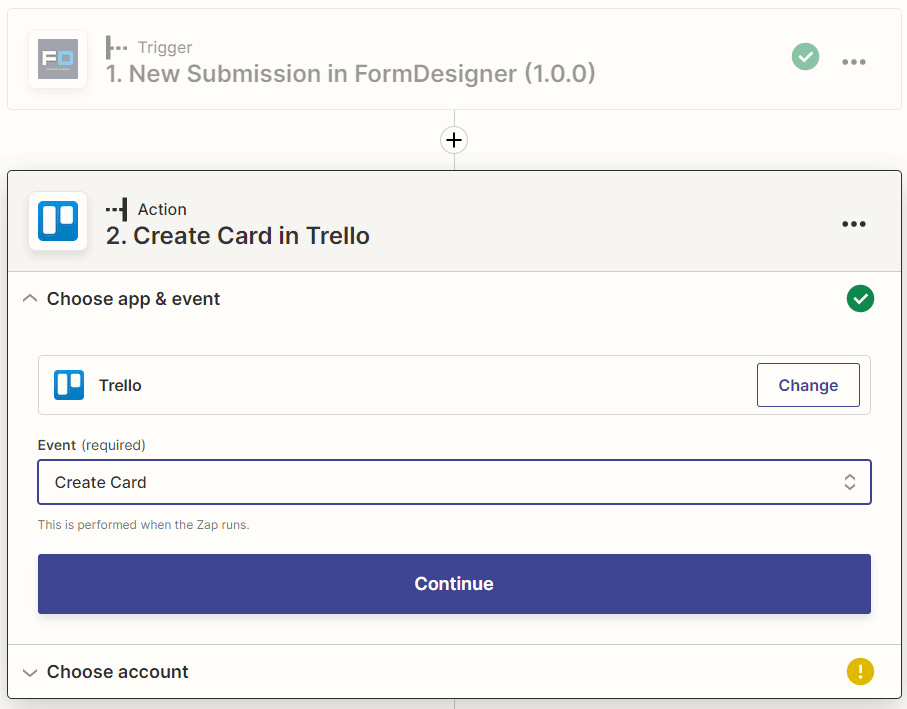
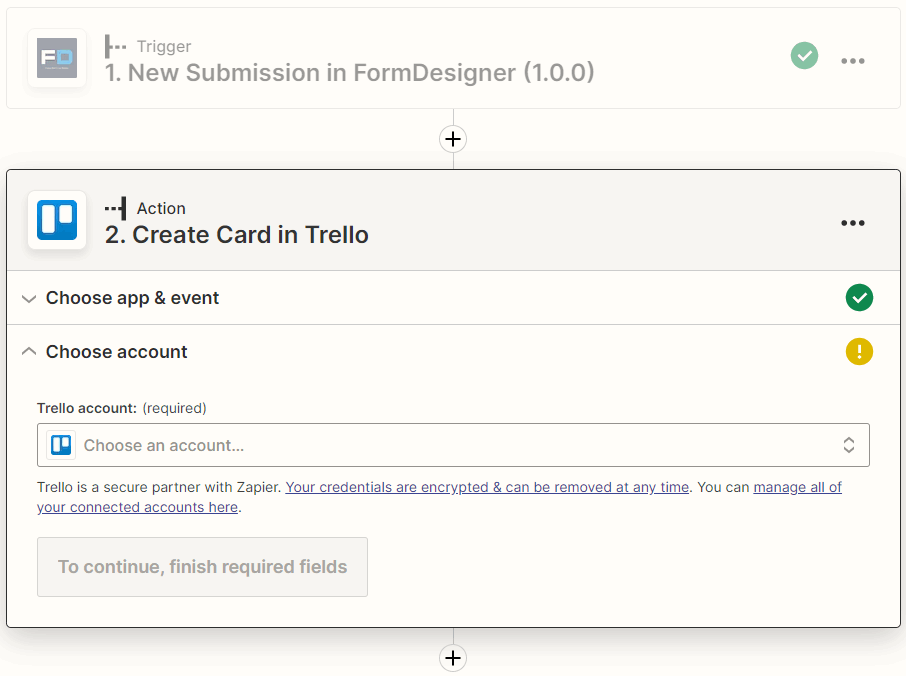
Similarly, you need to connect your Trello account to Zapier so that it can create cards. To do this, click on the "Sign in" or “Choose an account” button and allow access:
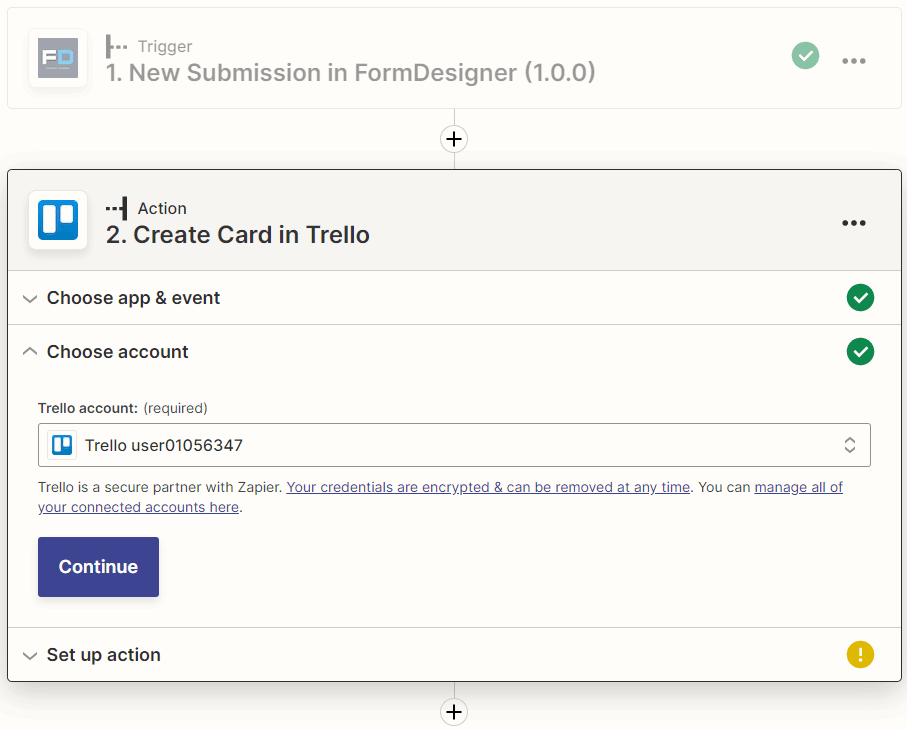
To configure the parameters of the Trello card, click on the “Continue" button:
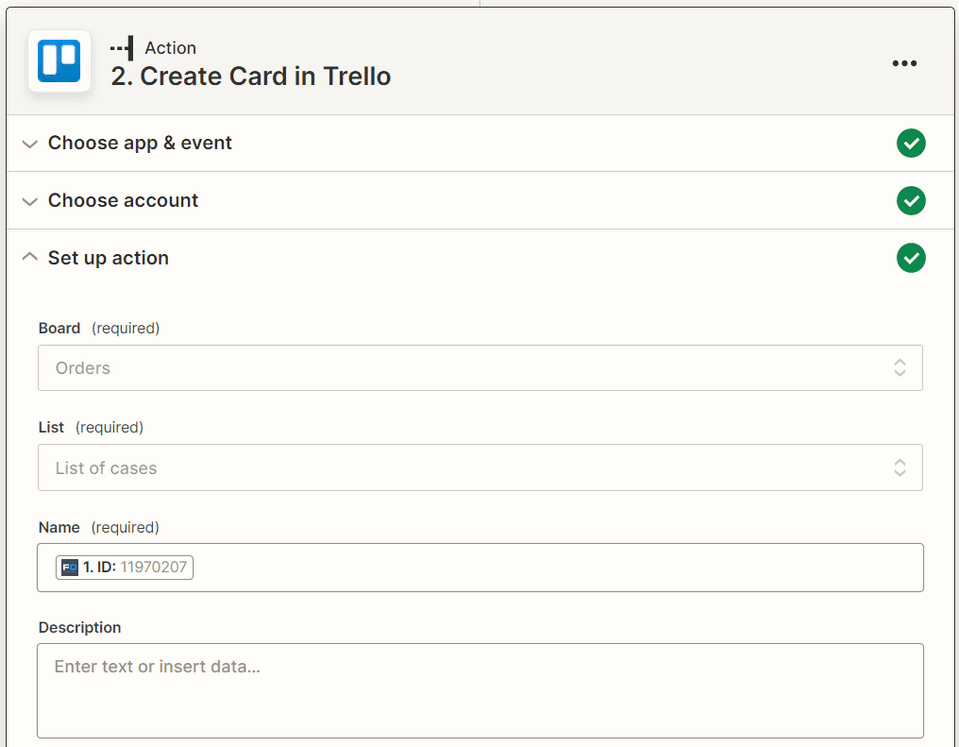
Here you choose which board and which list to add the card to, enter the name and description, etc. If necessary, you can insert any parameter from the form in the right place. When all the data is configured, you need to click on the “Continue" button.
In the next step, you will be shown what data will be transmitted to Trello:
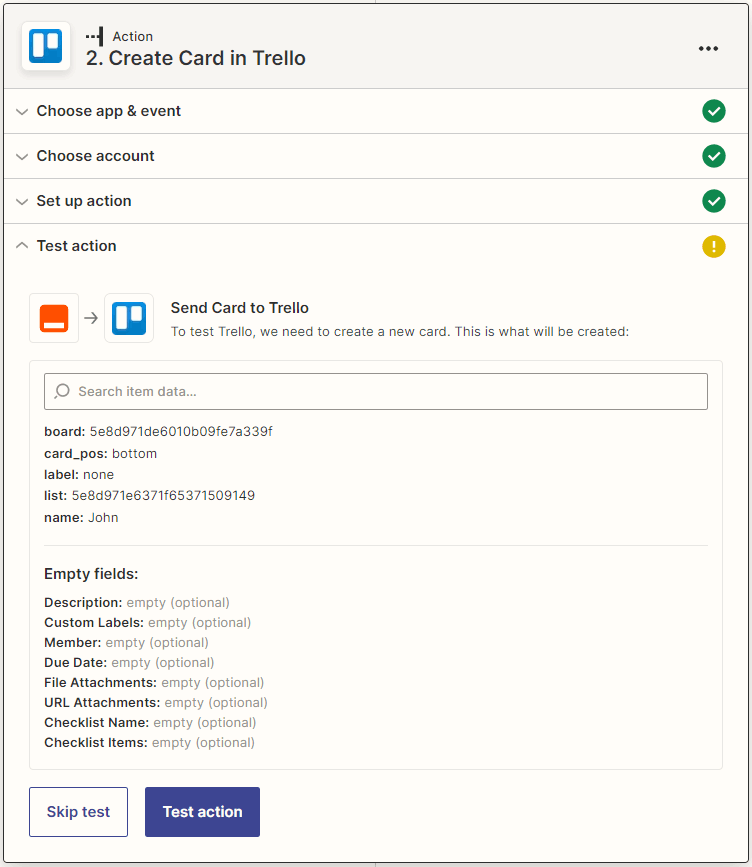
You can test sending data to Trello by clicking on the "Test action" button, or skip this step.
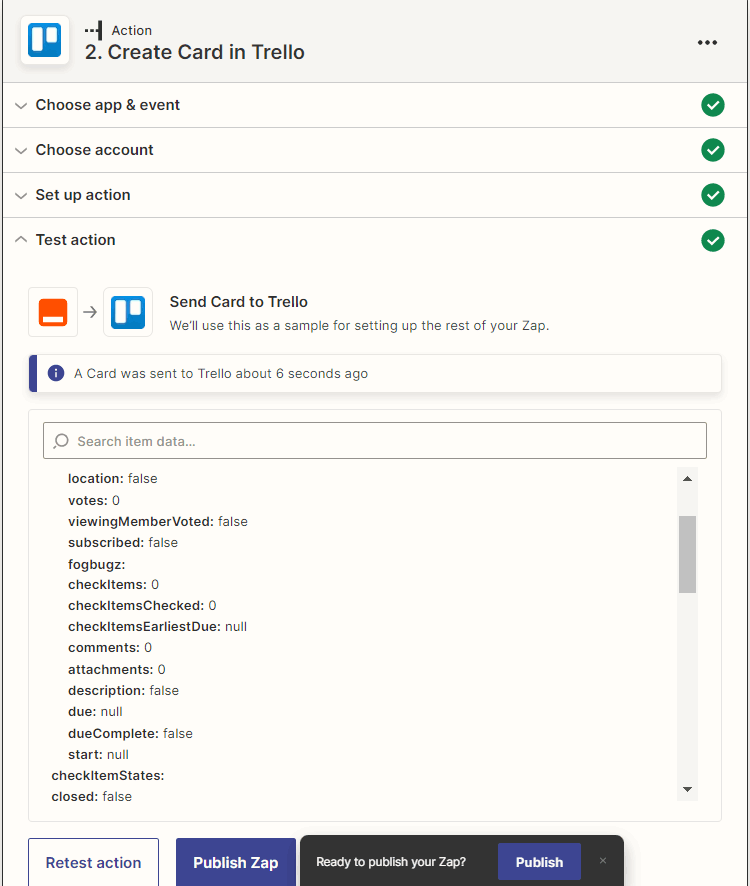
To finish the integration setup, click on the “Publish Zap” link and turn the switch to the “On” position.
After that, all the applications that you leave in the form will be automatically transferred to Zapier, and from it to Trello. As a result, new cards will be created automatically.
Just like that, you can configure integration with any other services that are available in Zapier.
That's all for today. Have a good day!


