How to create a subscription form to the site and integrate it with the Mailigen service.
Hello.
Today I will tell you how you can quickly create a subscription form and set up integration with the Mailigen email service. The whole process of creating a form can be divided into the following stages:
- Creating a mailing list subscription form
- Customize the appearance of the subscription form
- Connecting the Mailigen module to the subscription form
- Placement of the subscription form on the site
The first thing to do is to log in to your personal FormDesigner web forms designer's cabinet.If you do not have an account yet, please follow this link to register.
Creating a mailing list subscription form
After authorization you will get to the main page of web-form constructor:
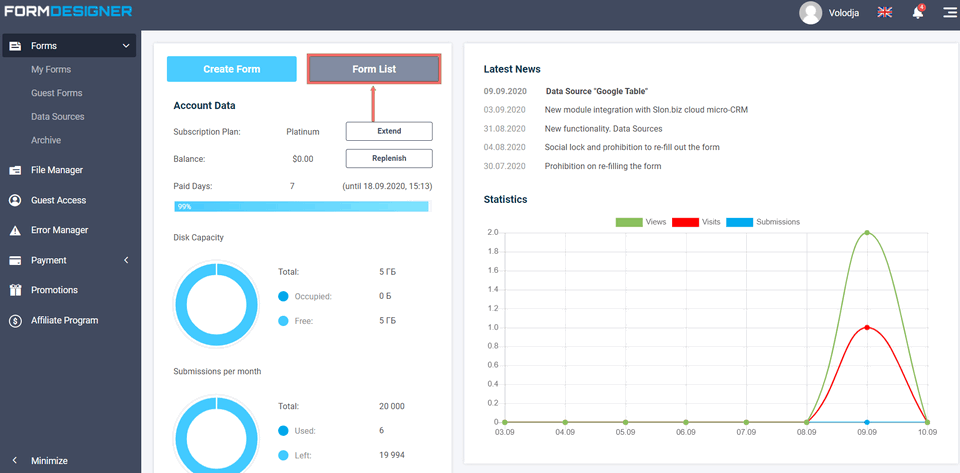
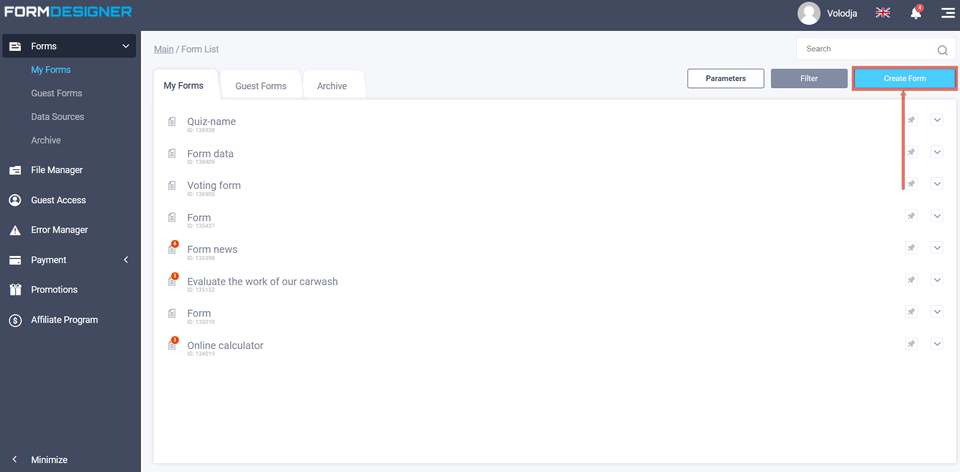
In order to create a subscription form, click the "Create form" button:
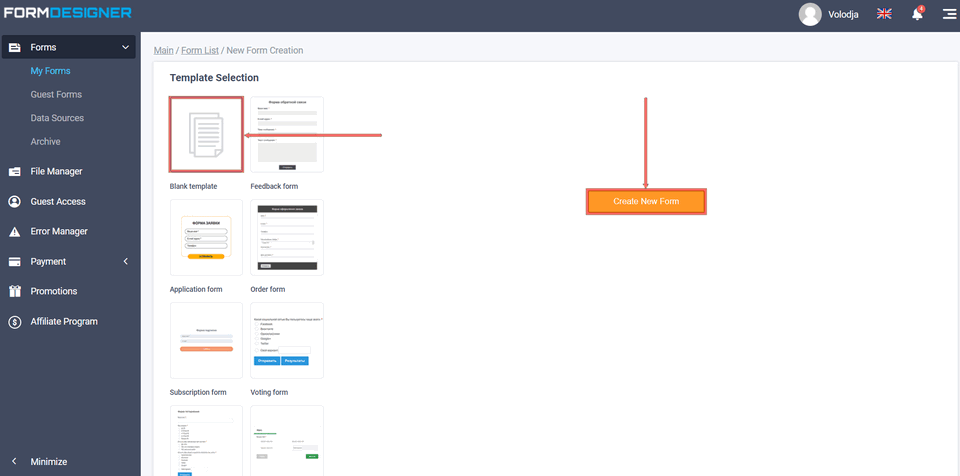
Select an empty template and click the "Create new form" button::
After that a pop-up window will open in front of you:
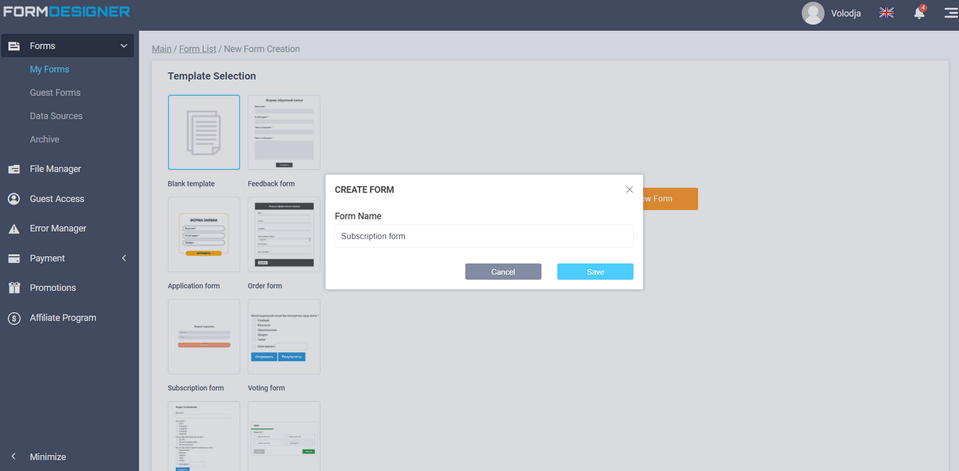
Here you need to enter the name of our future form and click "Create", after which the form designer page will open, where we will be asked to add the necessary elements to the form:
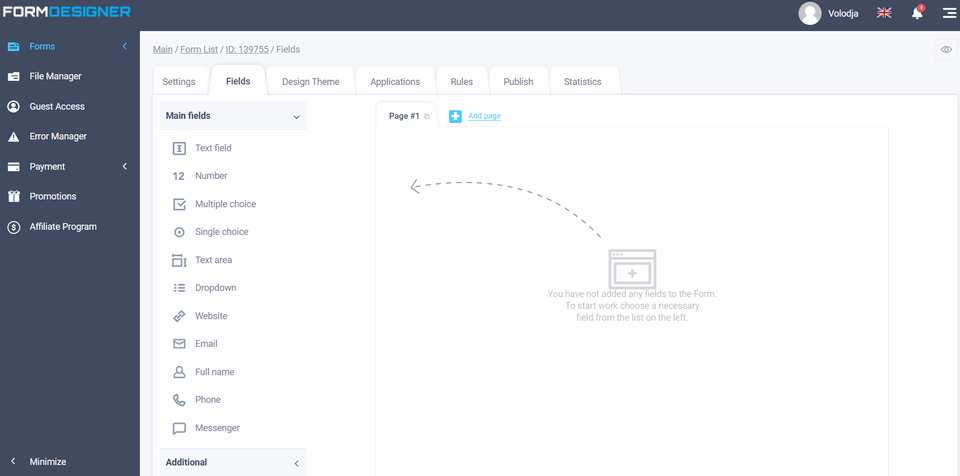
Usually the mailing list subscription form consists of 2 elements: a name field and an e-mail address. Let's add the first text field to our form:
Now we need to edit this field and change the name, and make this field mandatory. To do this, move the mouse cursor over the editing icon:
Now you need to add a special element to the web form to enter your e-mail address:

Please note that you need to use an element of the form "E-mail address", not a normal text field. This is necessary for the form to automatically check the e-mail address input format.
In order for a user to be unable to send a form with the same e-mail address twice, you can activate the "Unique field" option.
Customize the appearance of the subscription form
So, the minimum number of fields we created for the subscription form, now you can customize the appearance of the form. To do this, go to the "Design theme" tab:
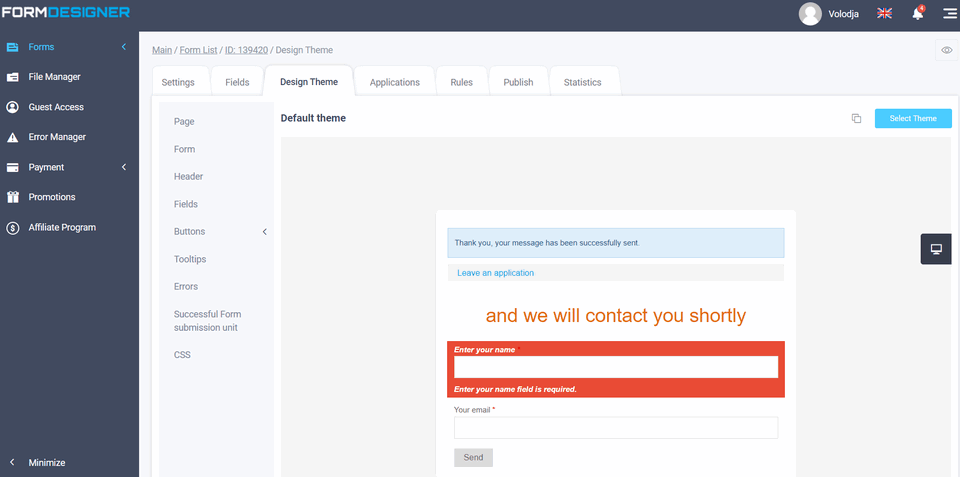
By default, the standard design theme for the form is used. In the middle of the screen there is a preview of the subscription form with the option of error output and a message about successful completion of the form.
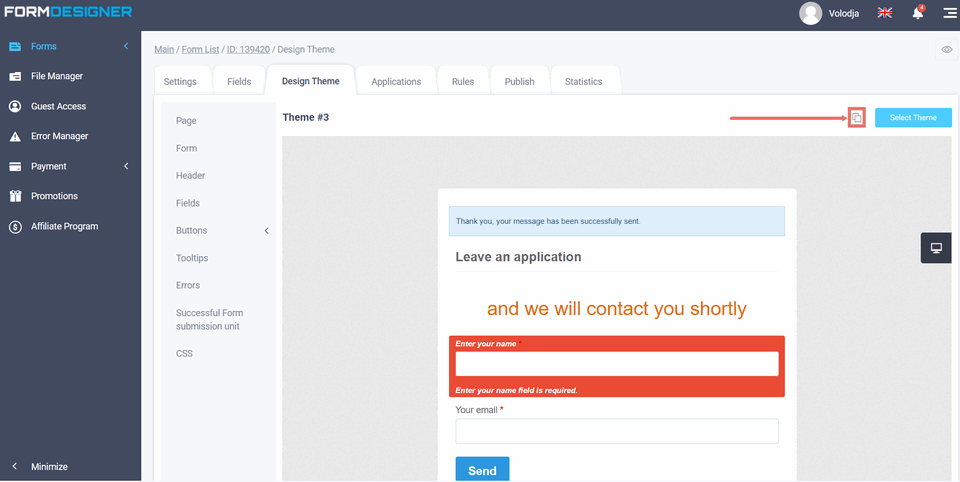
In FormDesigner form designer, there are several standard design themes. To change a theme, click the "Select theme" button:
You can make your own changes to any standard theme: change the background, font size, indents, etc., but you must first copy the theme by clicking on the special icon:
After you have copied the design theme, you can change any element in this form: page, form, title, elements, buttons, hints, errors, block of successful form filling.
Select the desired element and click on the link in the left menu. For example, let us change the background color of the "Send" button:
For each group of elements you can change such parameters as: background, frames, font, alignment and indents. If the "form designer" features are not enough, you can use your own CSS code, there is a special section in the left menu.
Connecting the Mailigen module to the subscription form
Now let's connect the Mailigen module so that all the data from the form are automatically included in the Mailigen contact list. To do this, go to the "Modules" tab and find the Mailigen module there:

Next, point the cursor at this module and click the "Add" button, after which a pop-up window with the main settings of the Mailigen module will open:
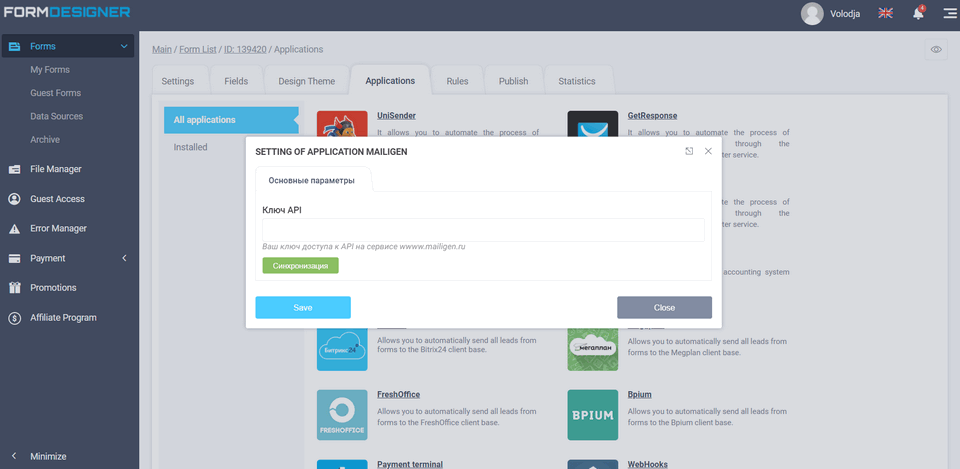
Here you need to enter your API key at the Mailigen service and click on the "Synchronization" button. If your API key is correct, the main window with the module settings will open in front of you:
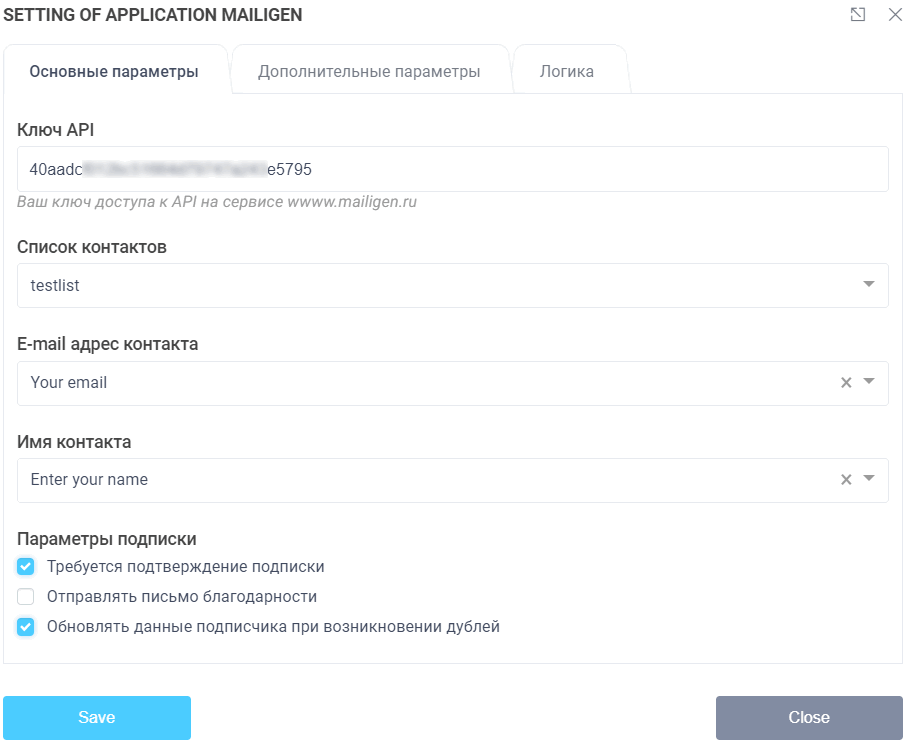
The first thing you need to do is to select a list of subscribers to which new users who have filled out the form will be added. Next, select an element of the form, which will contain the e-mail address of the subscriber, subscriber's phone number and name. An obligatory condition is the presence of an e-mail address or a field to enter the phone number in the form. Subscriber's name may not be filled in.
If there are additional fields in your form, which must be transferred to Mailigen, then open the tab "Additional parameters":

To add a new parameter, click the "Add parameter from form" link and a line will appear, where additional fields from the Mailigen service will be displayed on the left and fields from the form on the right. Thus, you configure which data from the form and where they will be transmitted in the Mailigen service.
After you have filled in all the data, click the "Save" button and the Mailigen integration module will be activated, and all users who have filled in the form will automatically get to the Mailigen subscribers list and you will not need to download them manually.
Placement of the subscription form on the site
Once all settings with the form are made, it can be placed on your website. To do this, go to the "Get the code" tab:

We have several options for placing the form on the site. A list of all options is displayed in the column on the left.
To embed the web form in the right place on the page, we recommend using javascript code to insert it into the site. If you do not have the option to use javascript code then you should use iframe but it has a few disadvantages:
- Tags are not transmitted
- Auto form height setting does not work (scroll may appear)
We also have the option of displaying the form as a pop-up window. Several options are available:
- Popup window - click on the link
- Popup window - click on the button
- Pop-up window - ear
- Pop-up window - auto displa
For each type of popup, you can customize your display options. For this purpose, under each type of pop-up there are "View" and "Customize" buttons.
If your site runs on wordpress, we have a special plugin for it, which allows you to embed the form in the desired place of the page using a special short code.
Once you have chosen a suitable way to place the form, copy the ready-made code and paste it to your site in the right place.
That will be all!