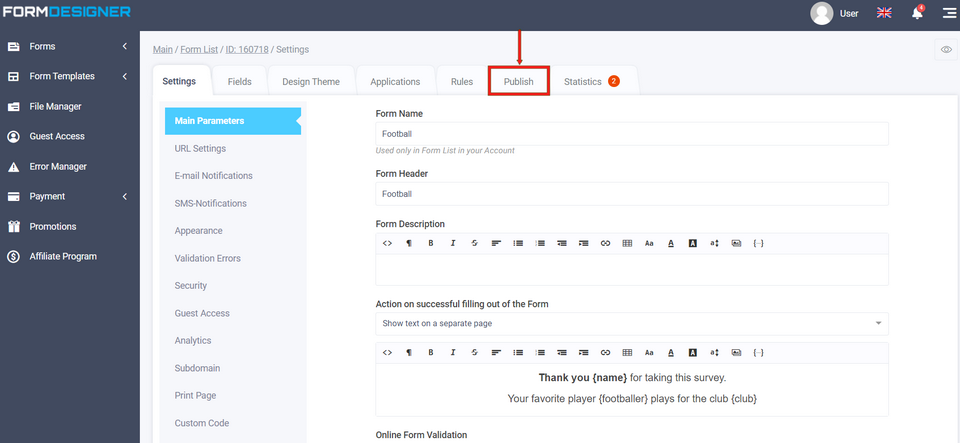
Once you have configured the form and need to put it on your site, you need to go to the "Publish" tab:
In the "Publish" tab of the "Pop-up window" section, you can configure how you want the popup window to appear:
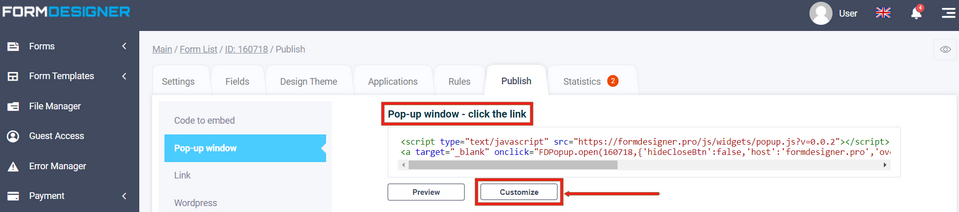
- Pop-up window - click link
- Pop-up window - click the button
- Side pop-up bookmark label - "Ear"
- Pop-up window - automatic display
Click the link
Under "Pop-up," click the link. You can copy the code to put a link in the popup, and you can customize the link by clicking the "Customize" button:
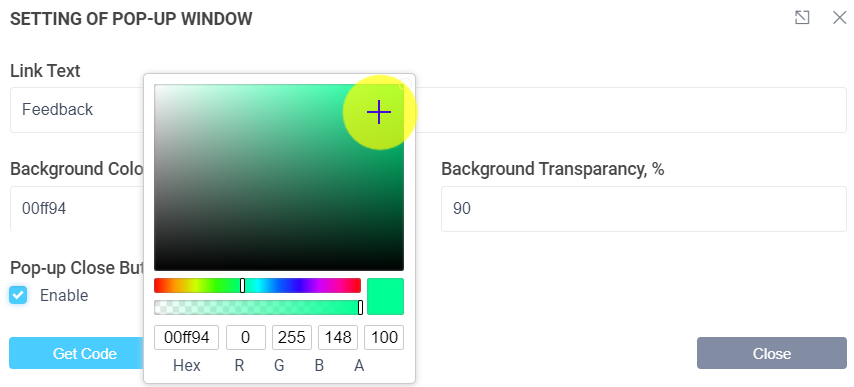
In the "Link Text" field, you can enter the name of the link. In the "Background Color" field, you can select the background of the form, i.e., when you open the link, the form will appear, and the rest of the page will be in the specified backing color. To change the background color, click the color icon to bring up a color palette where you can choose the color you want:

The transparency of the background, you can set in the "Background Transparency, %" field:
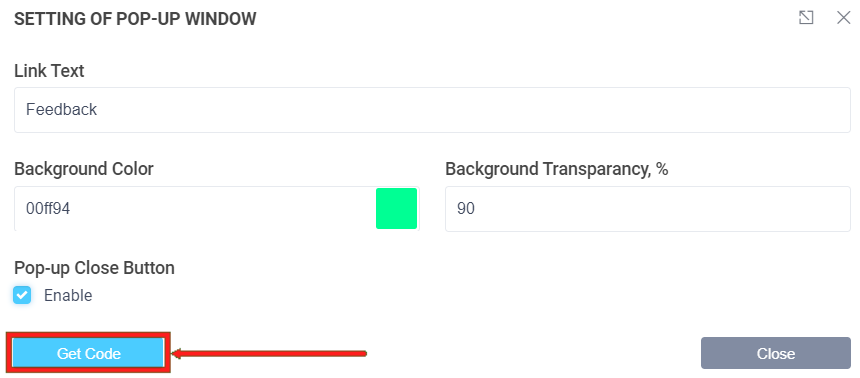
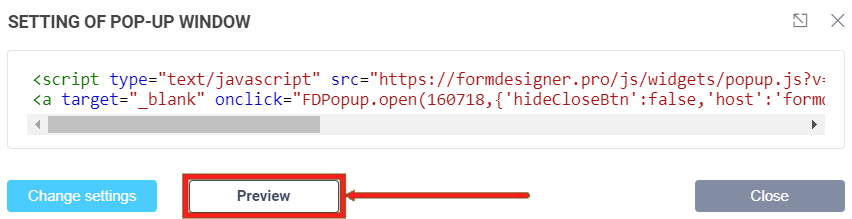
After setting, click the get code button and a window will open with the configured code. This is what you need to copy and paste into your site. You can also click the "Preview" button and the demo page will open, where you can see the customized link:
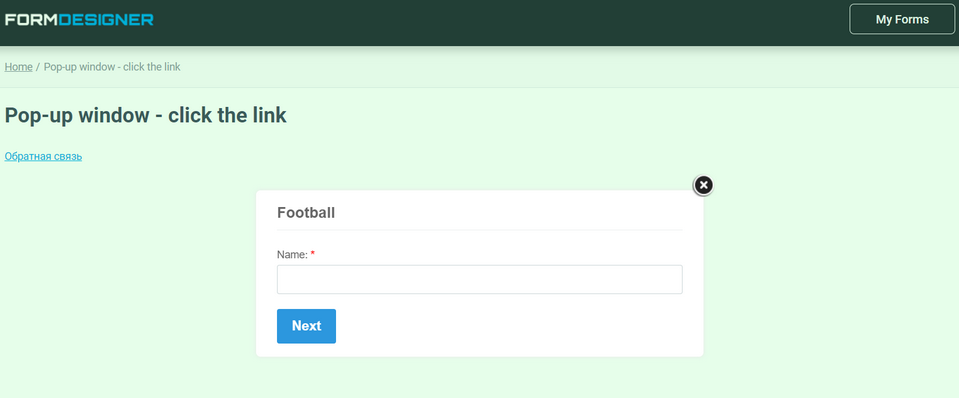
When you click on the link, the form will open and the backing color will be green with 90% clarity:
WARNING! If your site uses the HTTPS protocol, you need to change the link from HTTP to HTTPS in the code you copy:
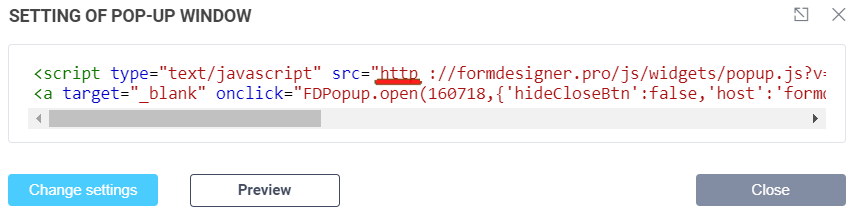
This applies to all kinds of pop-ups.
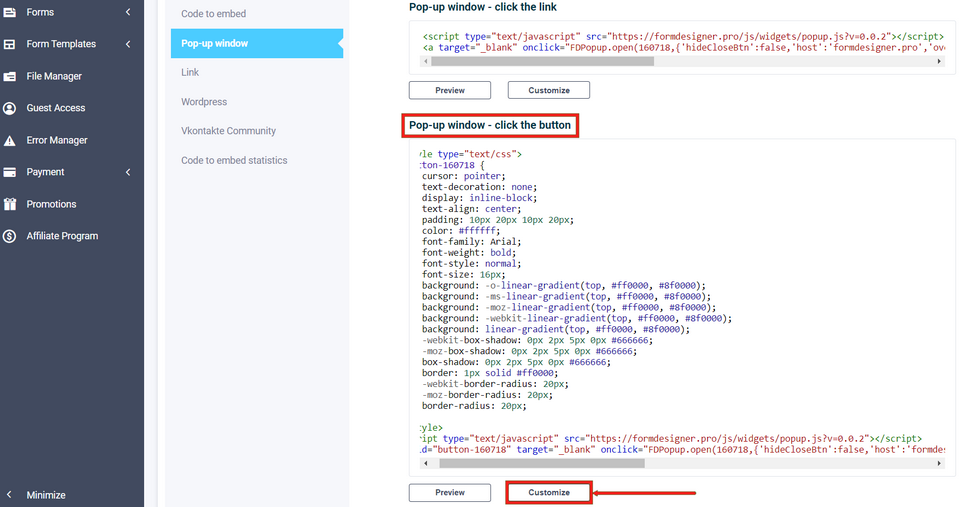
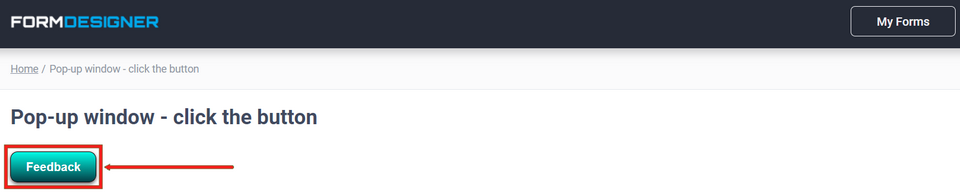
Click the button
In the "Pop-up" section, click the button. You can copy the code to place the popup as a button, and you can customize the button by clicking the "Customize" button:
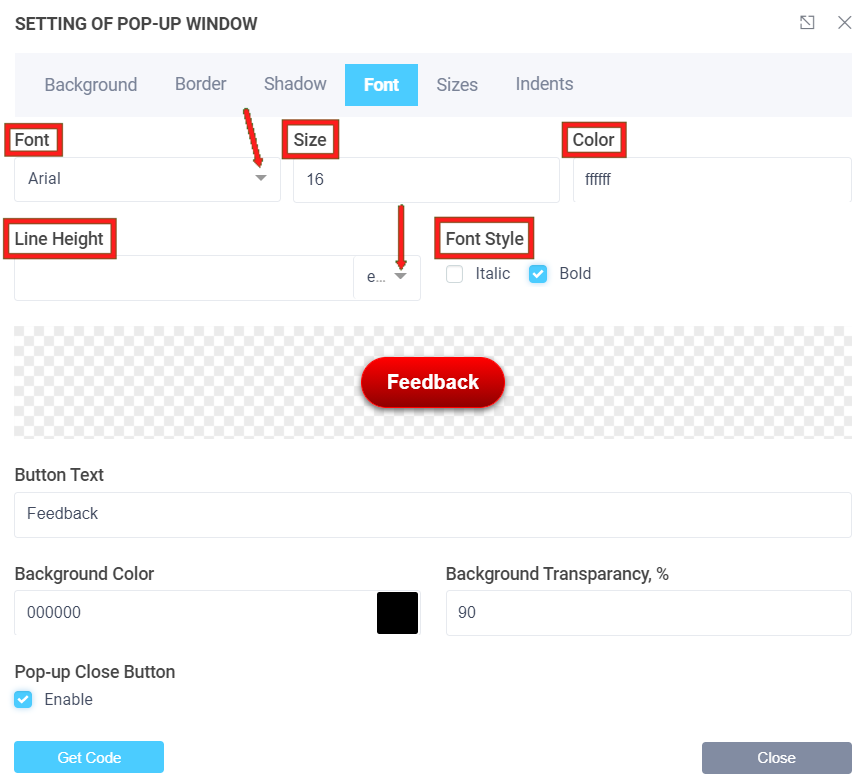
In the "Customize Popup" window that opens, settings are available:
- background
- border
- shadow
- font
- sizes
- indents
Under "Background" you can set the button background type: solid color, gradient, image, and leave a transparent background:
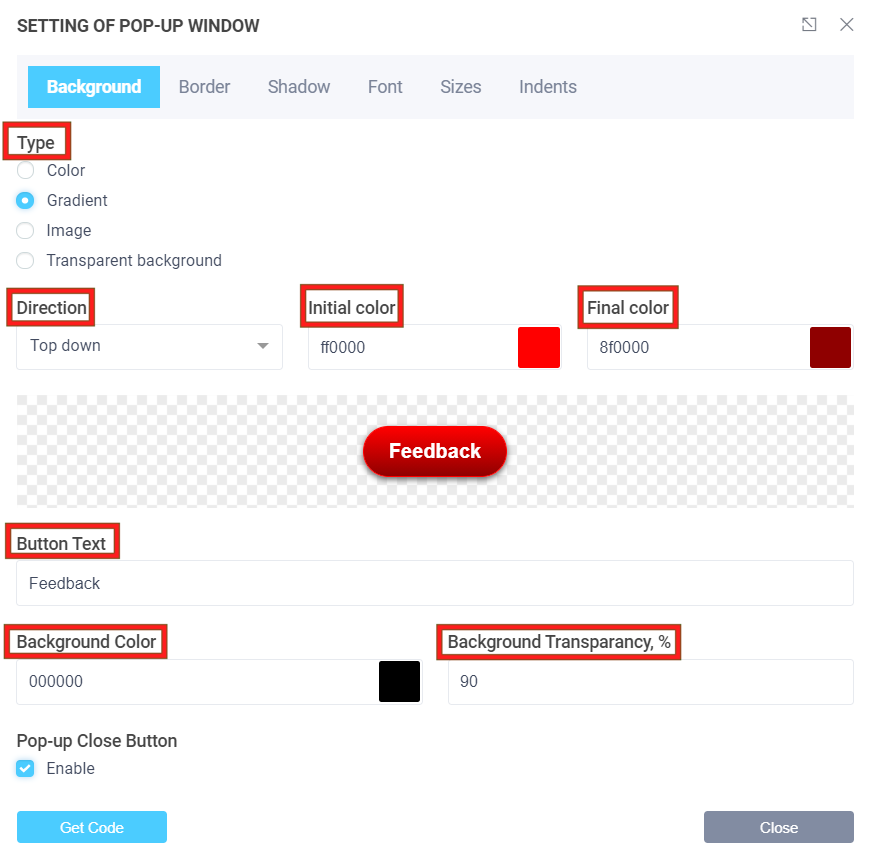
You can also customize the button text, backing color, and backing transparency in the appropriate fields.
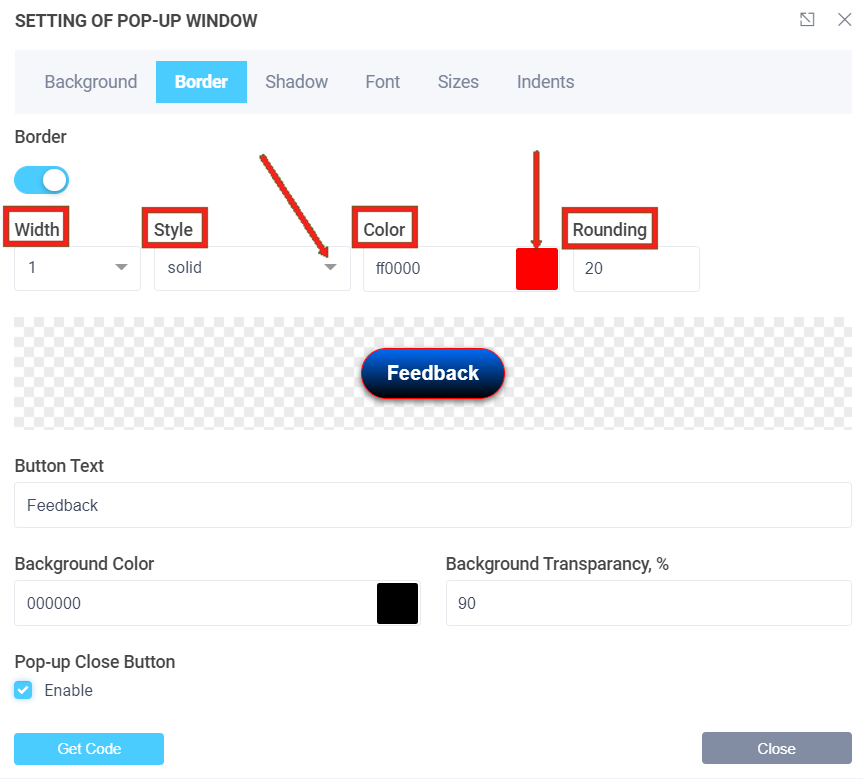
Under "Border" you can set the width, style, color, transparency, and rounding of the button frame:
Under "Shadow" in the "Shift" field, you can set the offset of the button shadow, as well as blur and stretch. The shadow can be either external or internal, and you can select color, transparency:
In Font, specify the font type, size, color, line height and in the font style select italic, bold:
Nothing is entered by default in the "Sizaes" item, it automatically selects the size under the text, but you can manually set the width and height of the button:

Under "Indents" you can adjust the distance in px from the text inside the button by setting the parameters - top, right, left, bottom:
After setting, click the get code button and a window will open with the configured code. You need to copy and paste it into your site:
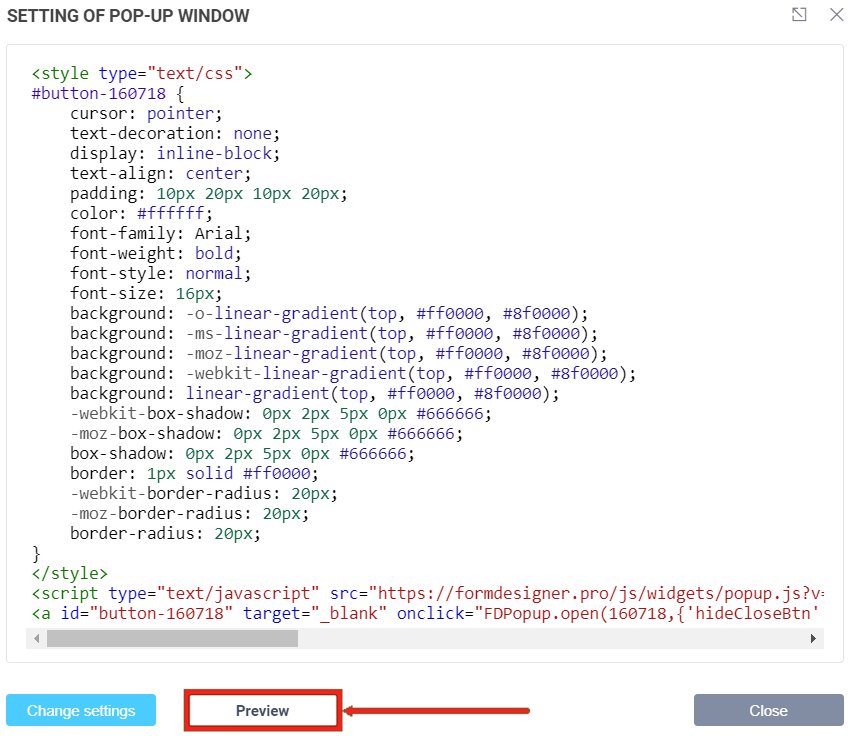
You can also click the "Preview" button and a demo page will open where you can view the customized button:
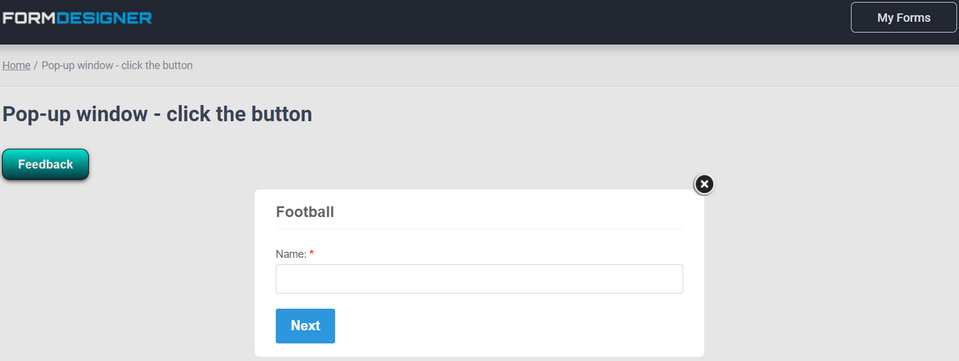
When you click the button, the form pops up, where the backing is black with 90% transparency:
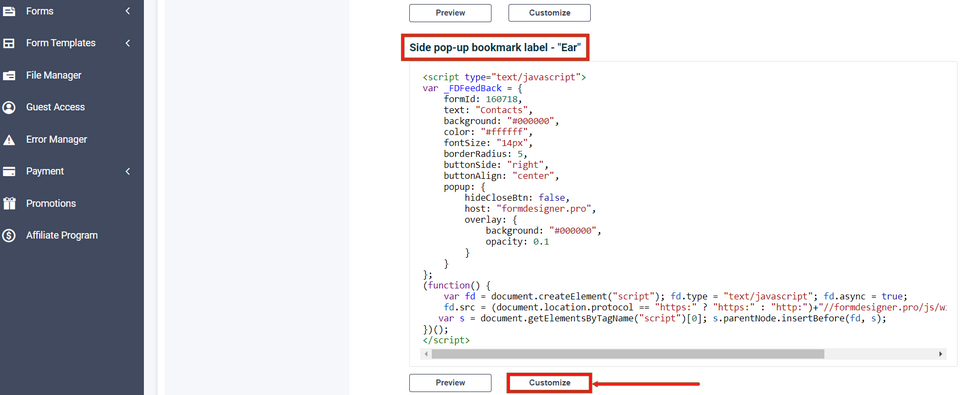
Pop-up window - ear
In the "Side pop-up bookmark label - Ear" section, you can copy the code to place the popup as an ear, and you can customize the ear by clicking the "Customize" button:
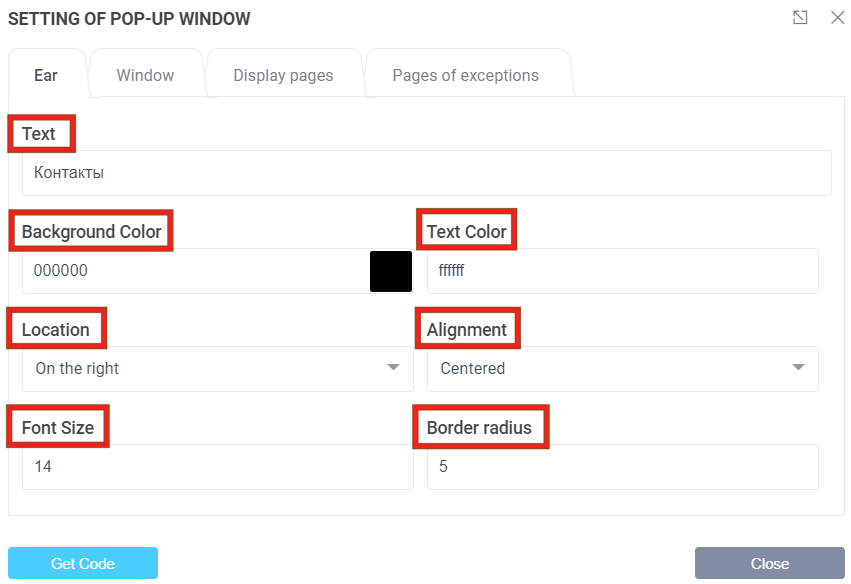
In the "Ear" item, in the "Text" field, specify the name of the ear that will be displayed on the site. In other fields you can specify the background color of the button as an ear, the text color, the location of the ear on the site, the alignment, the font size, and the radius of rounded corners:
 .
.
In Window, you can adjust the background color, i.e. the background of the page when the form is open, and the transparency of the background:
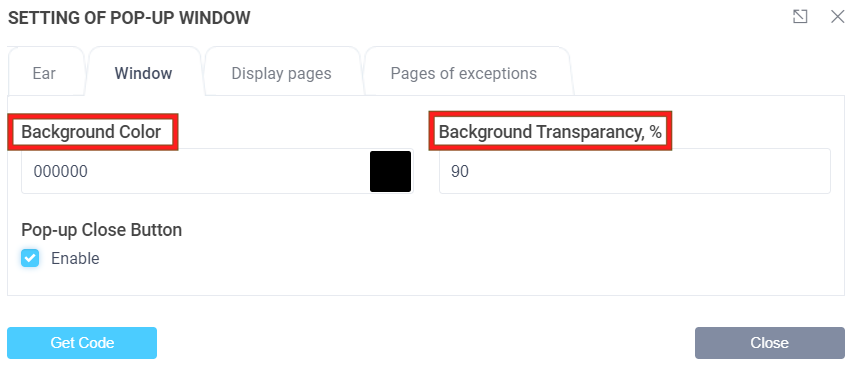
Under "Show Page" and "Exceptions Page" you can configure to display or hide, respectively, "Earl" on some pages of the site, if it is not possible to remove the code on those pages. To do this, enter the URLs of the pages you wish to hide:
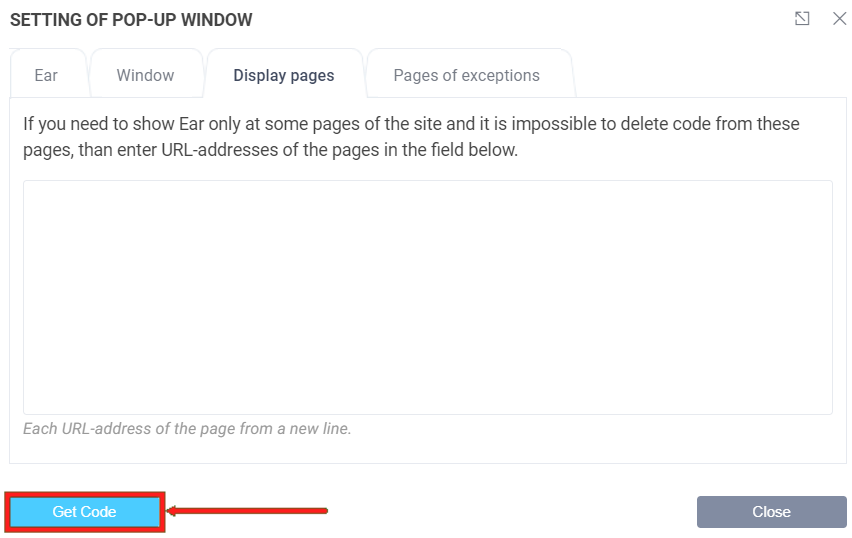
After setting, click the get code button and a window will open with the configured code. You need to copy and paste it into your site.
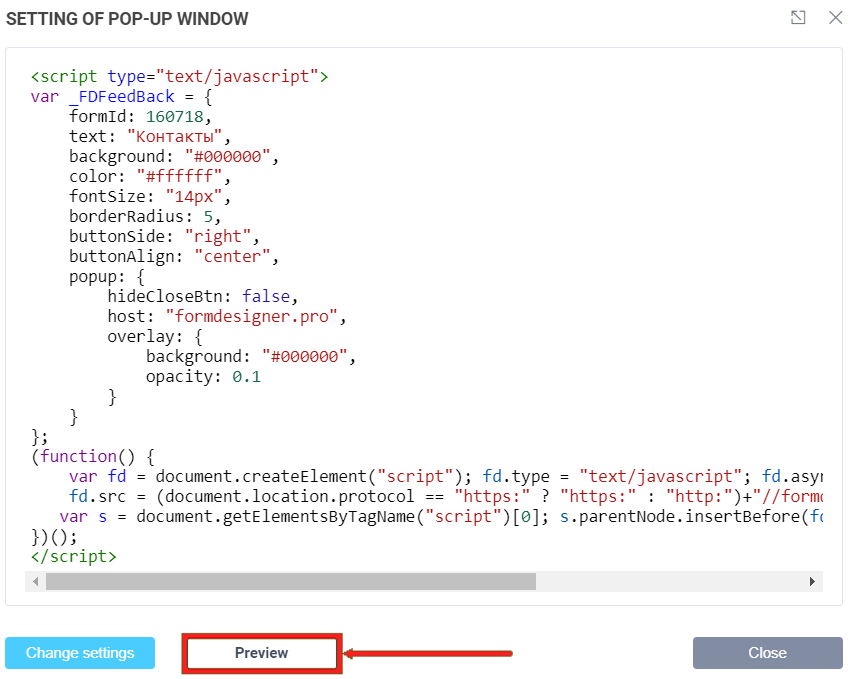
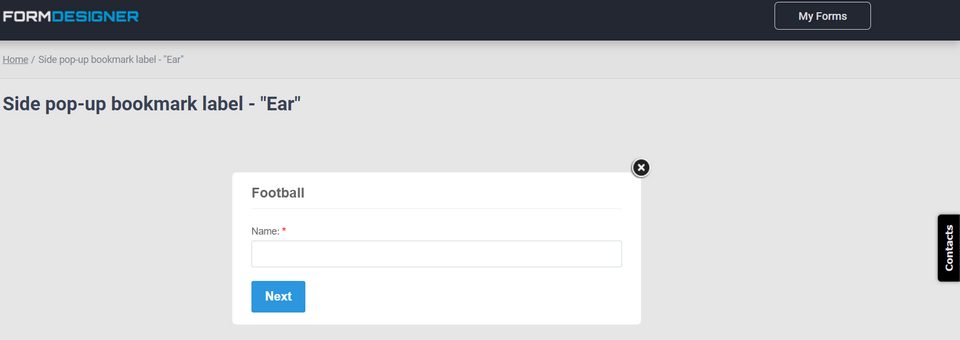
You can also click the "Preview" button and a demo page will open where a preview of the customized Lug is available:
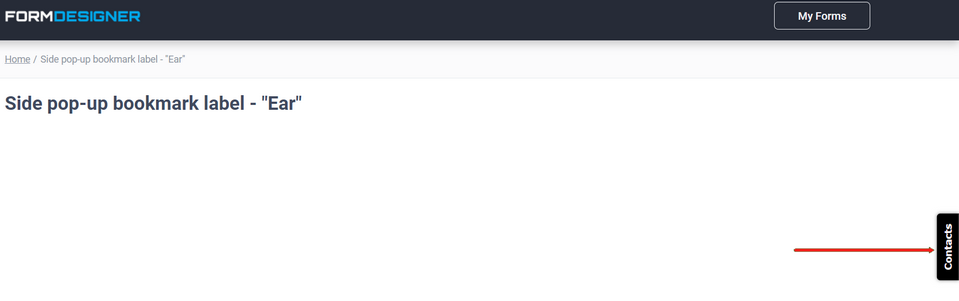
When you click the "Email Us!" button, a pop-up window will appear with a form:
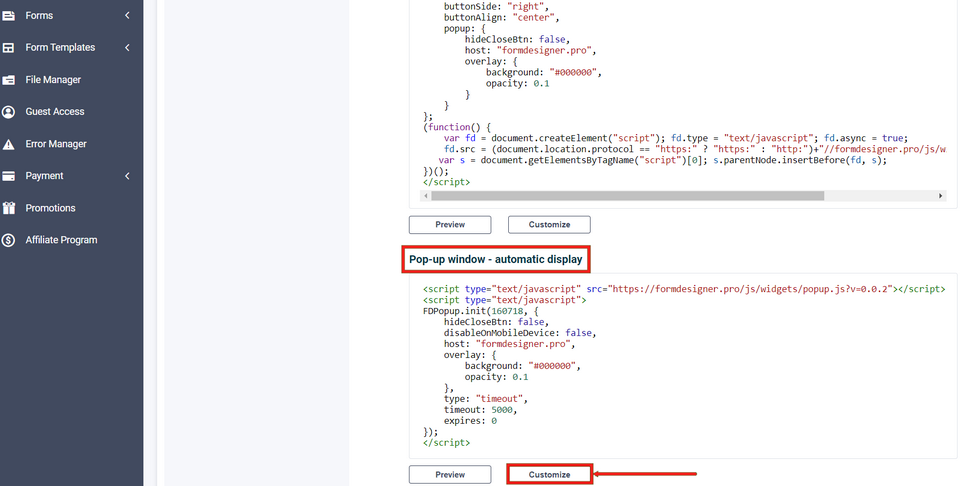
Popup window - auto display
In the "Popup window - autoplay" section, you can copy the code to place a popup window that will appear at a specified time, and make autoplay settings by clicking the "Customize" button:
In the window that opens you can see the basic parameters of the popup, display page, and exceptions. In the main parameters, in the "Display frequency" field, you can configure how the form appears:
- Always (on every page)
- once per visit
- once an hour
- once a day
- once a week
- once a month
- your option (there will be a box with an option to enter the time yourself)
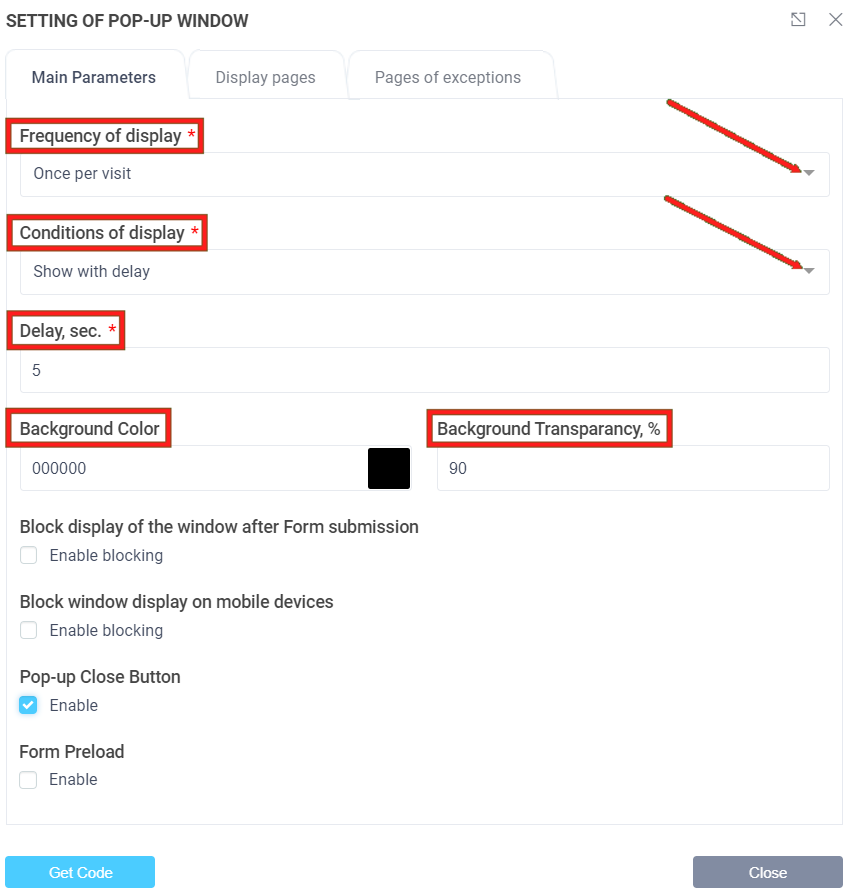
In the "Show Condition" field, you can set under which condition the form will appear:
- show immediately
- show with a delay (this will display a field for entering the time after which the form will be displayed)
- show when user leaves
- show when user is inactive (and there will be a field for entering the time when the user is inactive)
Just like with the other popups, you can customize the form background color and transparency in the appropriate fields.
Block showing of the popup after submitting a form is possible by activating checkbox "Enable blocking" and block showing on mobile devices by similarly activating checkbox in corresponding field. The autoplay popup works by default, when the form is loading, then a block will appear, and when the form is loaded, only then the form is displayed. If you enable the checkbox "Preload form", then the form starts loading in the background, and when the page loads, and when it is time to show the form is displayed immediately.
You can set pages to show or hide AutoPlay on some pages of your site if you can't remove the code on those pages. To do this, enter the URLs, each on a new line, of the pages you need:
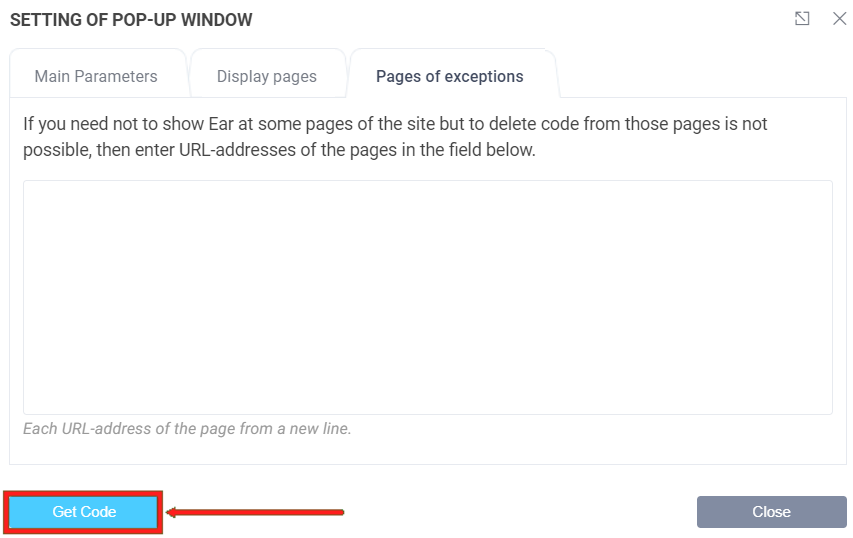
After setting, click the get code button and a window will open with the configured code. You need to copy and paste it into your site:
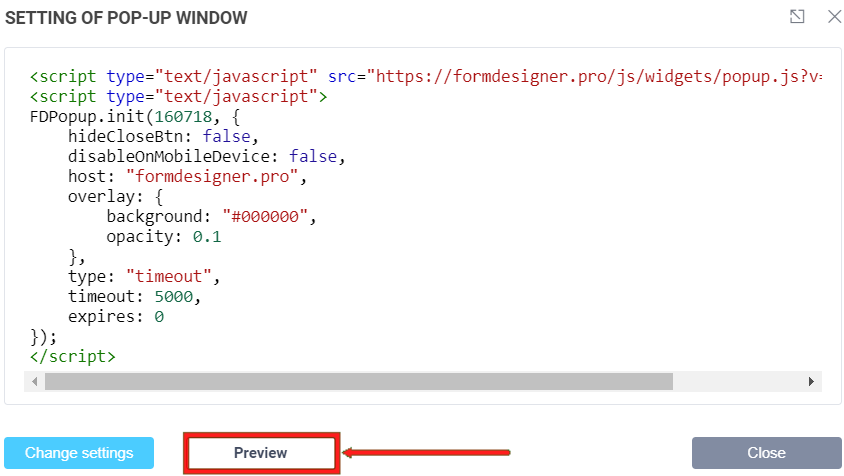
You can also click the "Preview" button and a demo page will open, where you can view the autoplay popup that will be displayed after 5 seconds, i.e., the way we set in the "Delay, sec" field settings: