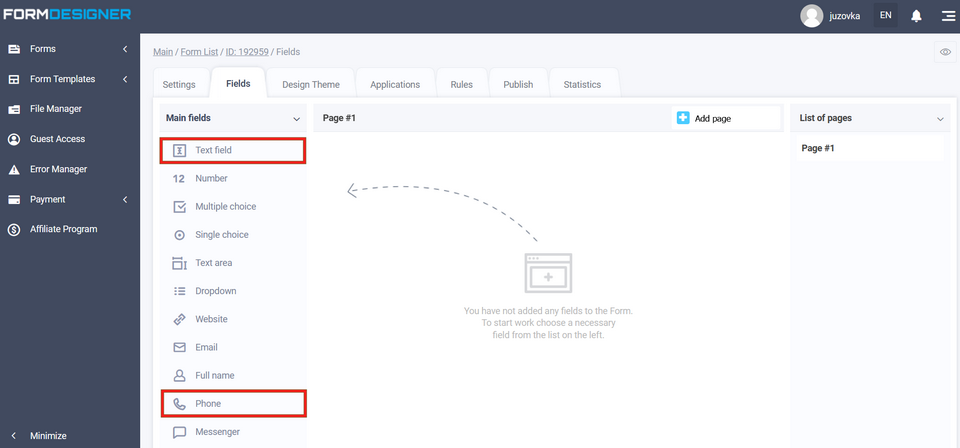
To make the form horizontal, you need to use the element "Section". Adding elements from the main fields - text field and phone:
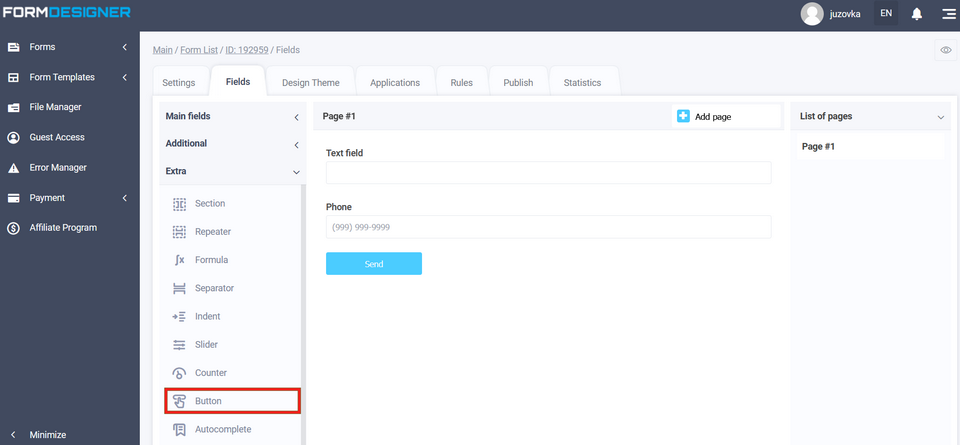
Adding an element from extra fields - button (if it is necessary that there is no standard "Send" button and you can change the name to the necessary one, respectively, the standard one will disappear):
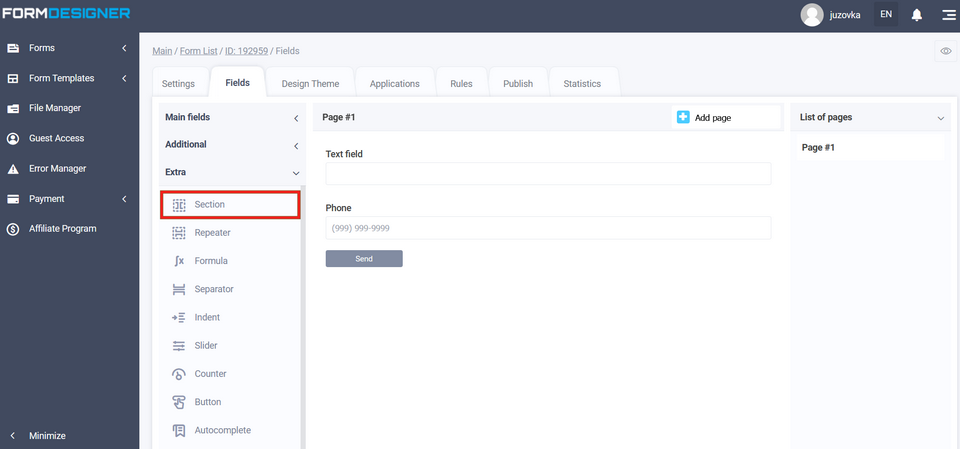
And add an extra element "Section":
Sorting elements
Now you need to drag the added 3 elements into the section, to do this, hold down the move icon and move it to the section element:
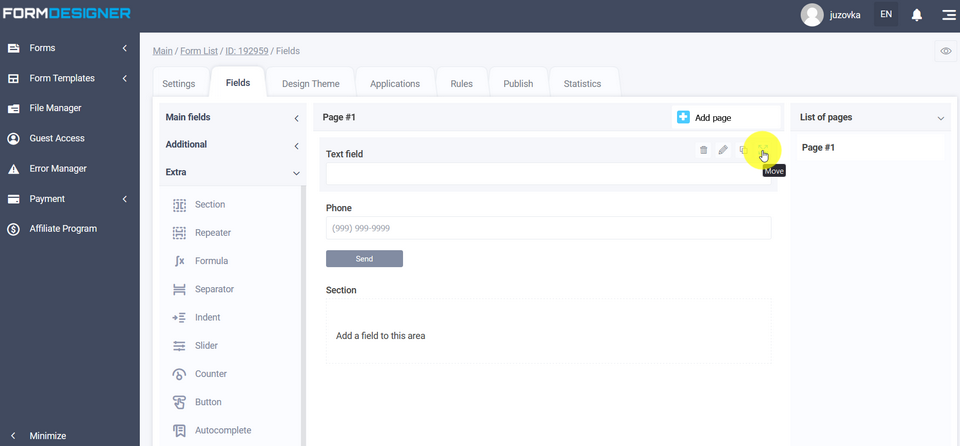
As a result, we should get a view where the elements are "wrapped" in a section. Next, click on the edit icon in the section element:
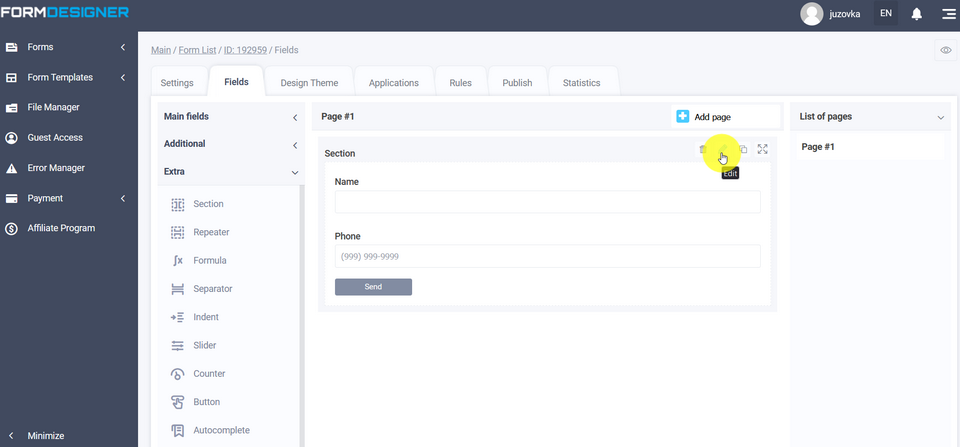
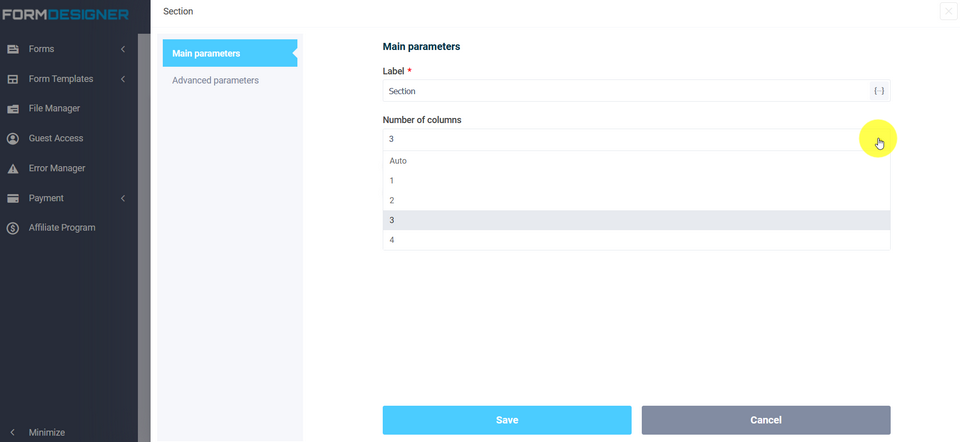
Setting the number of columns in the section
Select the required number of columns:
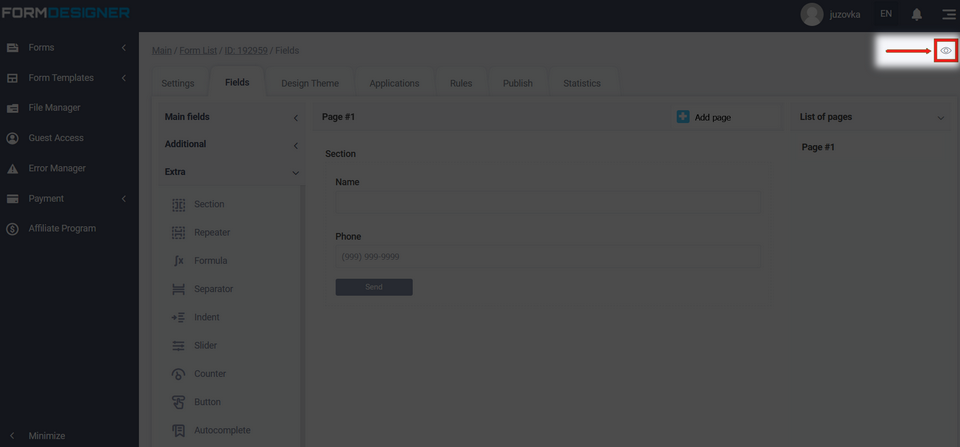
To view the result of the form setup, click on the view icon:

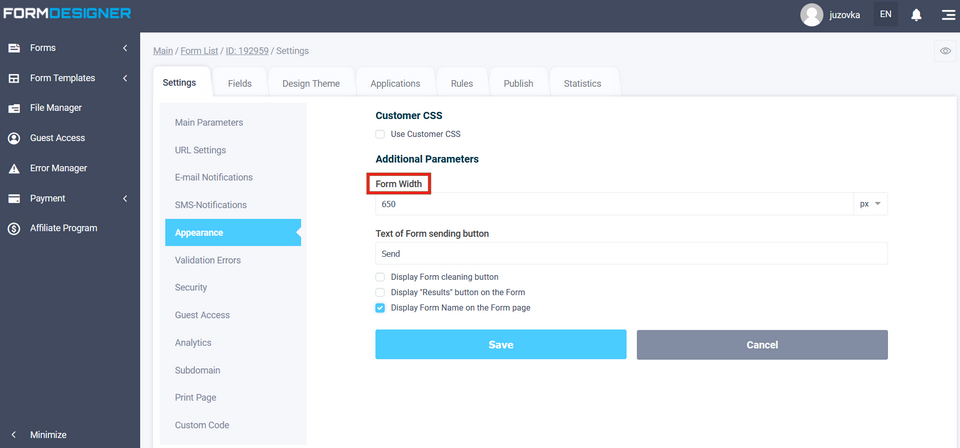
To adjust the width of the form, you need to go to the form settings - appearance. In the additional parameters in the "Form width" item, you can set the required value:


The screenshot shows that the button is located just above the other elements. You can adjust the button position, margins, font color and buttons in the theme of the presentation.

