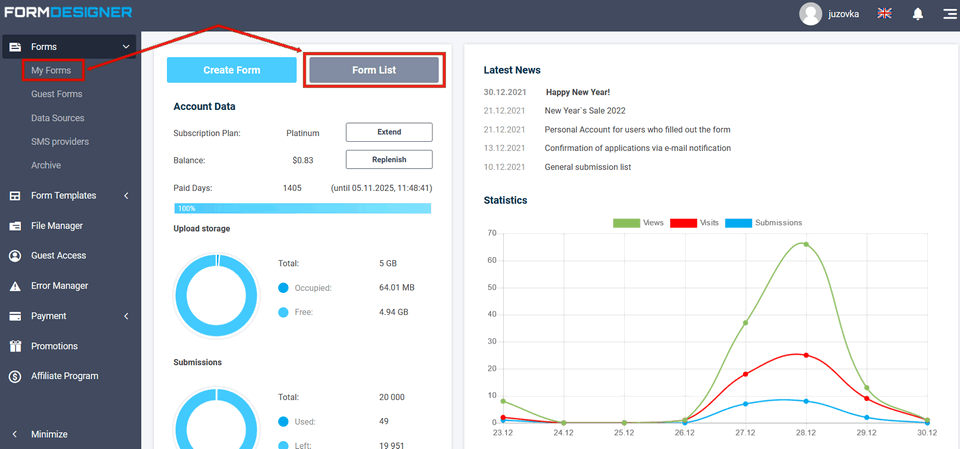
To enter the basic parameters of the form, in your personal cabinet in the "Forms" menu item, click on "My Forms" or from the main menu list of forms:
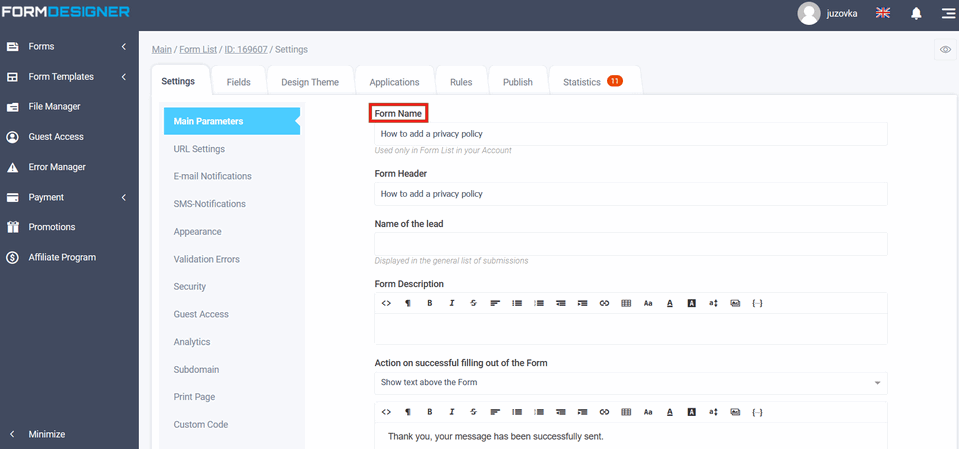
Next, in the list of your forms, select a form, the form panel will open, click on the "gear" to configure this form, the form menu will open:

Form Name
In the "Form name" field field enter the name of the form, which will be visible only in the list of forms:
Name of the lead
Displayed in the general list of submissions
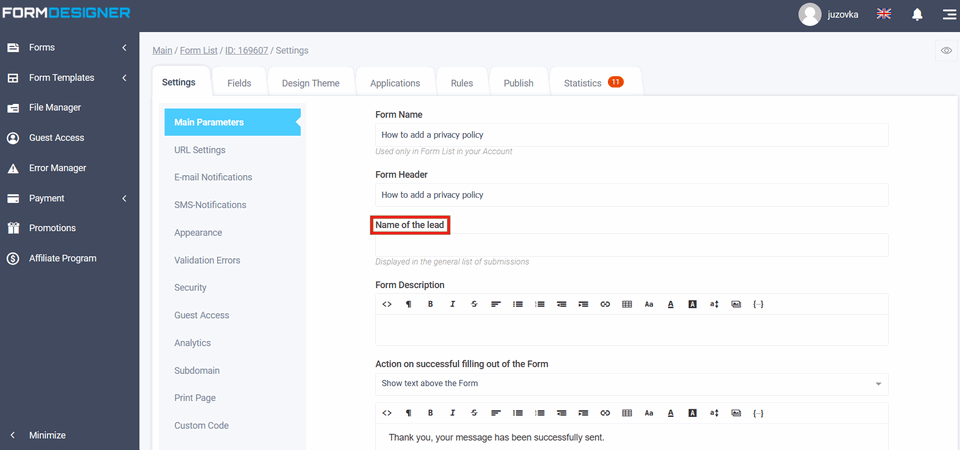
The name of the lead will be displayed on the home page:
Name of the lead
Displayed in the general list of submissions
The name of the lead will be displayed on the home page:
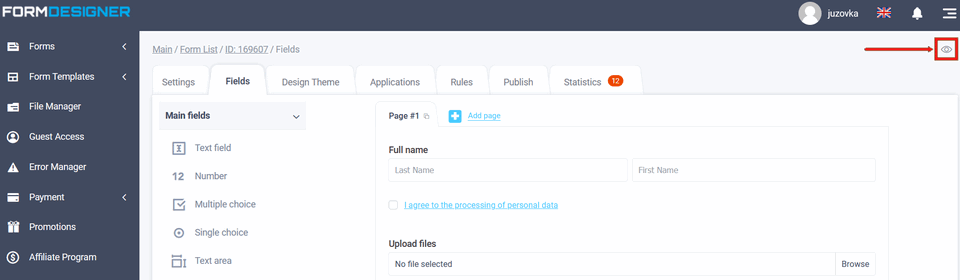
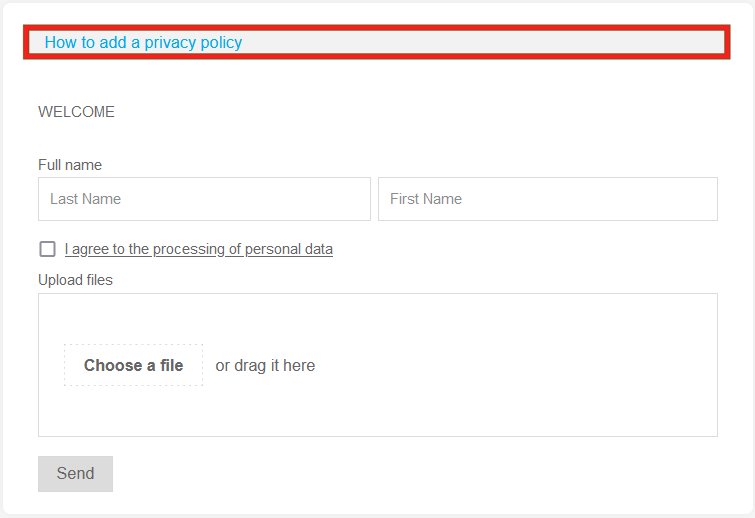
To see the appearance of your form on the site, you need to click on the "eye" and a new window will open the web form. If you have made changes in the form settings, just refresh the page with the open form (on a new page) and you will see the changes:
Online validation
You can also check the "enable online form validation" box. By enabling this option, mandatory fields, email fields, URL fields, and numeric fields will be validated before submitting the form to the server. This is especially useful for multi-page forms, because until the user fills in all the fields correctly, he won't be able to go to the next page.
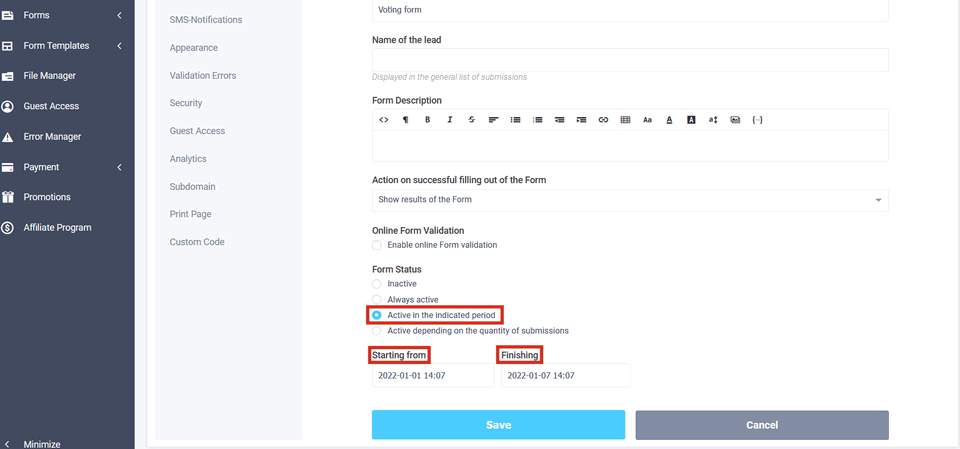
Form status
In the next "Form Status" field, you can select the following options:
- Inactive
- Always active
- Active in the indicated period
- Active depending on the quantity of submissions
This setting is usually used for forms of voting, when you want to survey at a certain time or survey a specified number of respondents:
In the item "Active depending on the number of entries," select the number of entries 1500, then the vote will end as soon as 1500 responses:

Then on your site after 1500 people have filled out your voting form, no one else can vote. The user will only see the results of the vote.