
- Where to find a list of substitution variables - macros
- Setting up email messages
- Setting up SMS messages
- Arbitrary macro value
- Adding macros to element names
- Setting up the form success page
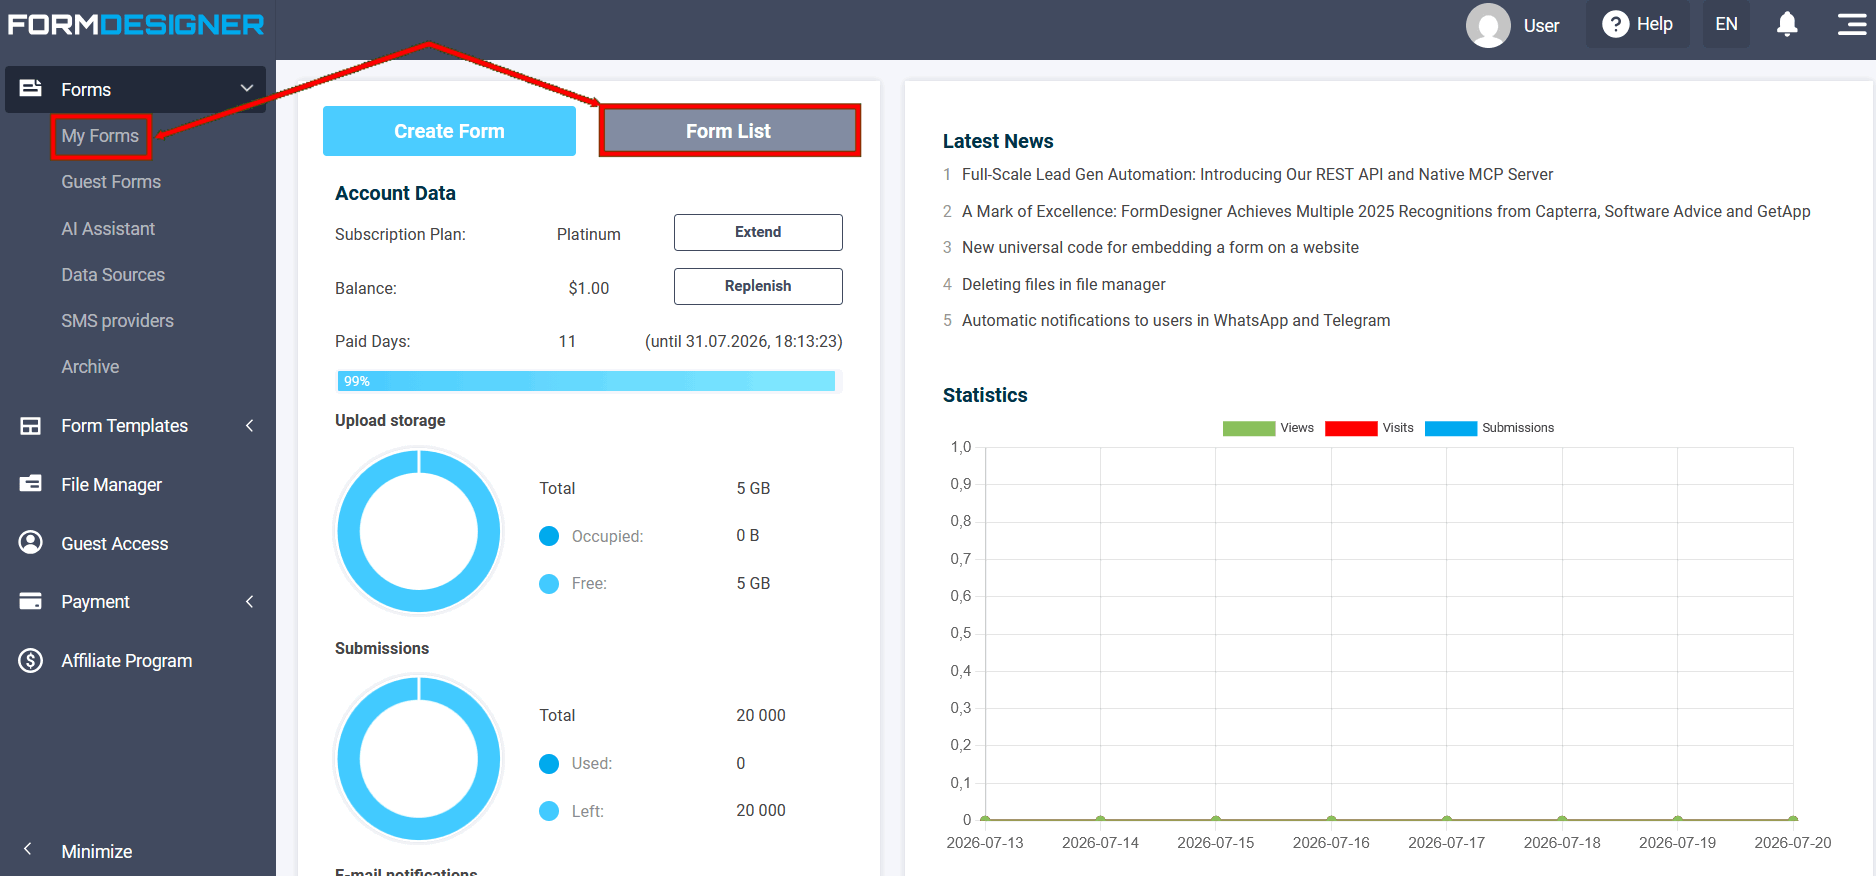
By default, you receive a standard form with pre-filled fields in messages to the administrator. If you need to send or receive pre-filled form fields or other variable data (IP address, page address from which the form was submitted, request creation date) from a client, you can use the value of these variable data. To add macros, log in to your personal account and select the required form from the list of your forms:
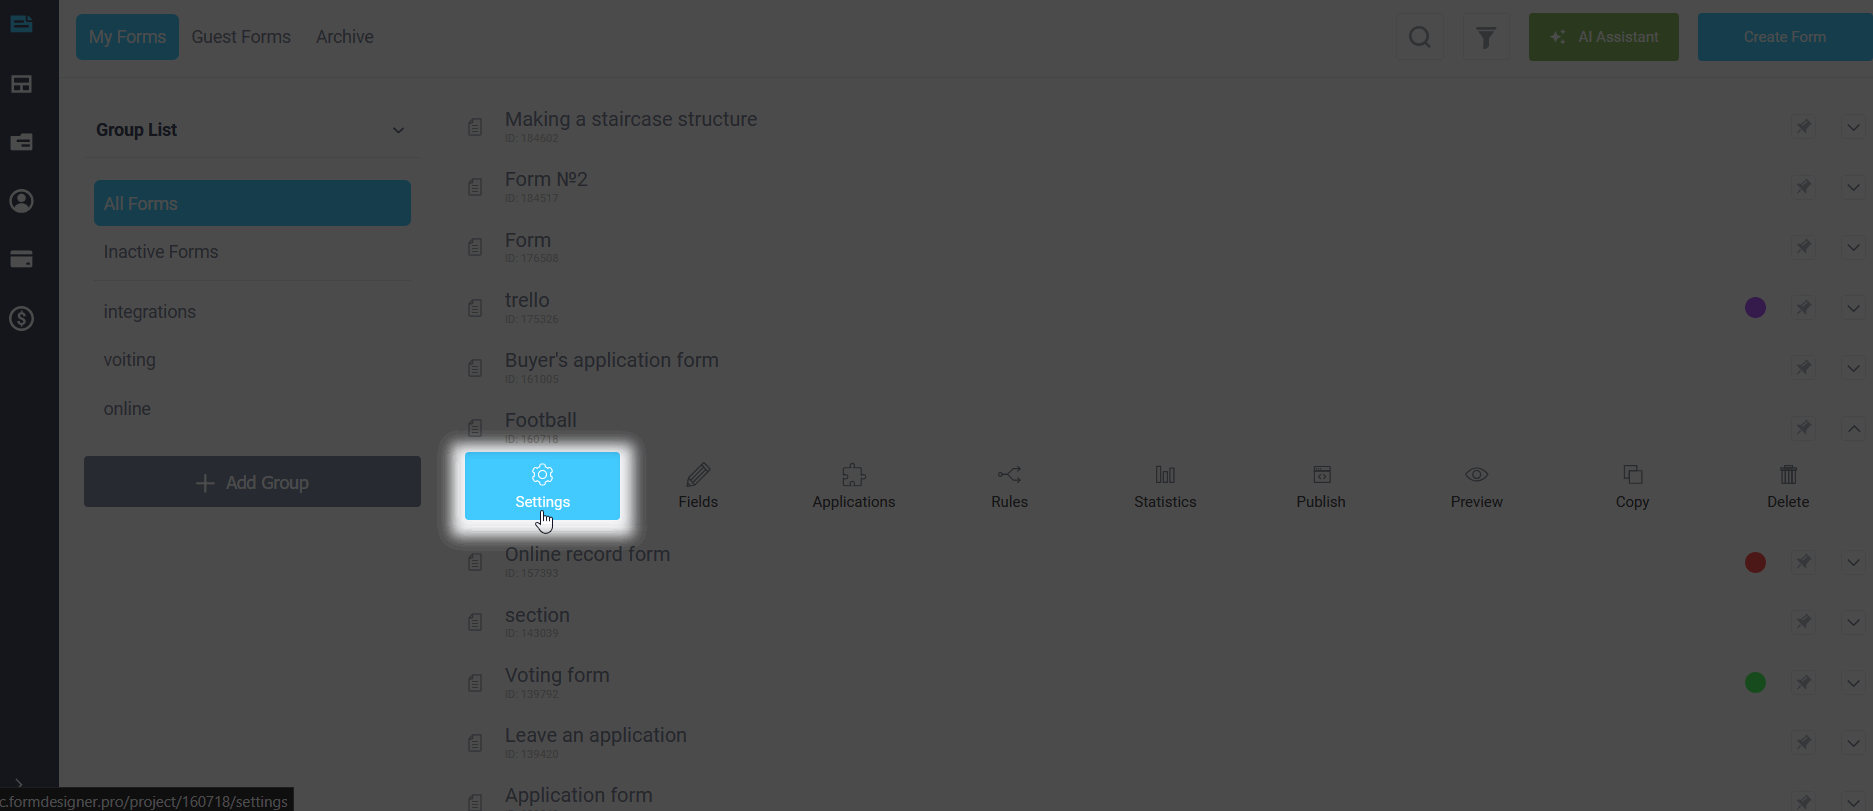
Go to the form settings. To do this, open the form and click on the "Settings" icon:
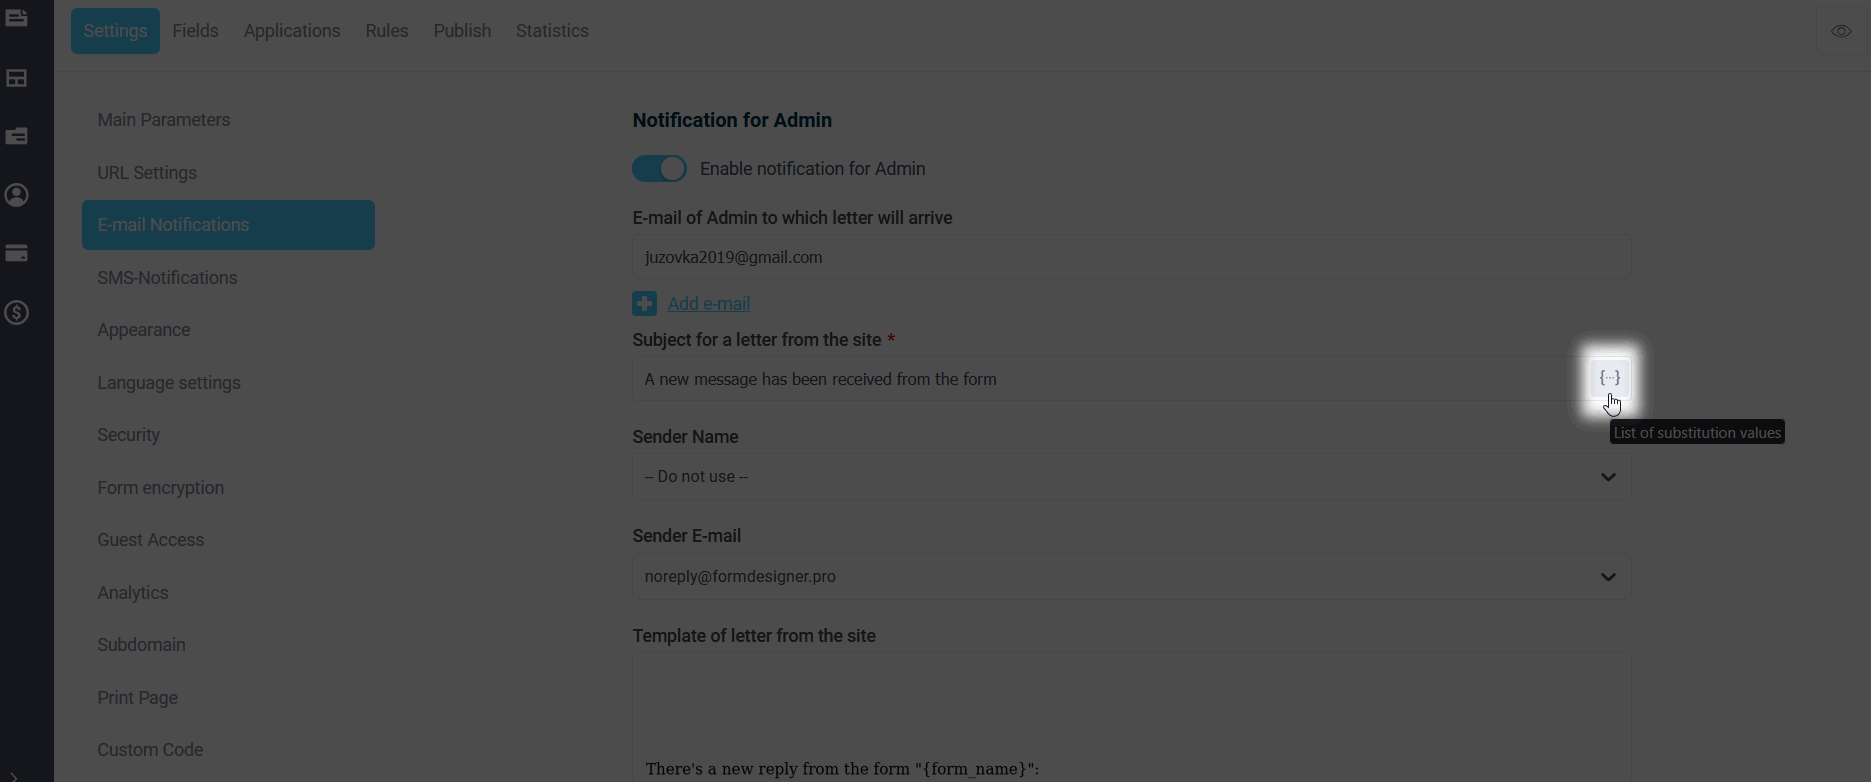
Where can I find a list of replaceable macro substitutions?
To do this, click the "List of Substitution Variables" icon. We've expanded this list to include as many places as possible where they can be used. For example, in the subject line for an email from a website:
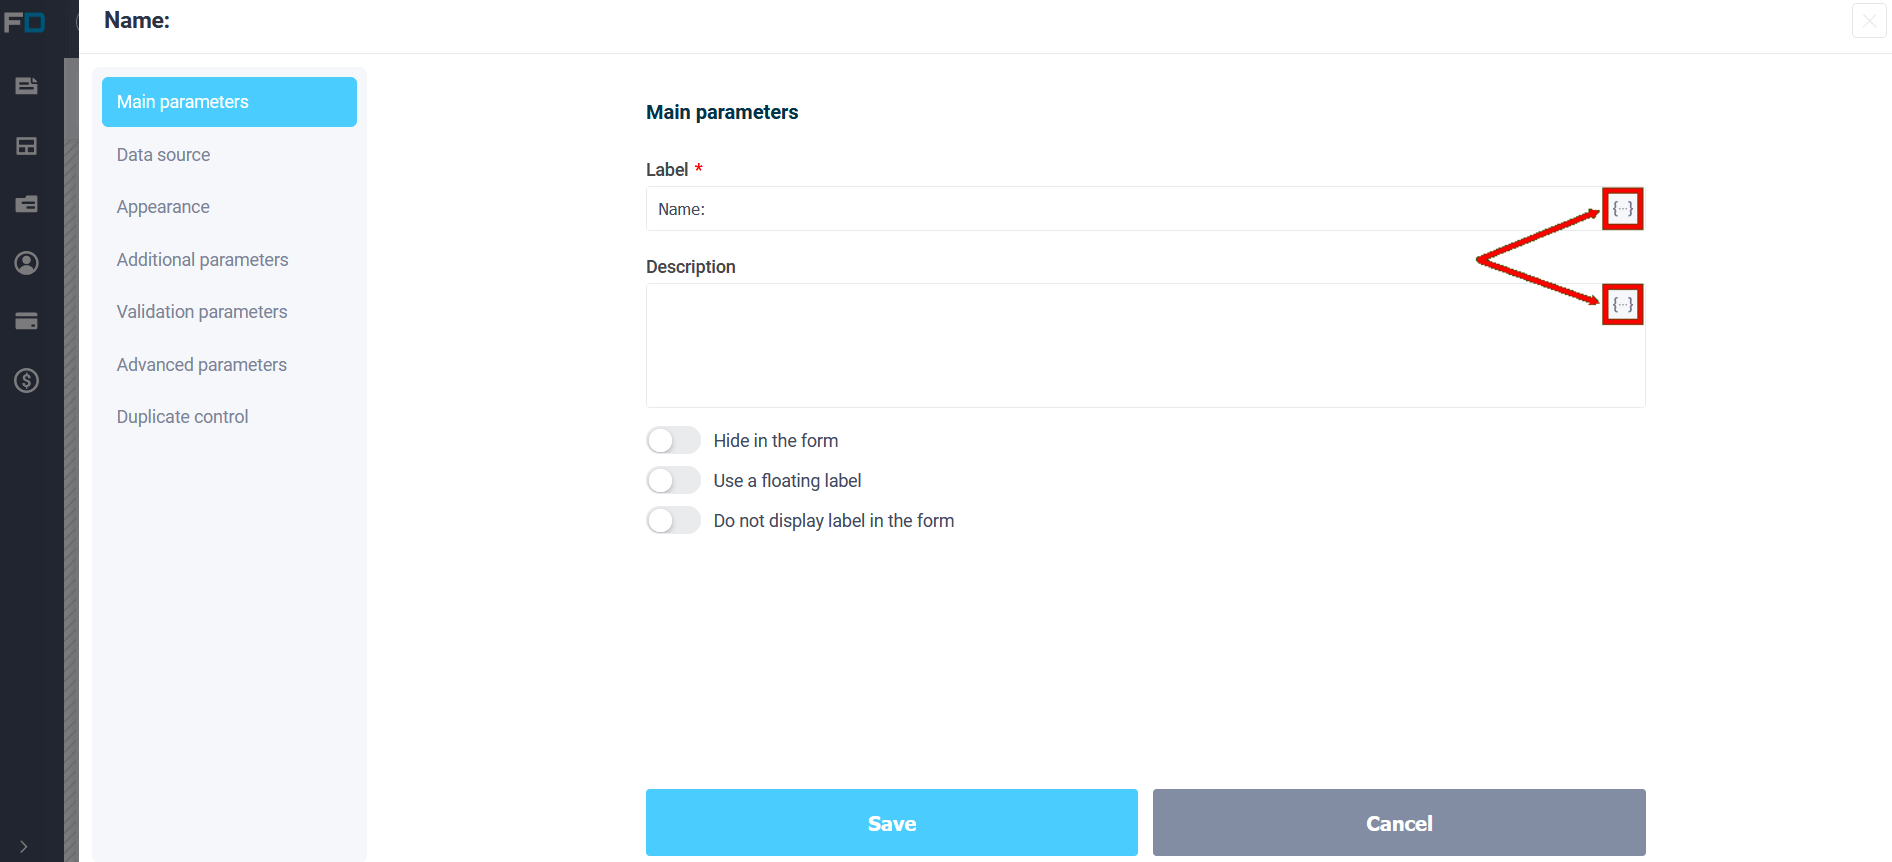
In the title and description of the element, etc.
In integration modules:
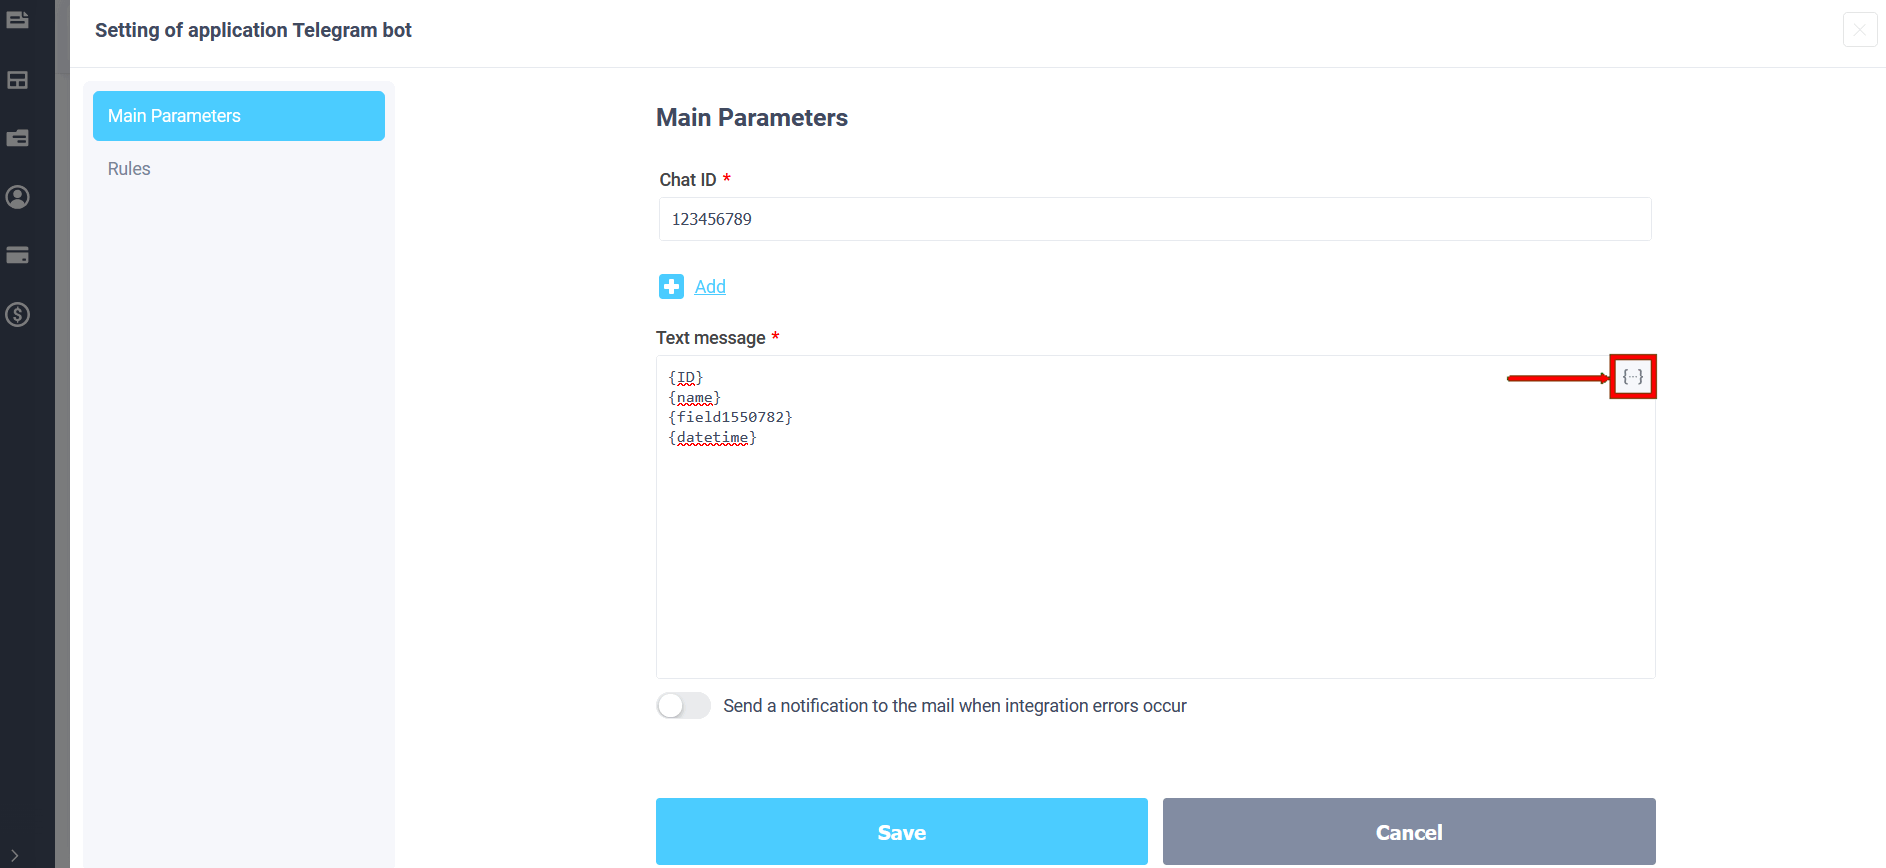
By clicking on the {...} icon, a pop-up window will open:
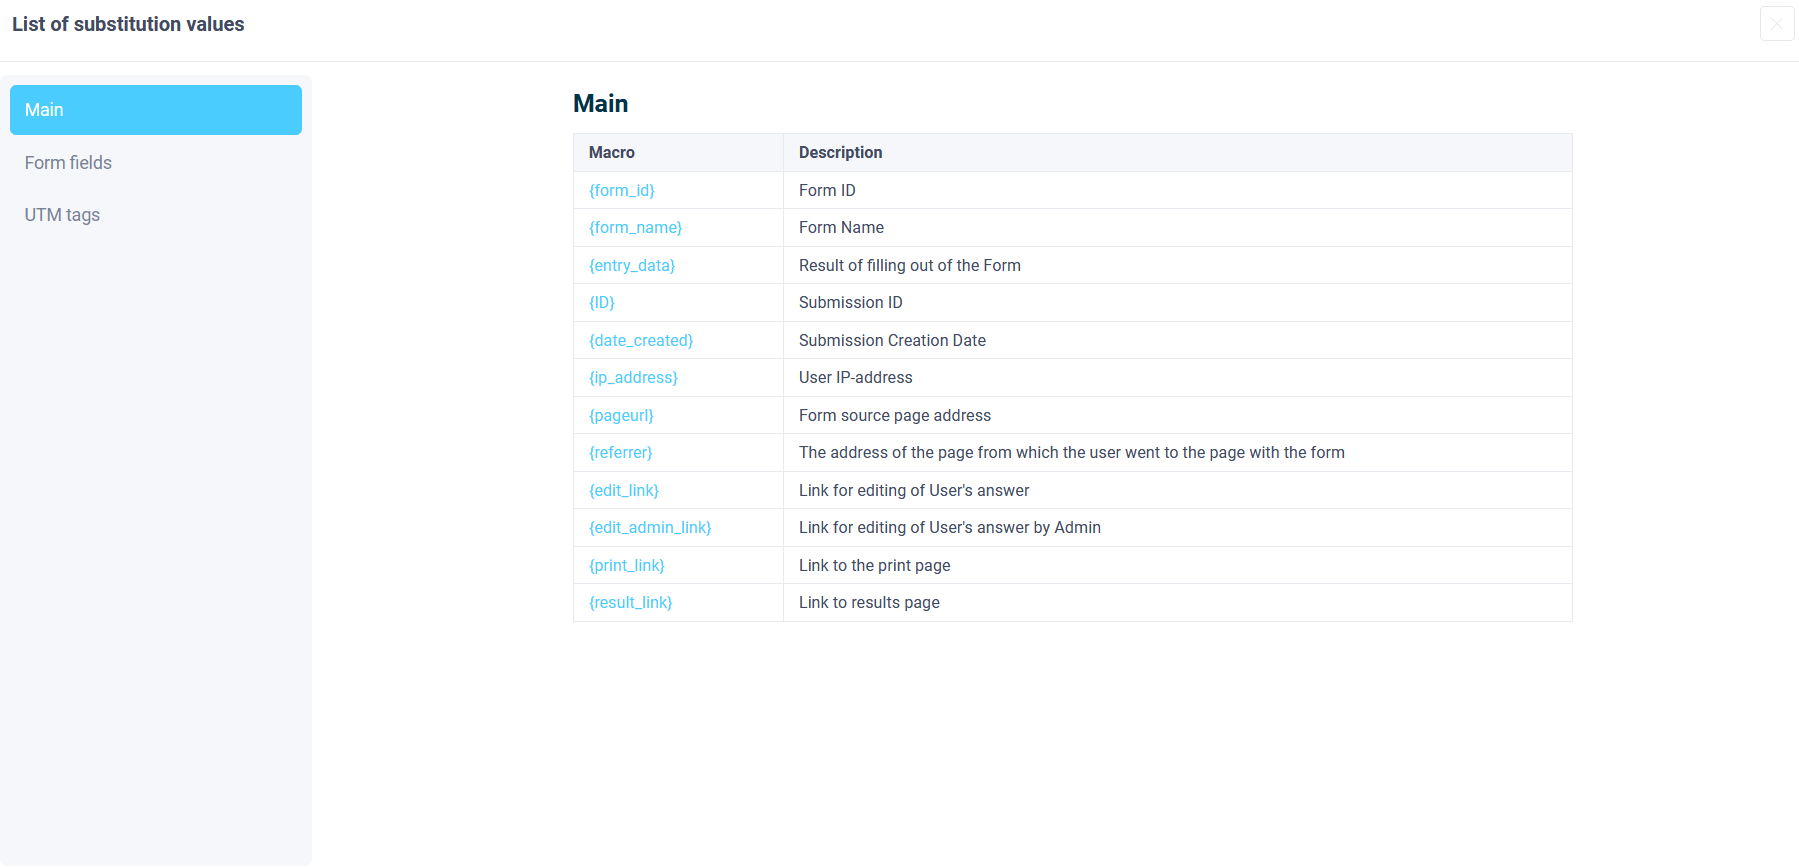
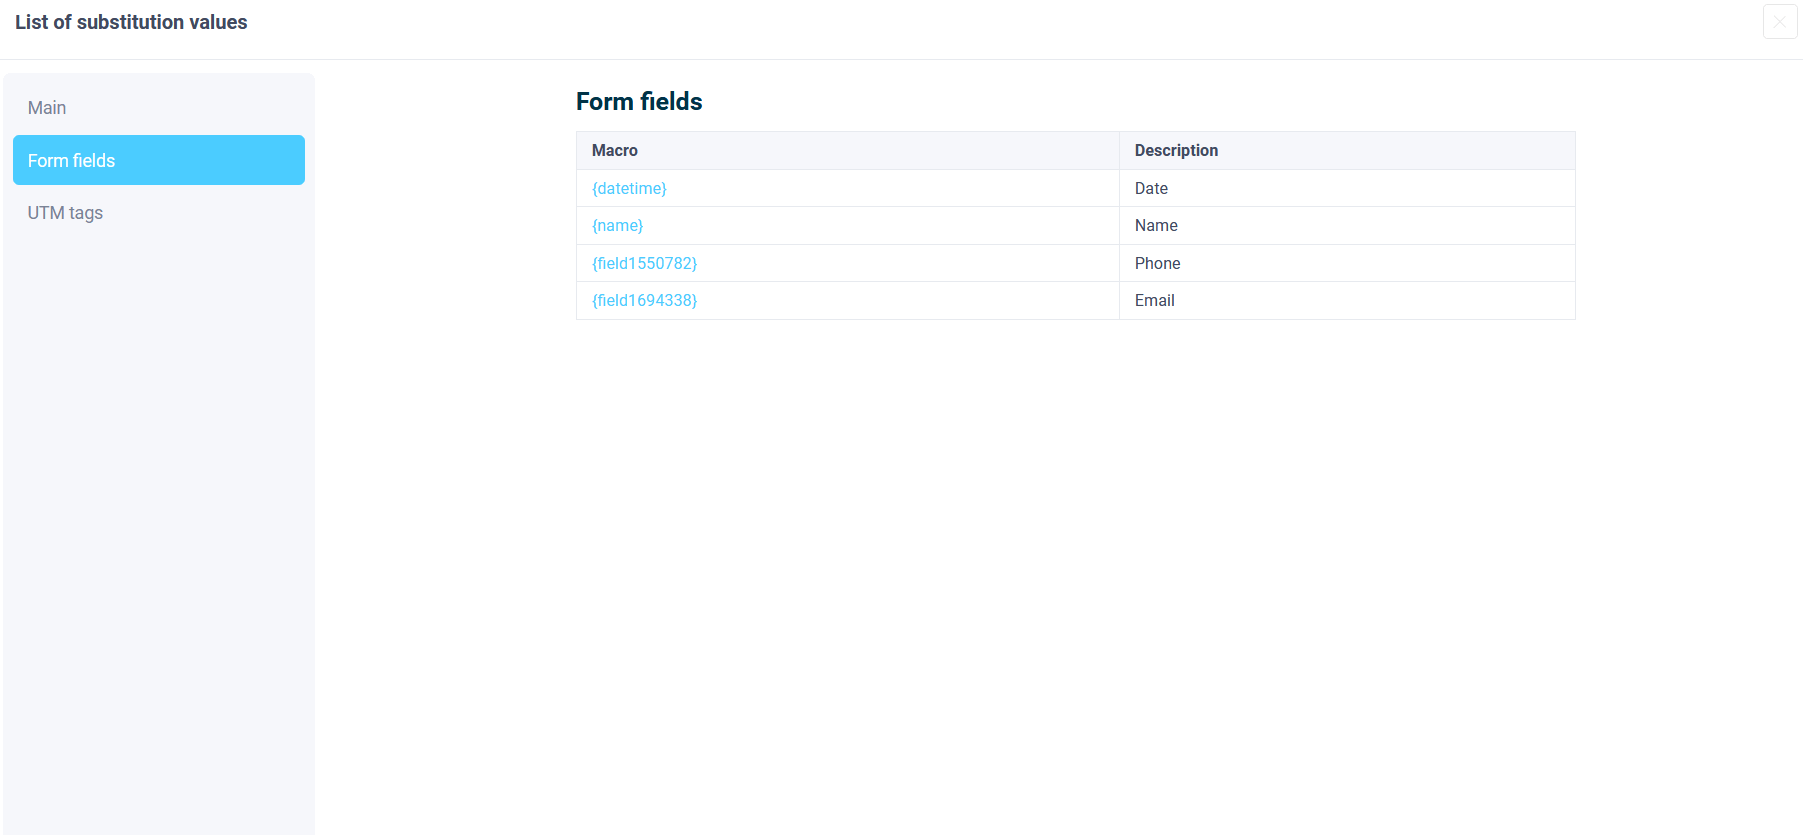
The list of all available substitution variables displays the macro name and, to the right, the form values, such as system values under "Basic," the form element it corresponds to, and UTM tags. Select the desired element and click it or copy the macro value.
For example, we can add several macros to "Email notifications for administrator".
Setting up email notifications
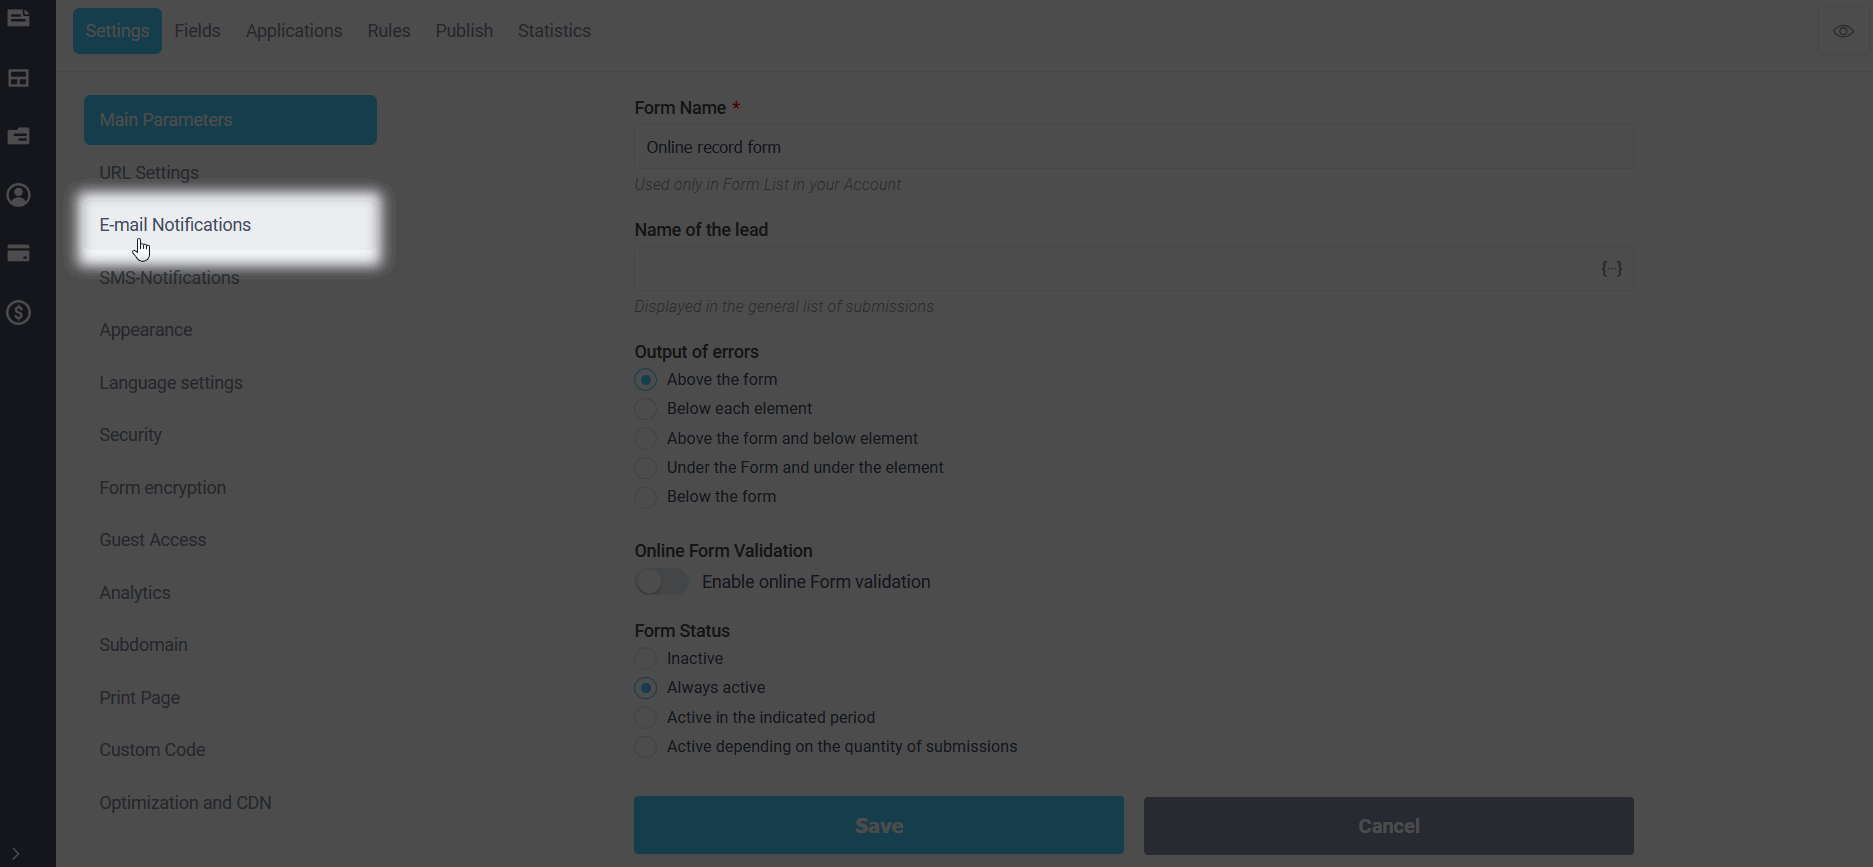
Select "Email notifications":
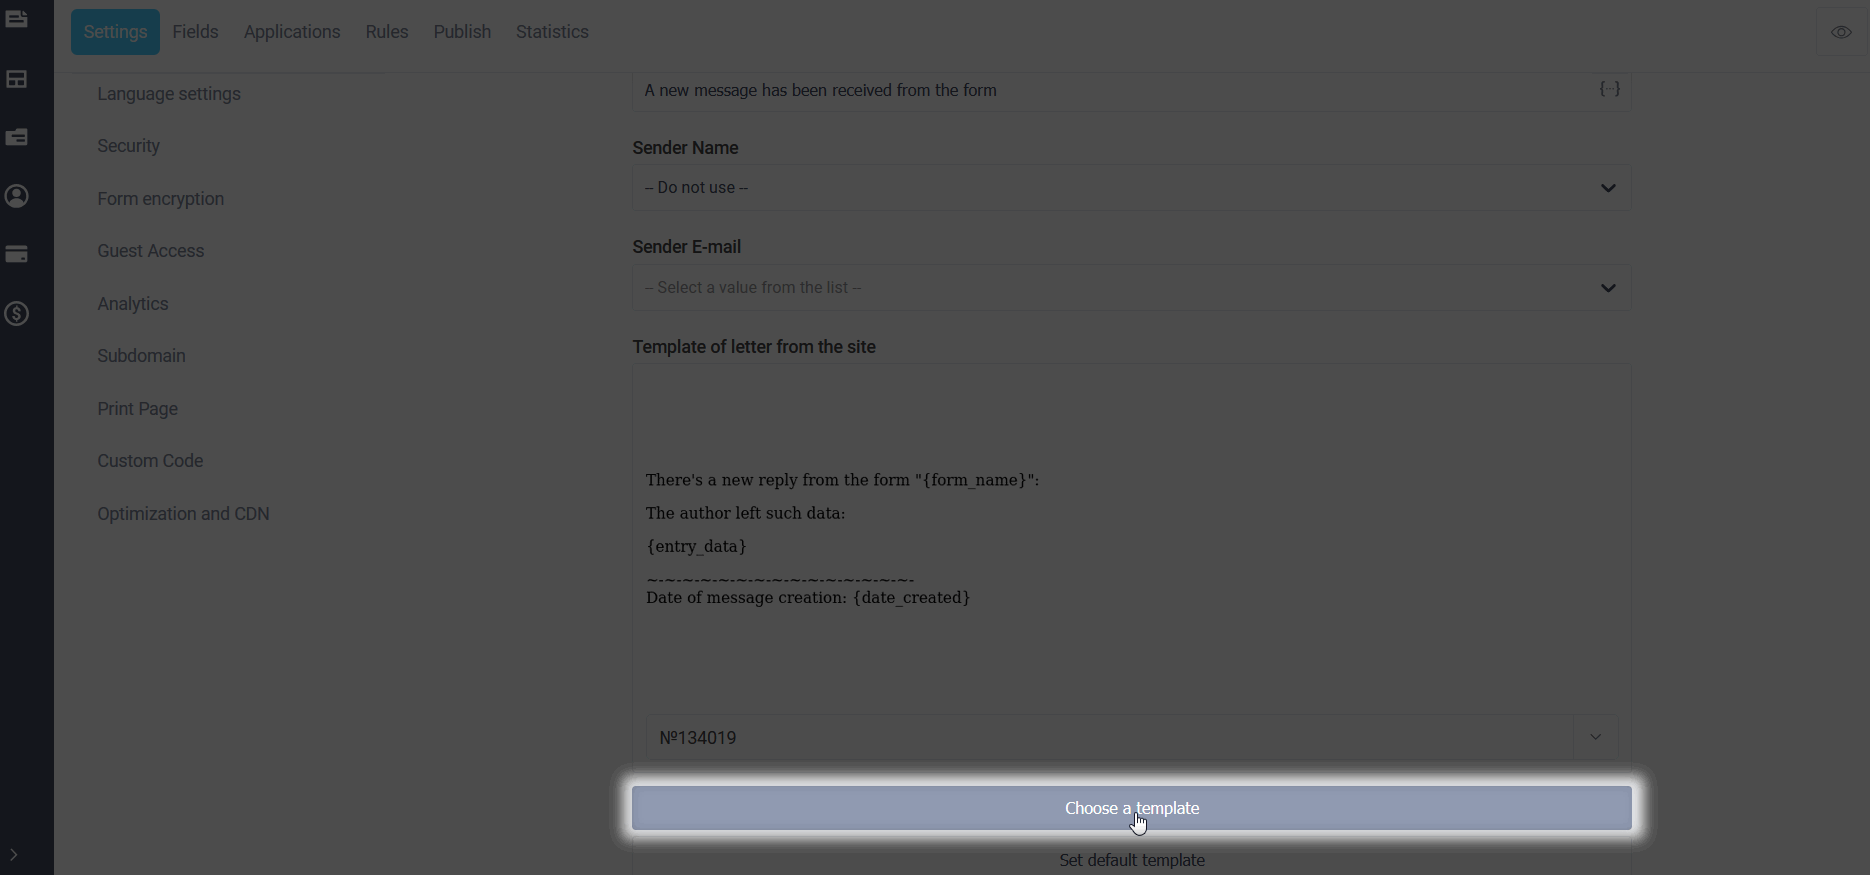
In the "Template letter from the site" field you need to select a template:
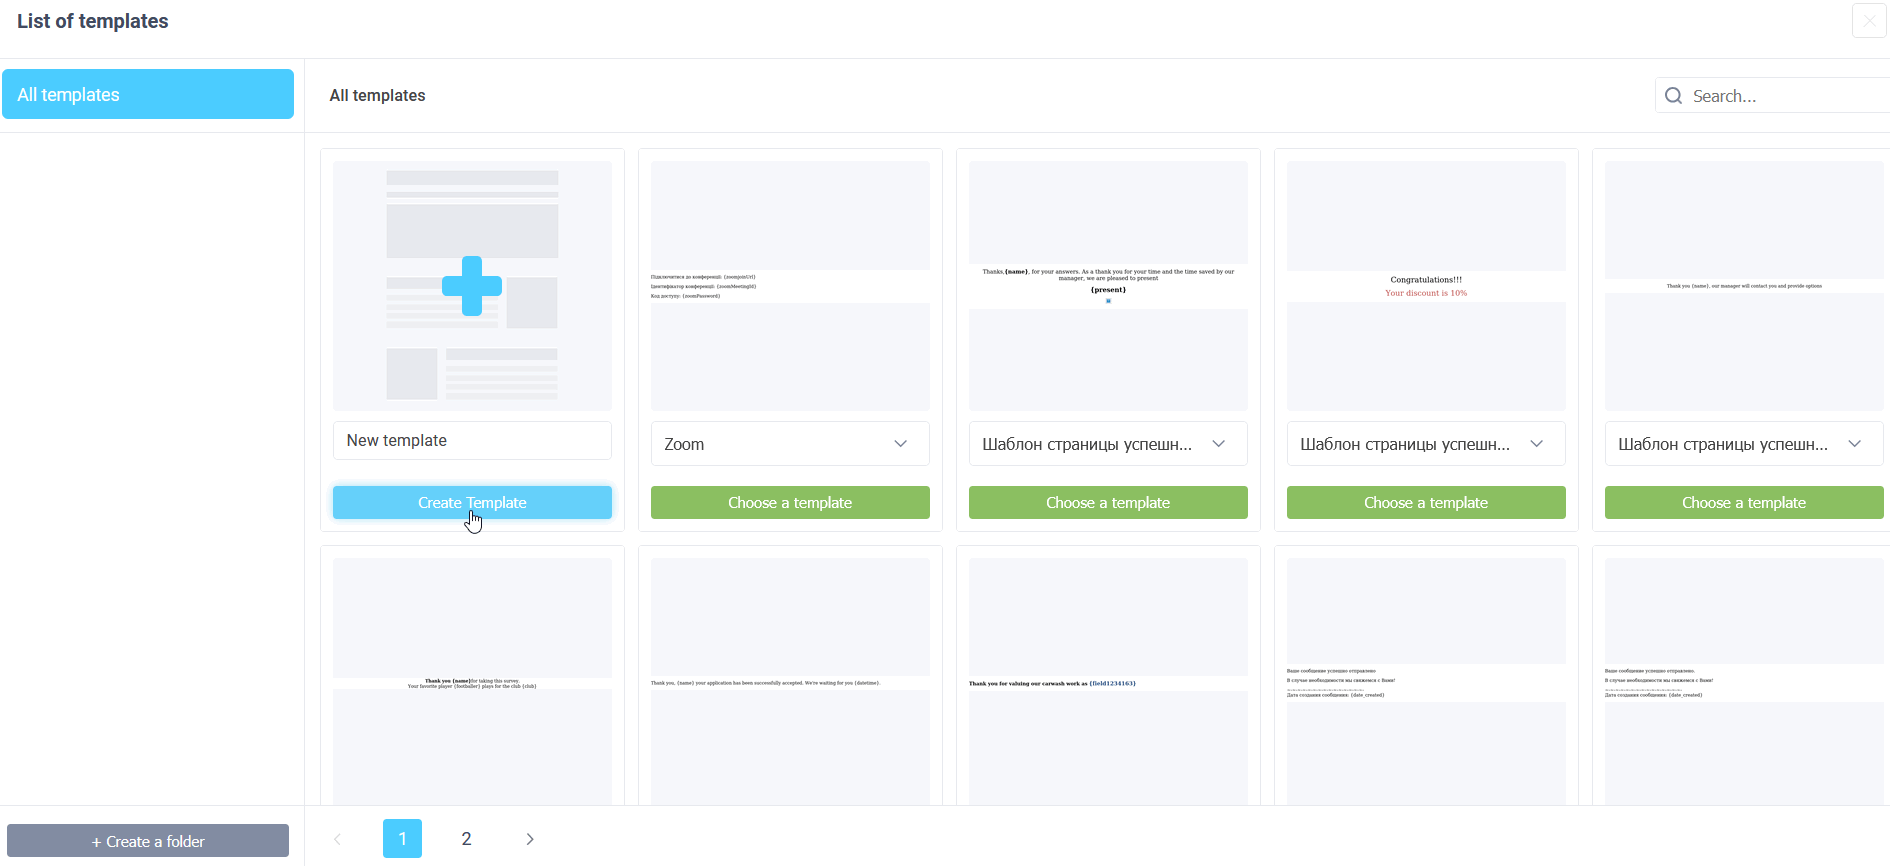
You can create a new template or edit the selected one:
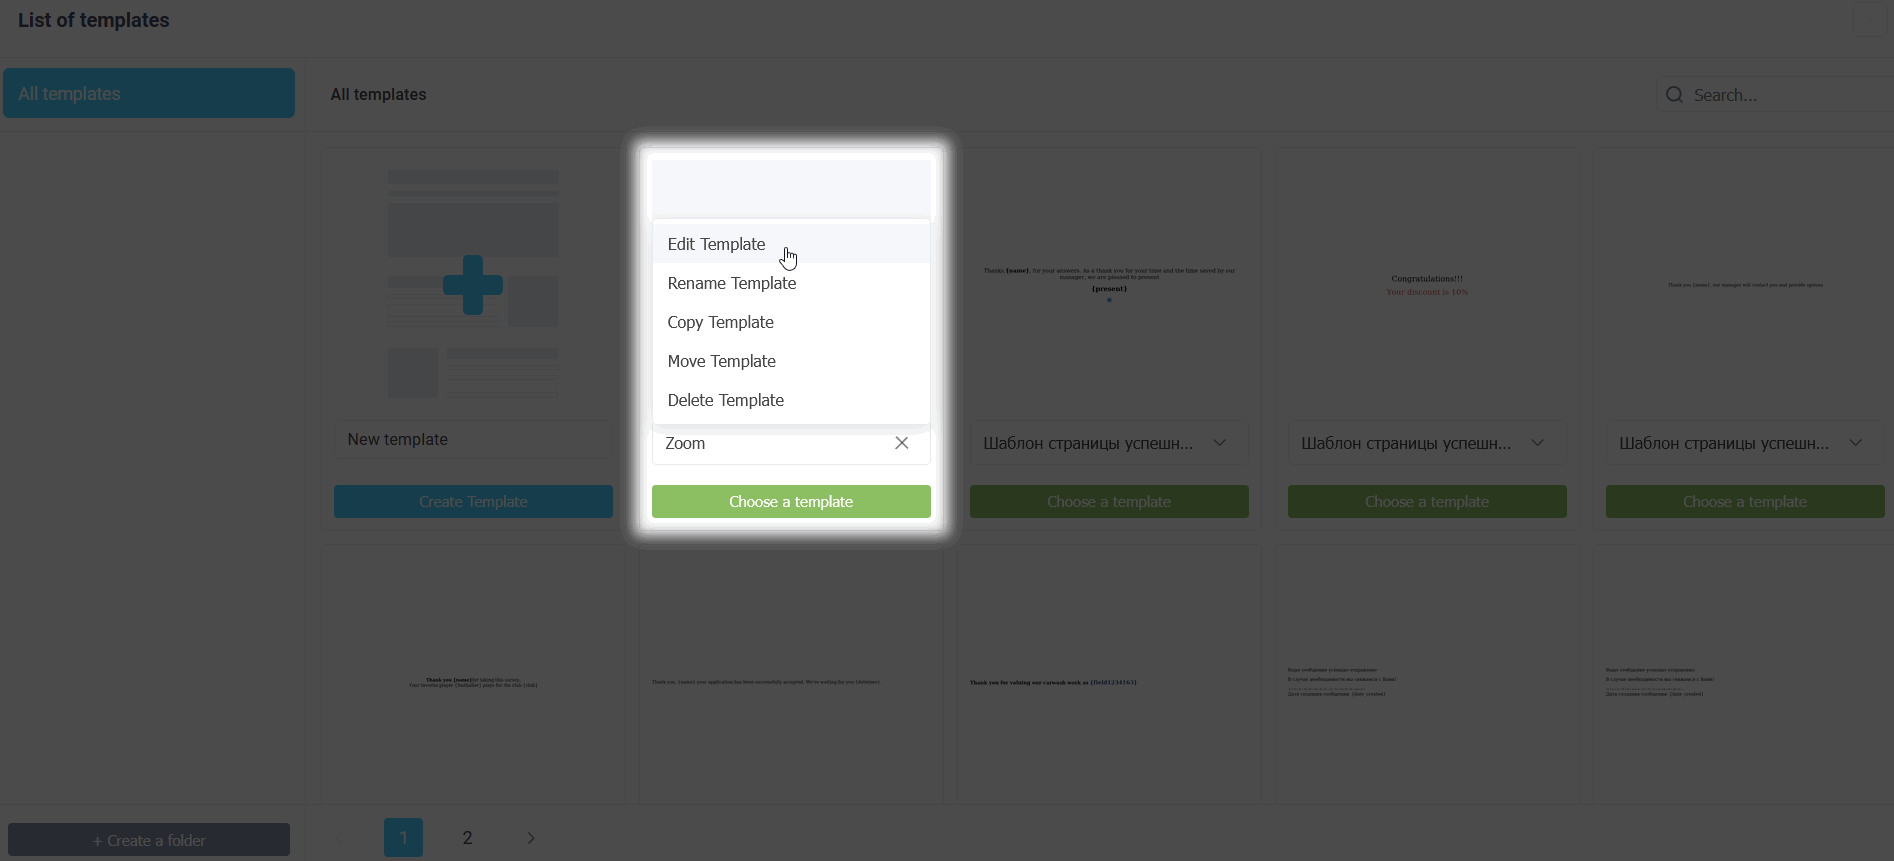
Click "Edit Template":
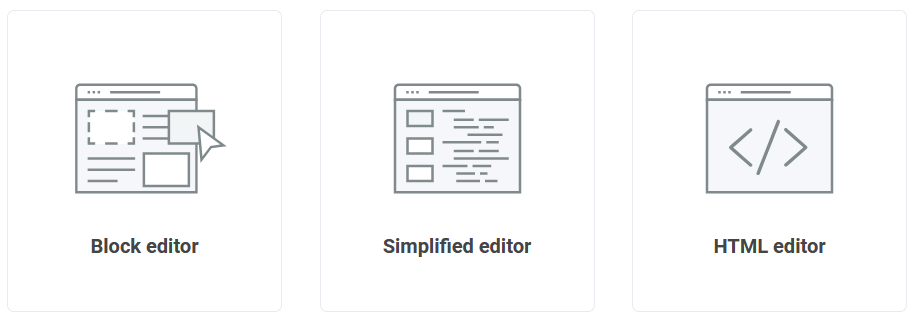
Select a template editor, for example, a simplified editor:
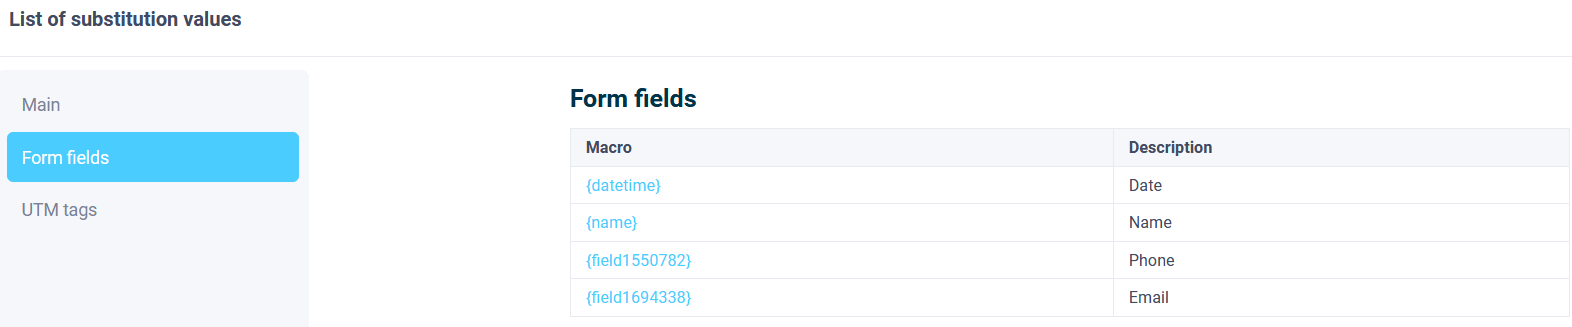
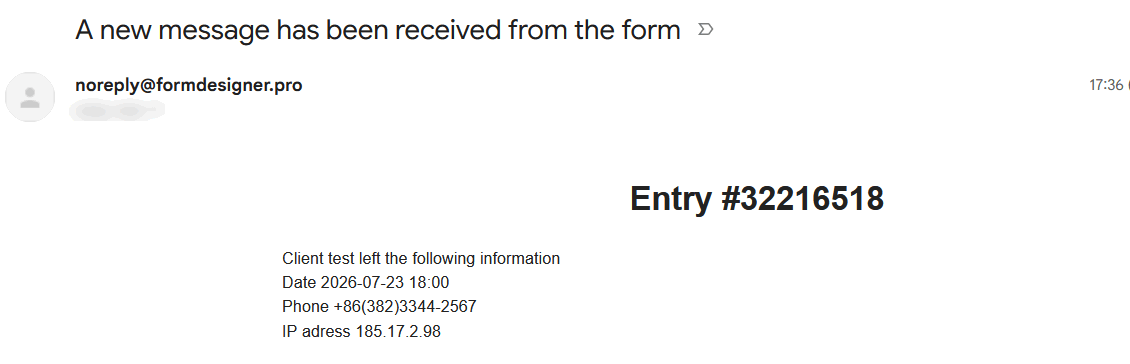
We selected: Form ID, Full Name, Phone Number, IP Address and added to the message template:
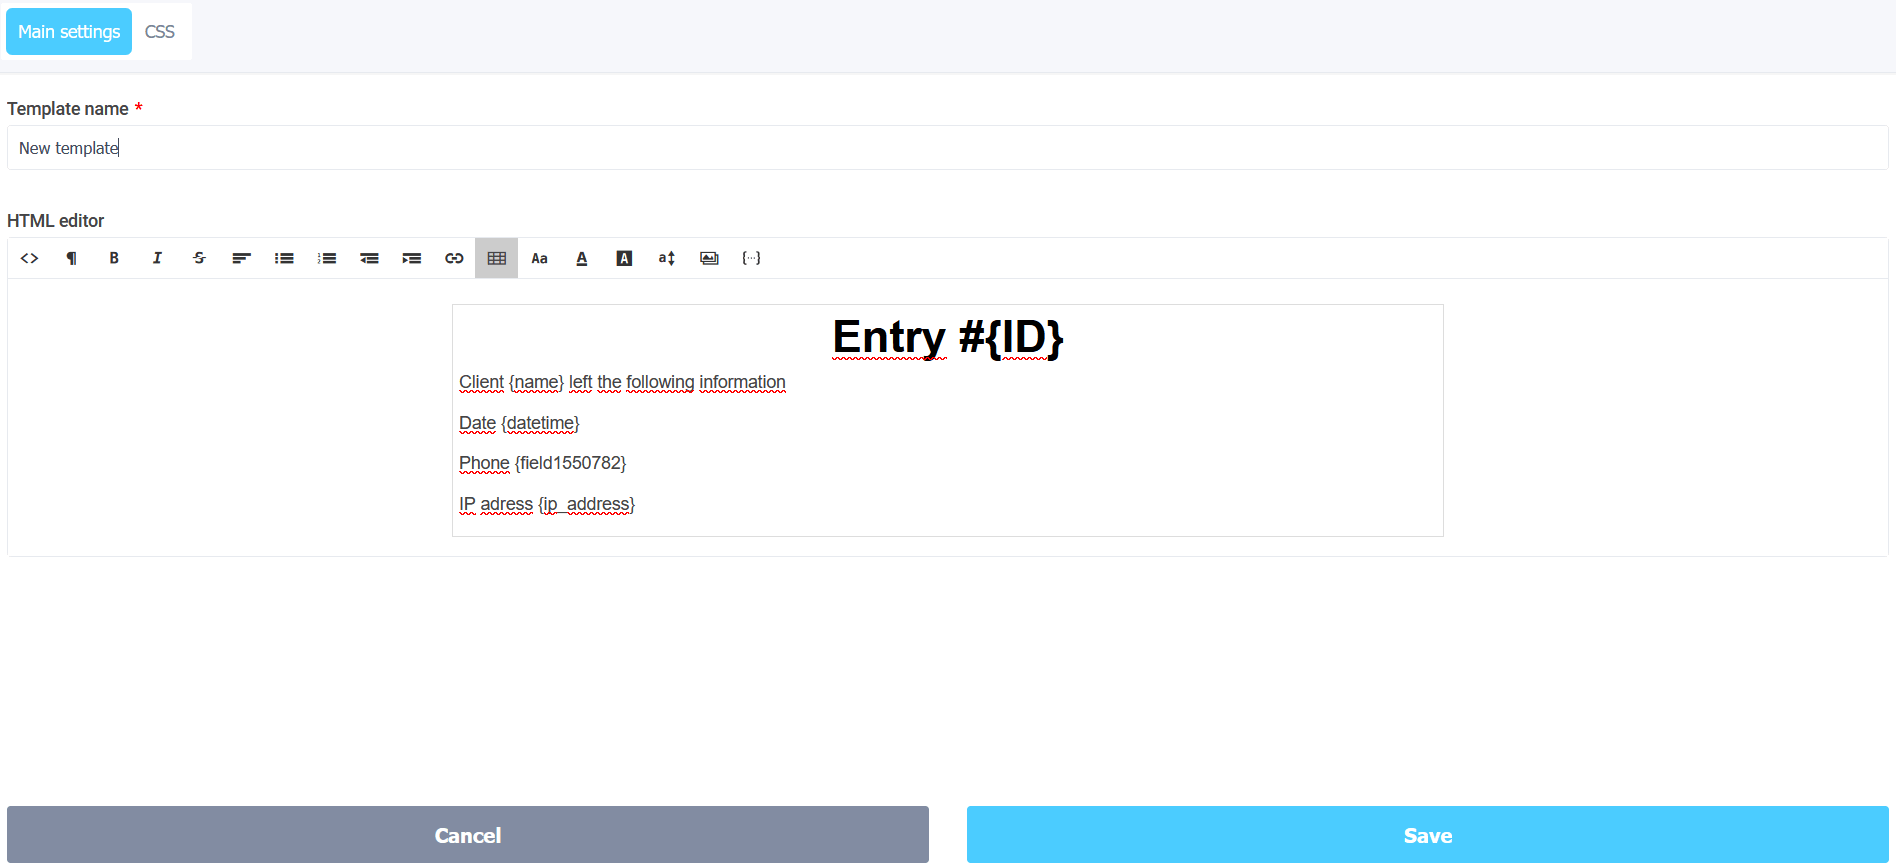
Let's save the template settings.
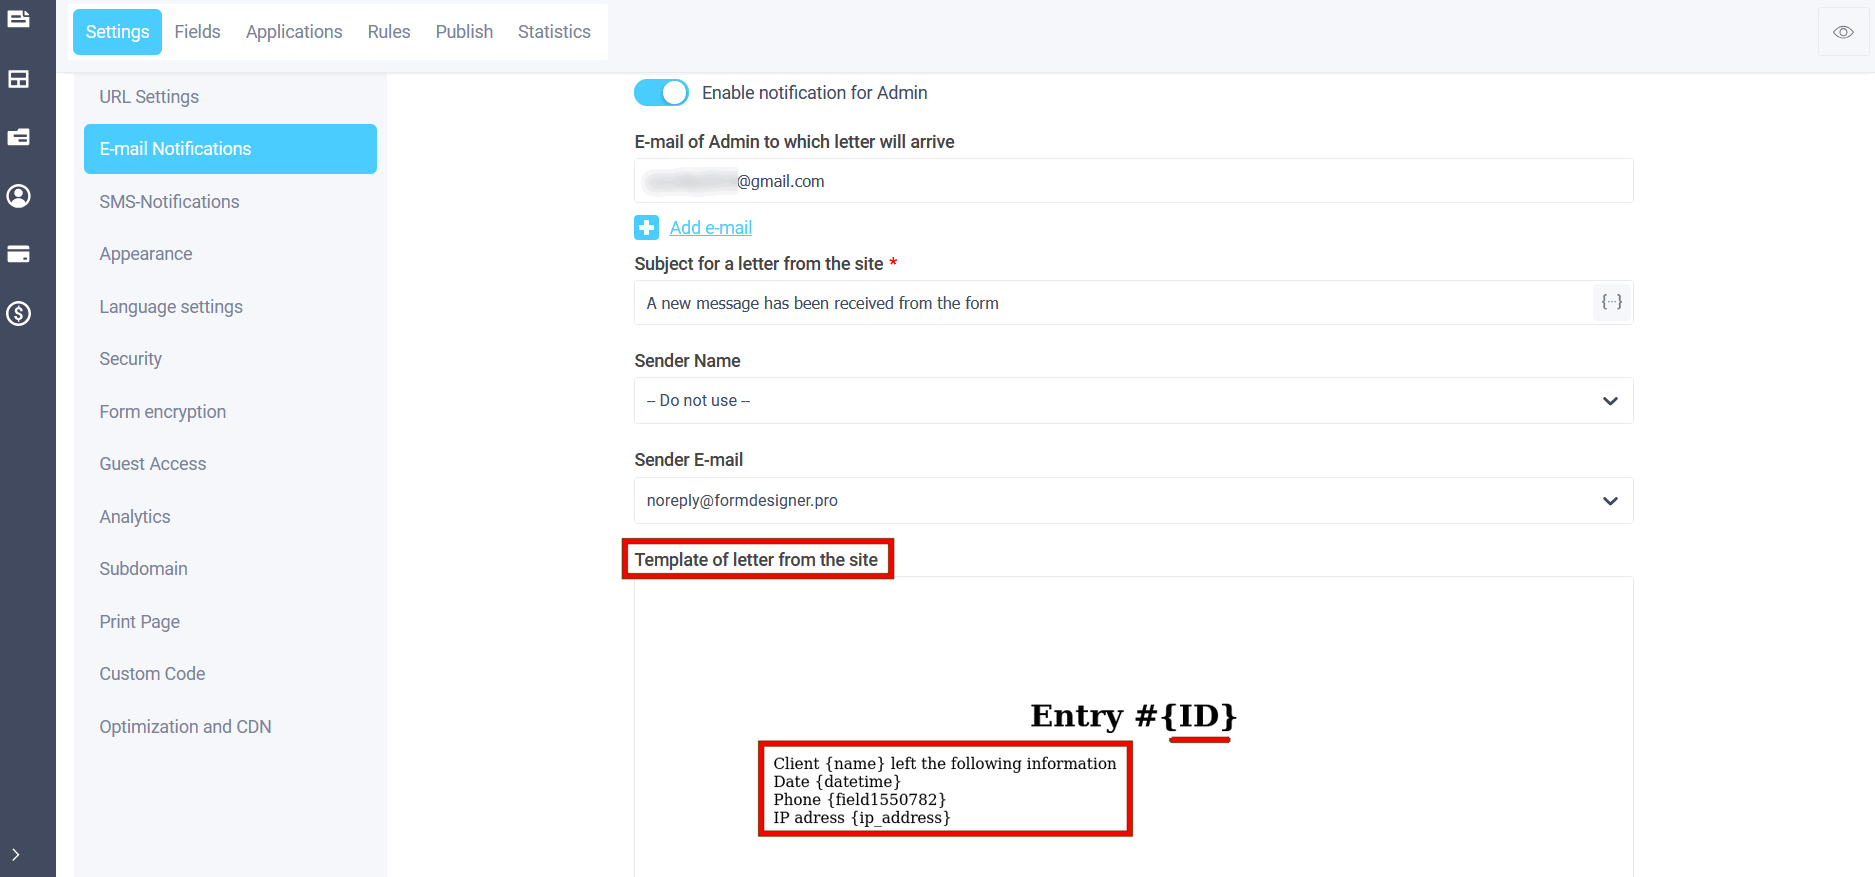
Let's save the form settings and fill out the form:
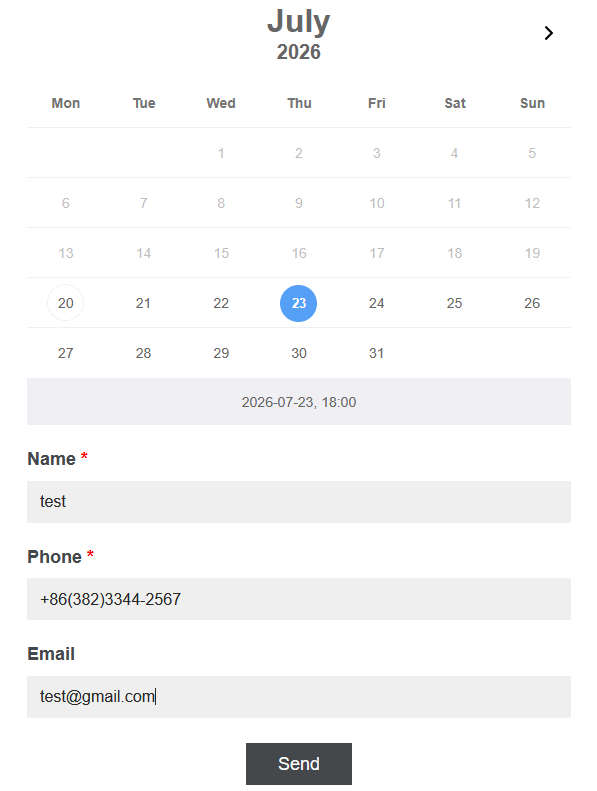
As a result, the administrator will receive an email with the specified data:
Setting up SMS notifications
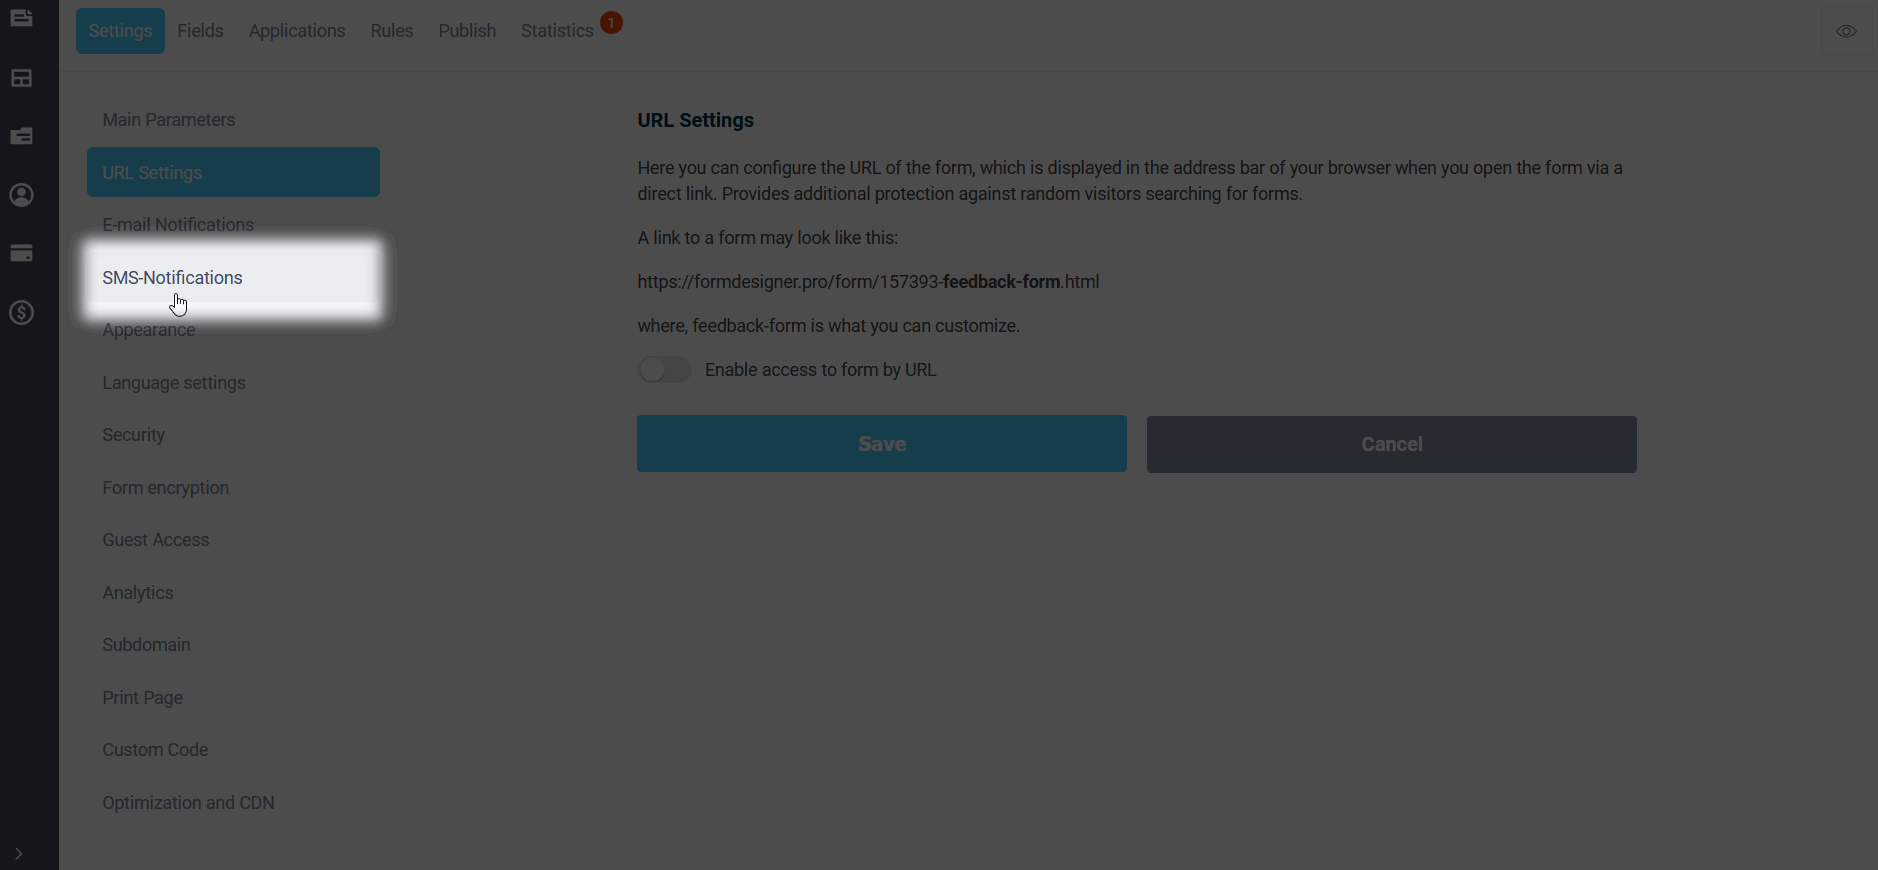
You can also set up SMS notifications for the administrator upon successful completion of the form. To do this, go to the SMS notifications section in the form settings:
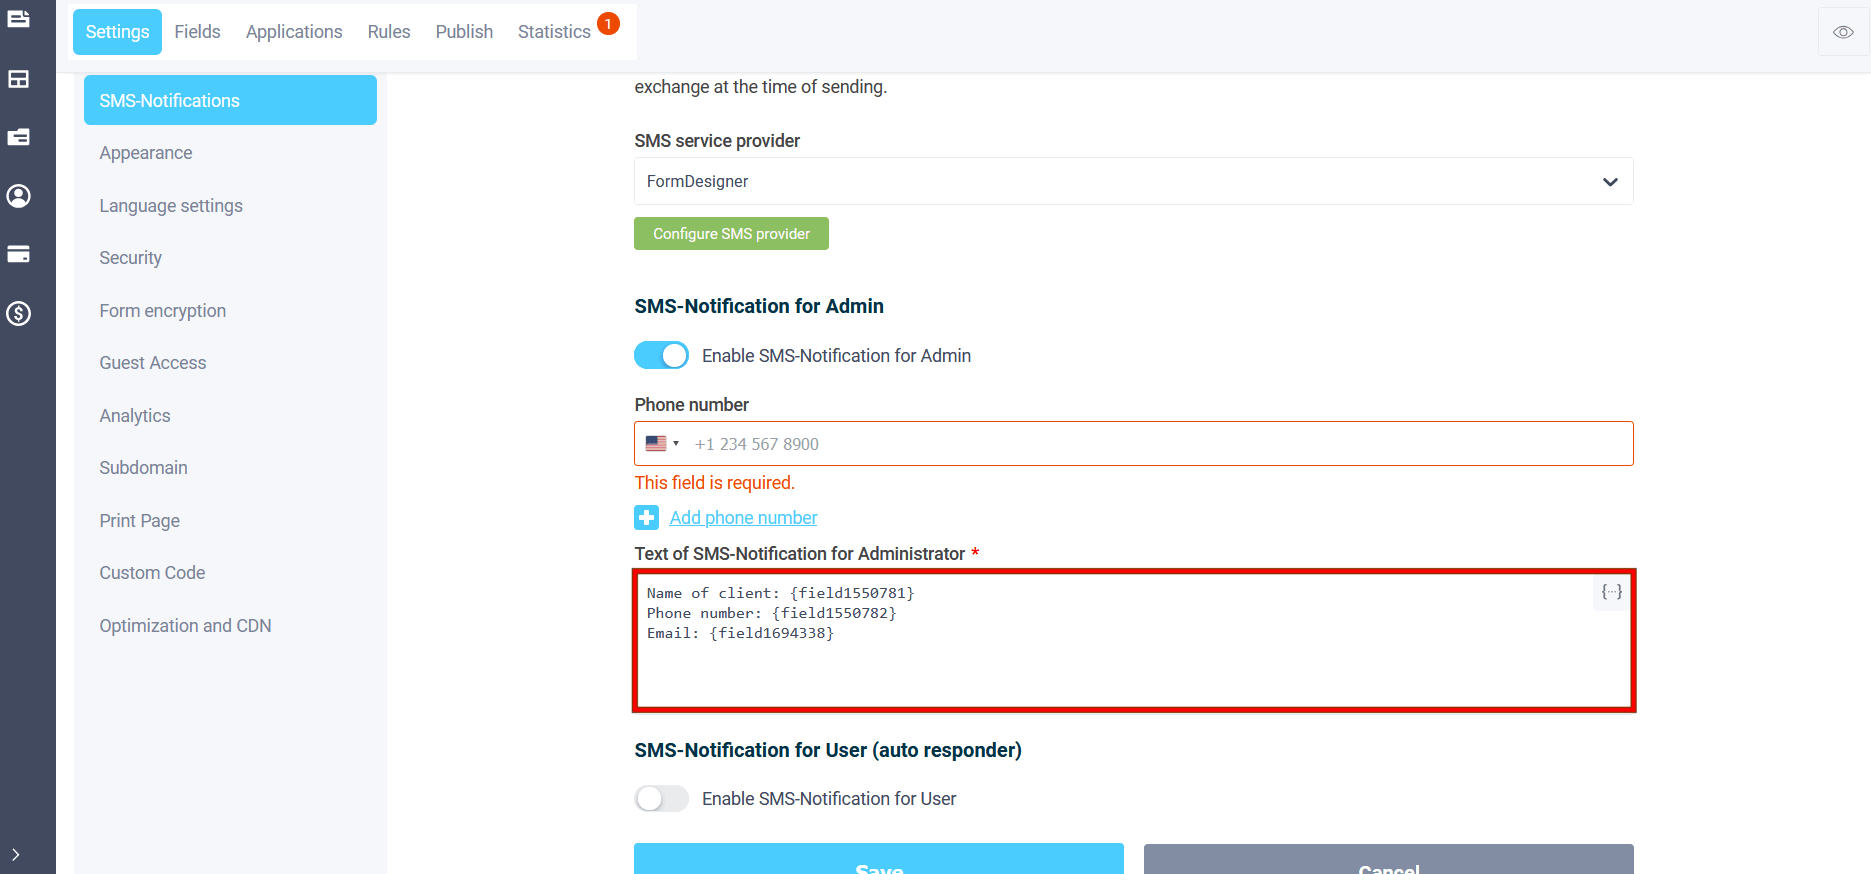
Next, in the "Text of SMS-notifications for administrator" field, you need to add the macros required to display the text in the message:
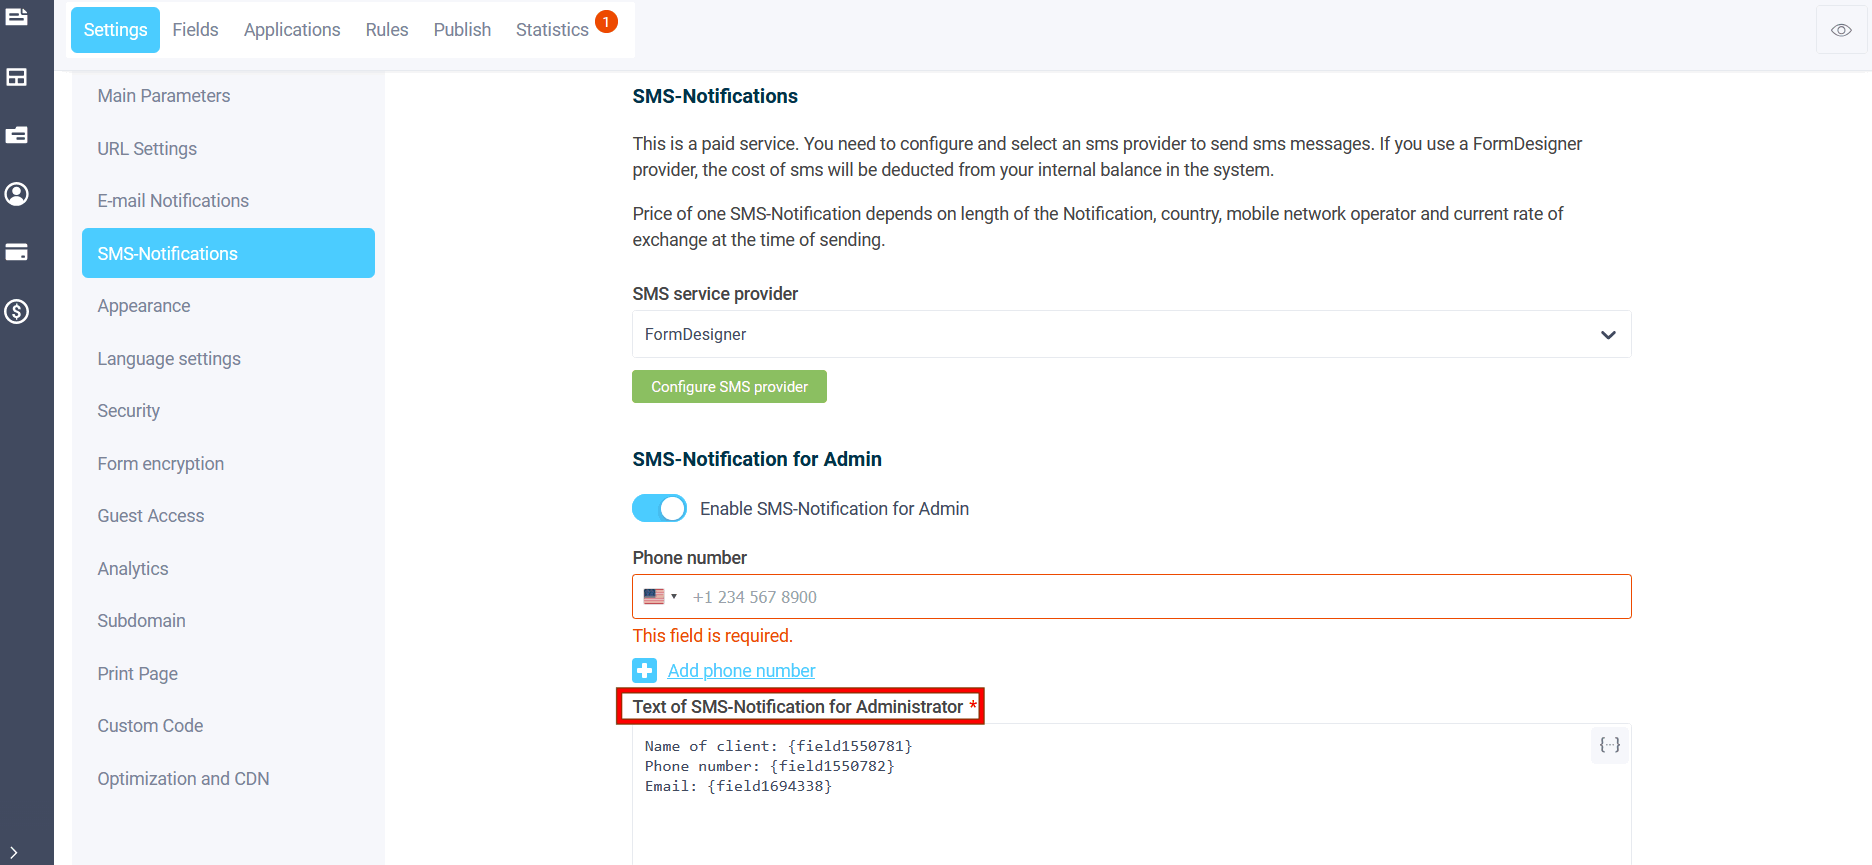
Also, don't forget to add your phone number to the form so that you don't get any error messages when you save the form:
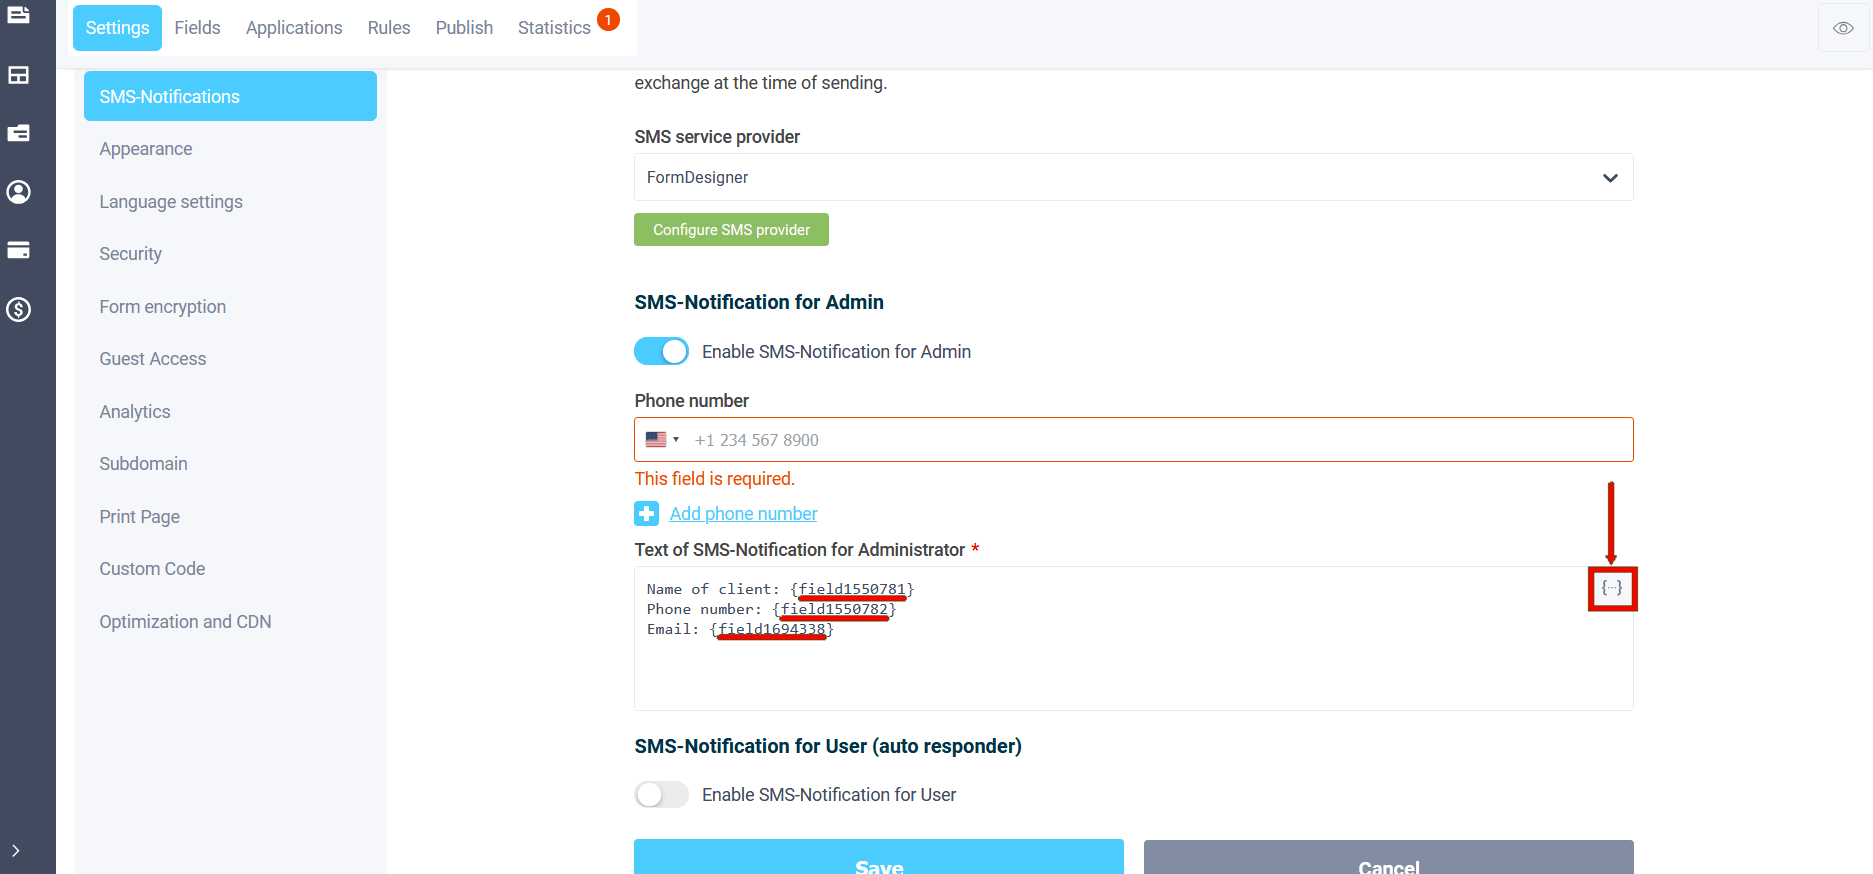
Let's add macros and their descriptions to the message that the administrator will receive:
Arbitrary macro name
Now, in the new version of the designer, you can customize the macro name for each form element. Instead of the default macro value {field978564}, for example, in the "Full Name" element, you can specify the value {name}. This will work for: form value substitution, processing macros directly in the form, hidden fields, email and SMS templates, and autosave mode.
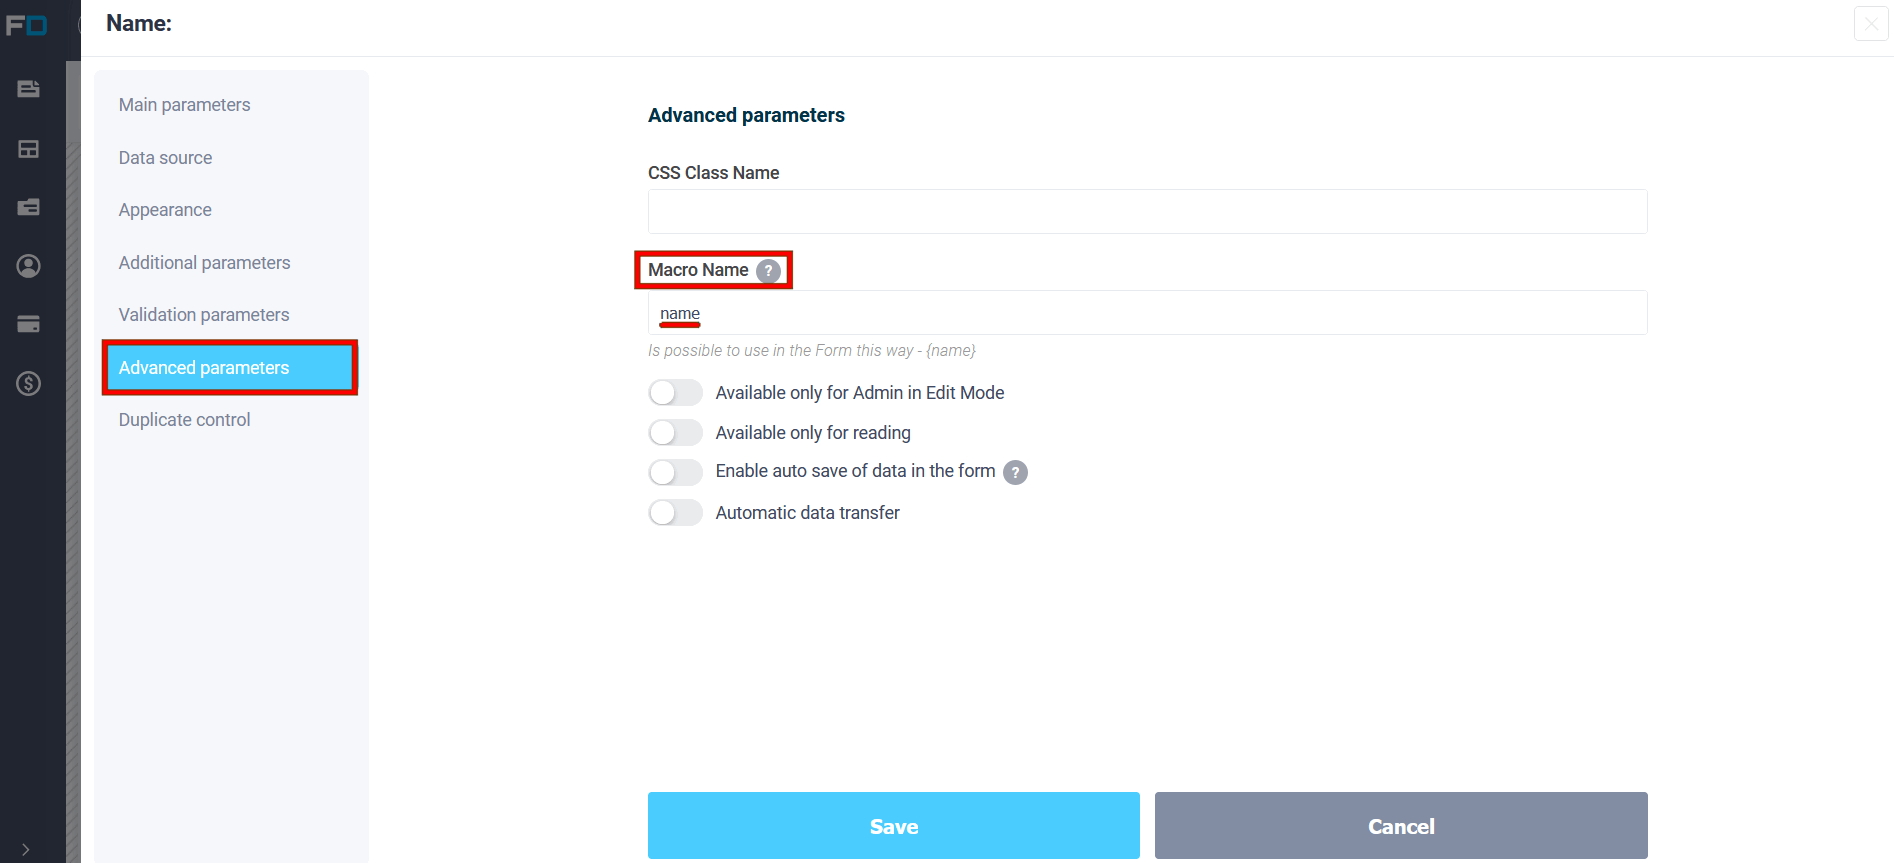
By specifying the macro name this way, you will be able to use it more easily in email and SMS templates, in the title and description of elements, and in integration modules.
Adding macros to element names
We've now added support for macros directly in the form. You can insert macros into the HTML block for fields, element names, element descriptions, and the "Text" element of additional fields. This allows you to immediately process and display data in the form as it's entered.
For example, let's create a small survey consisting of several pages. Let's add the "Full Name" element from the main fields. In the element's editing mode, open "Advanced Options" and enter "name" in the "Macro Name" field.
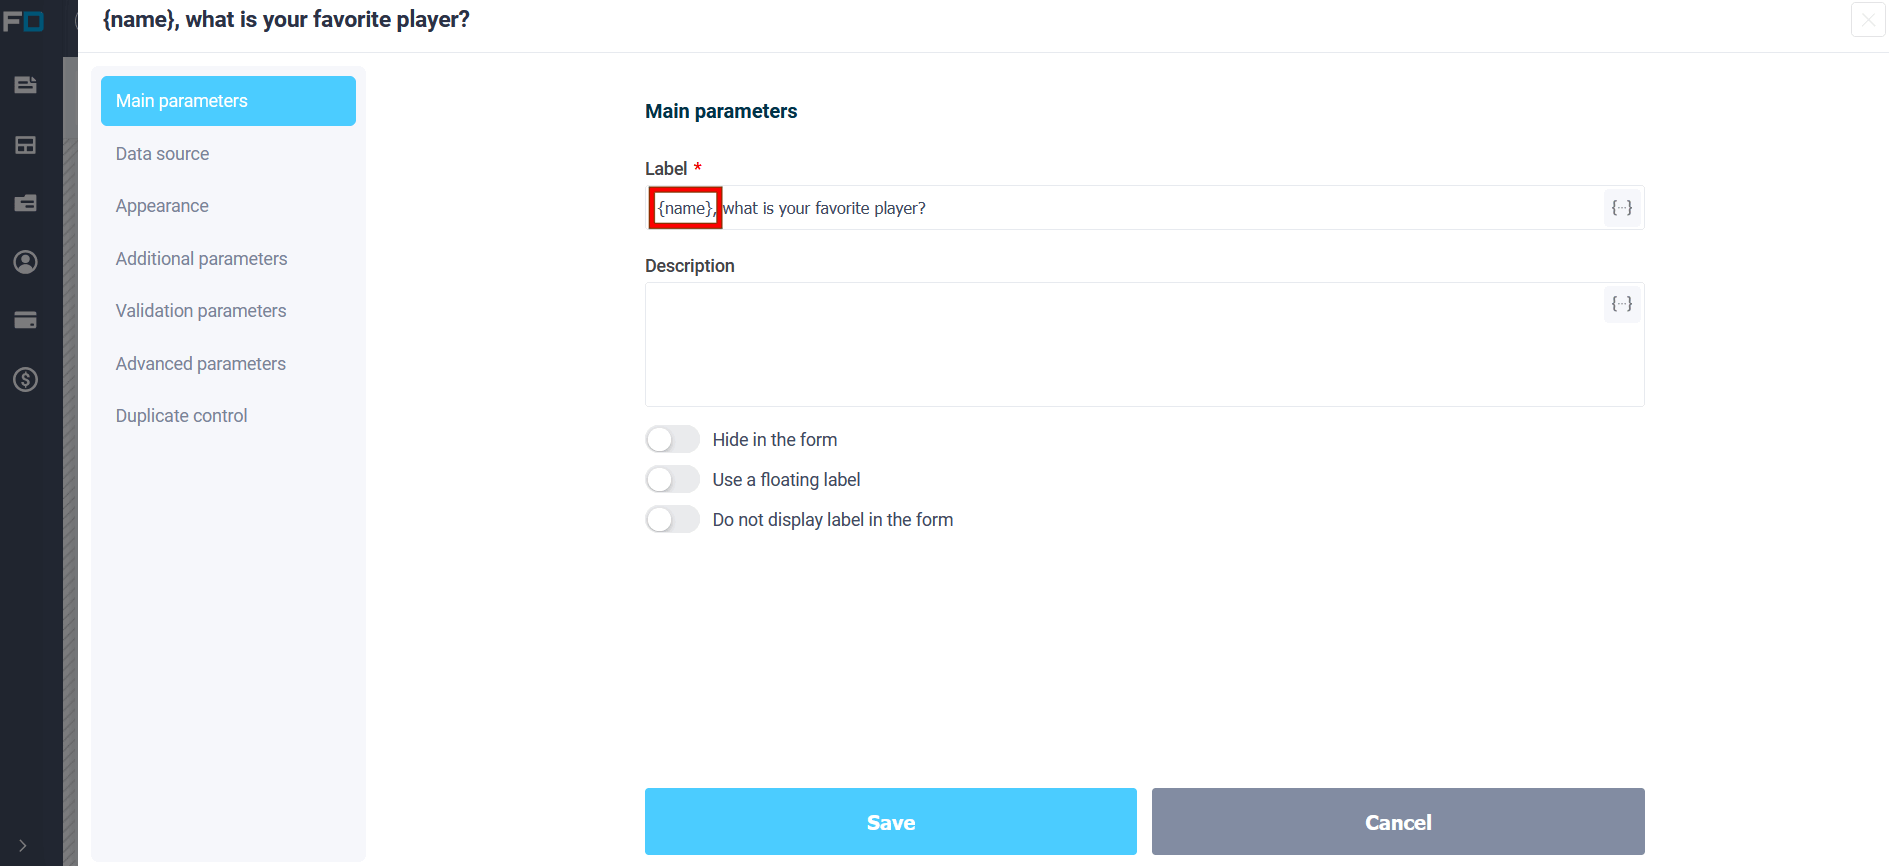
In the name of the "Text field" element we will use the macro {name}:
In the text element, we will also change the default value of the macro:
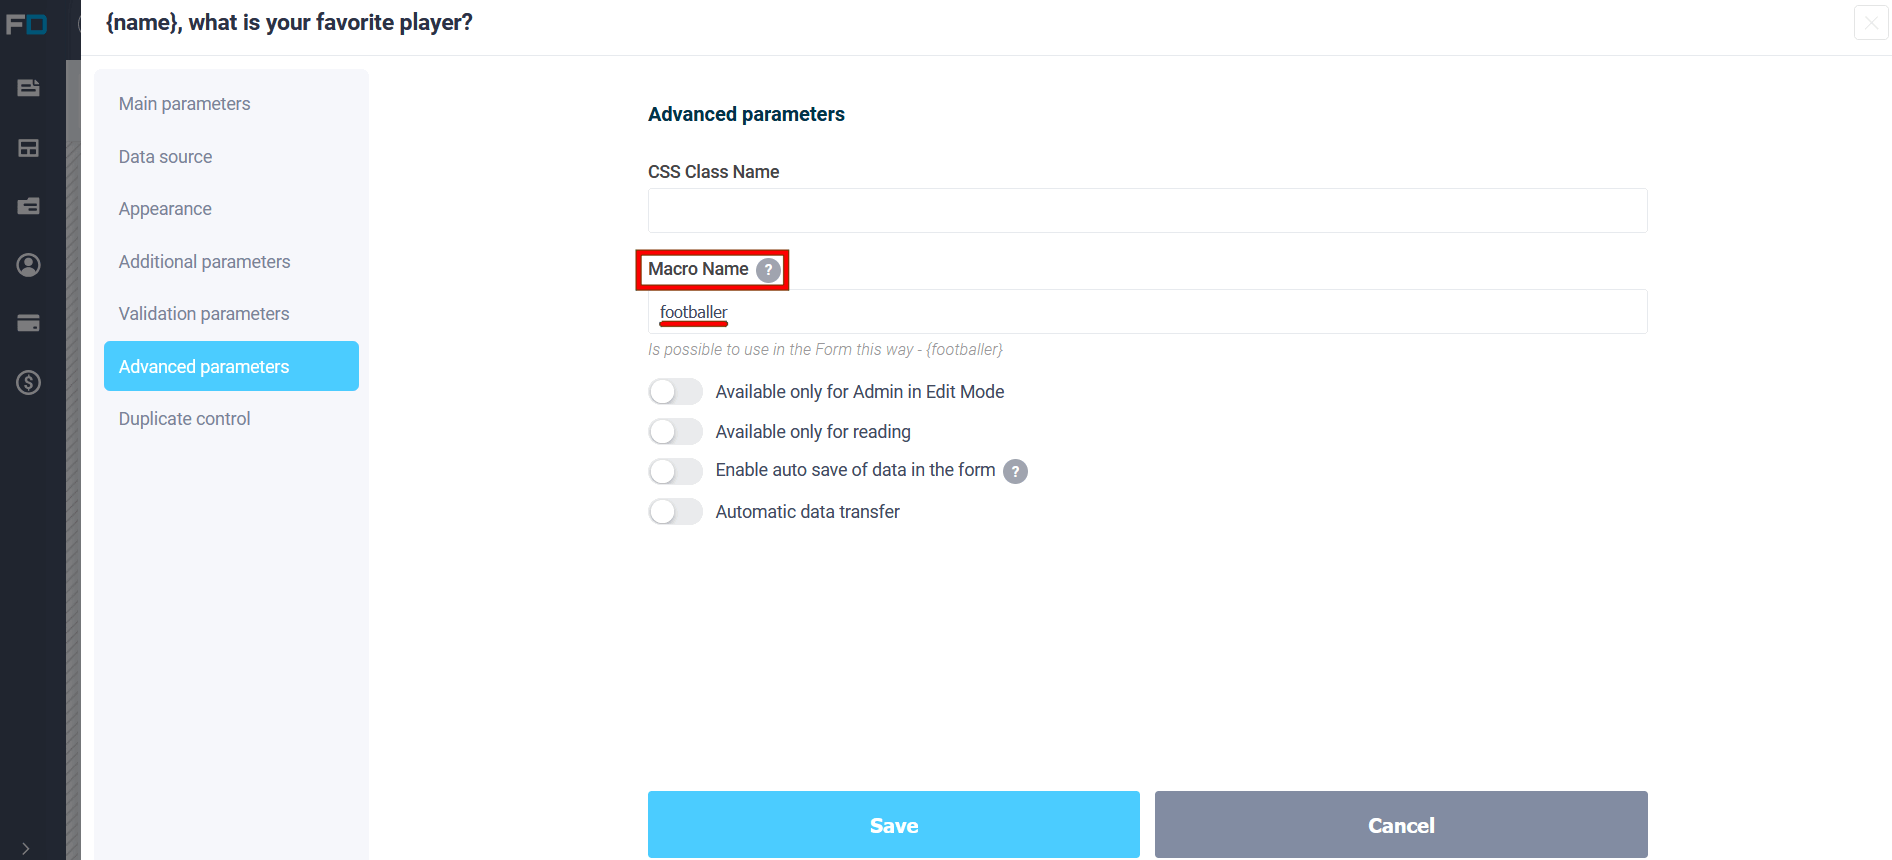
We will use the values of these macros in the name of another element, as was done in the previous one, and for the second text element we will use the macro name "club":
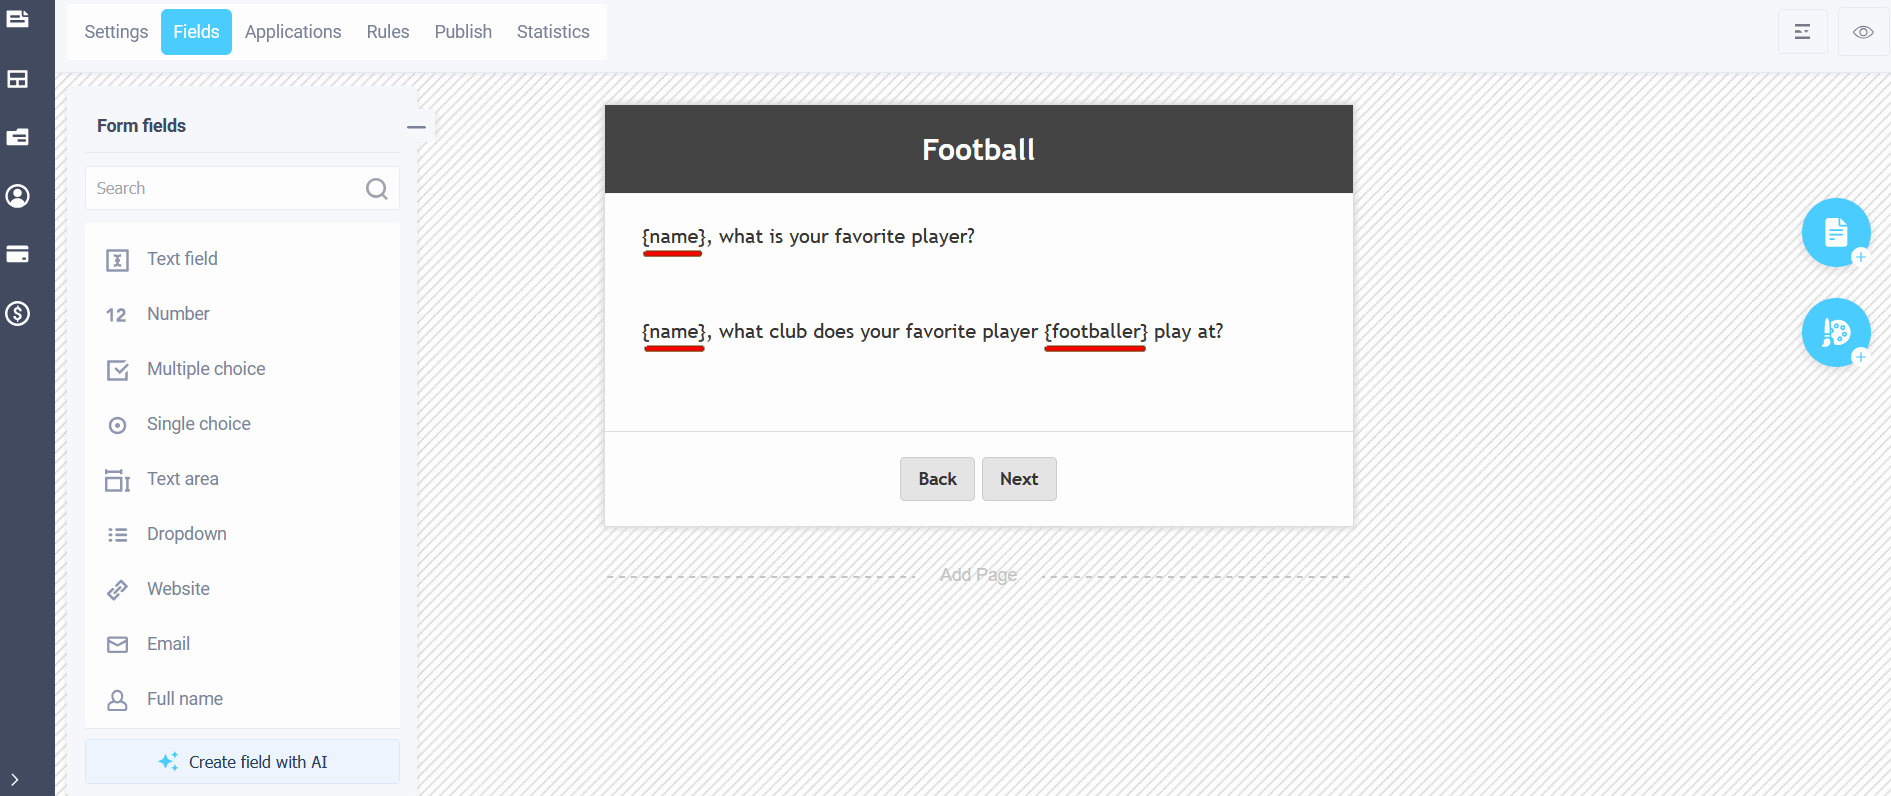
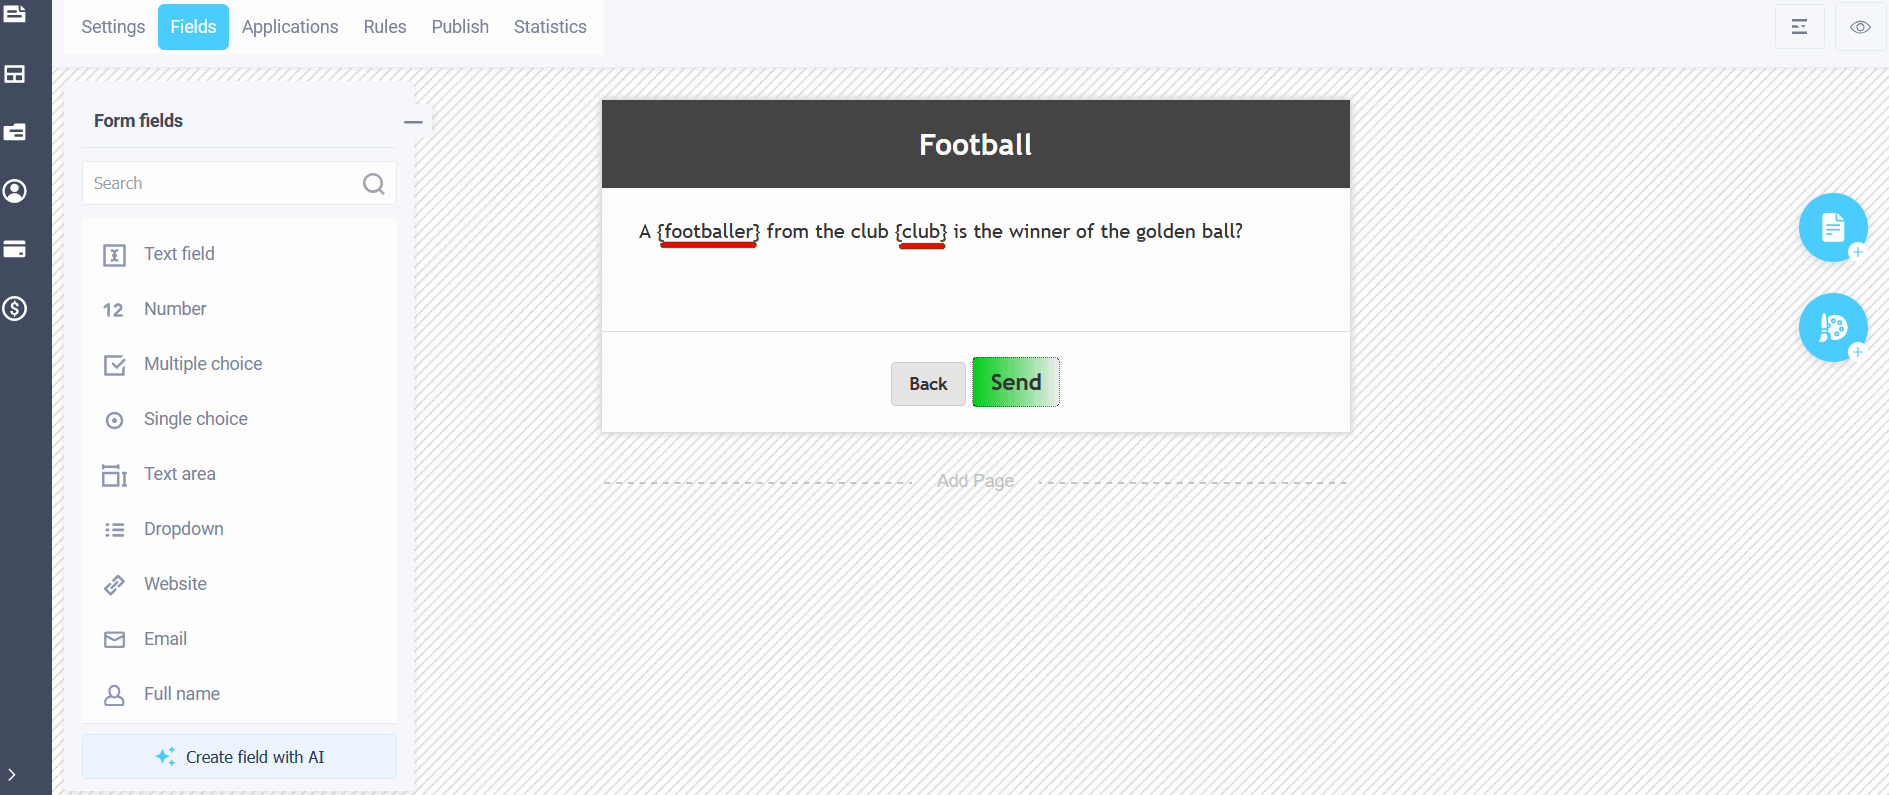
On the third page we will use the macros {futballer} and {club} from the previous page in the title:
Setting up the form success page
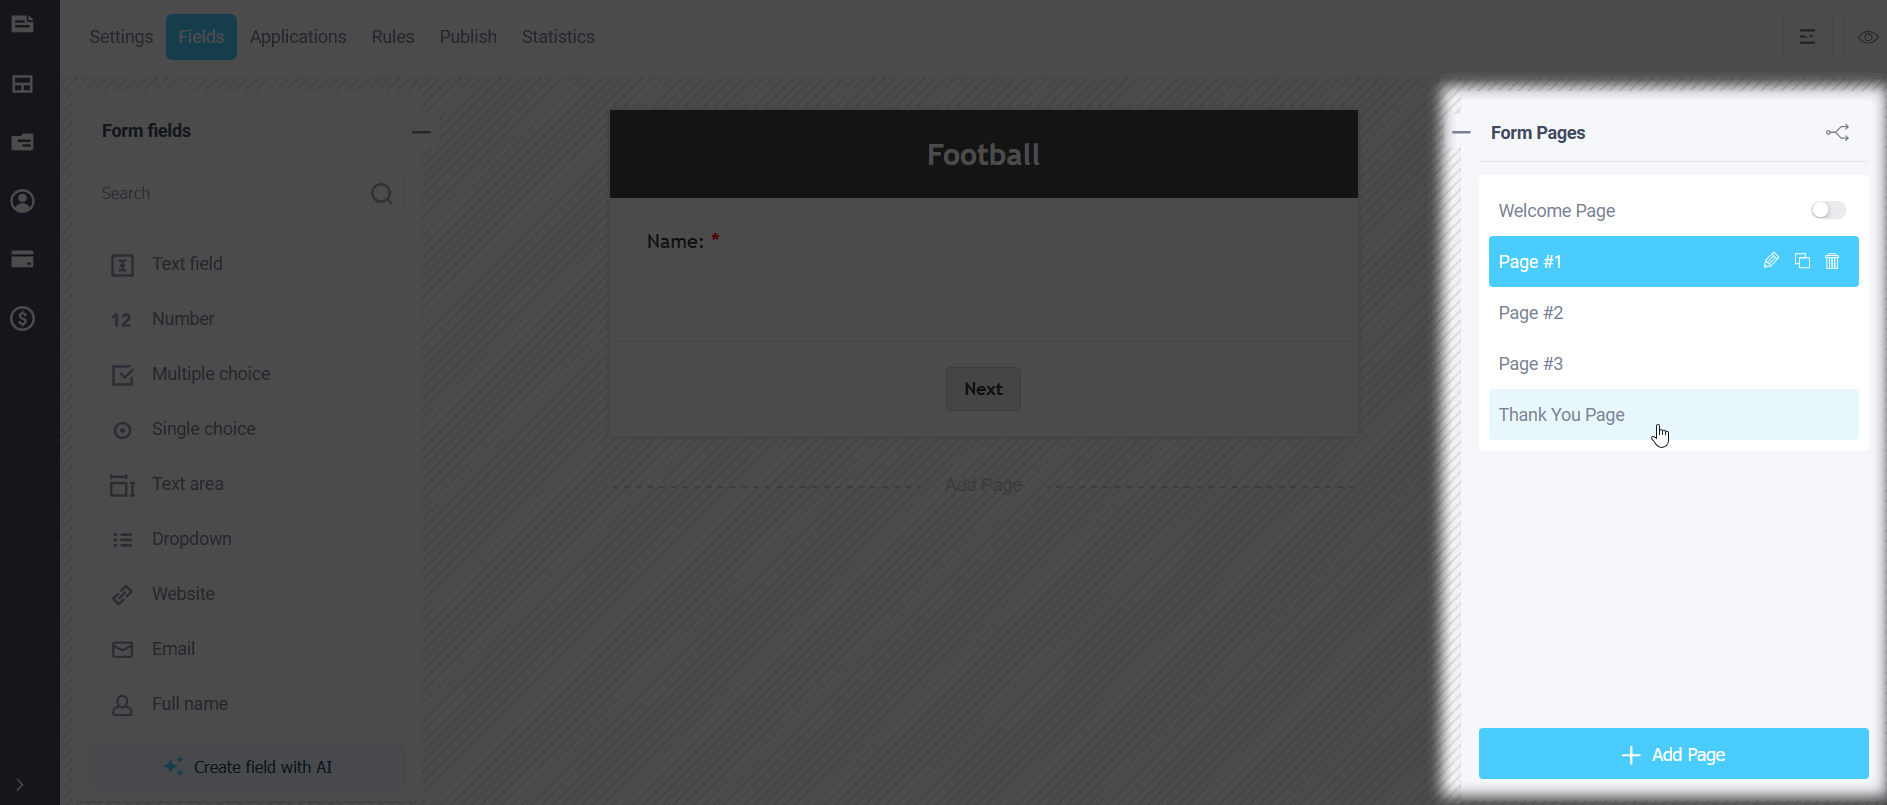
We'll also add the macros we use to the successful completion action template (thank you page). Click the "Form Pages" icon on the right and select Success Page:
Customize the notification template in the same way and save it. You can learn about the successful send action settings here .
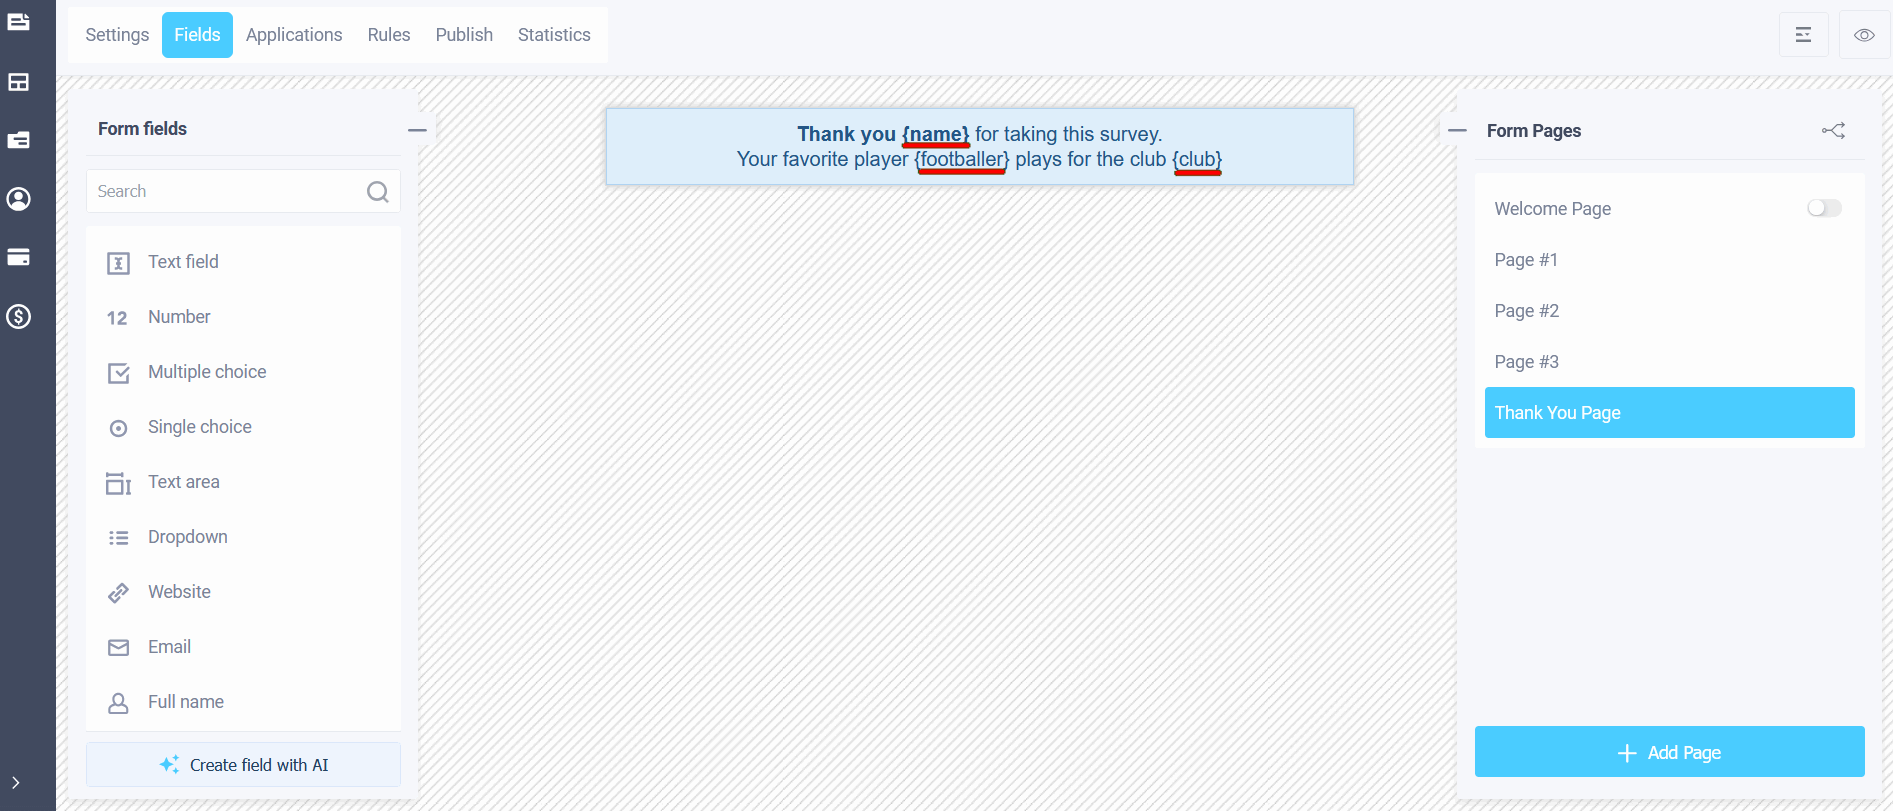
In preview mode, we open the form, fill it out, and see that the filled-in data for this element is automatically substituted into the names of other elements:
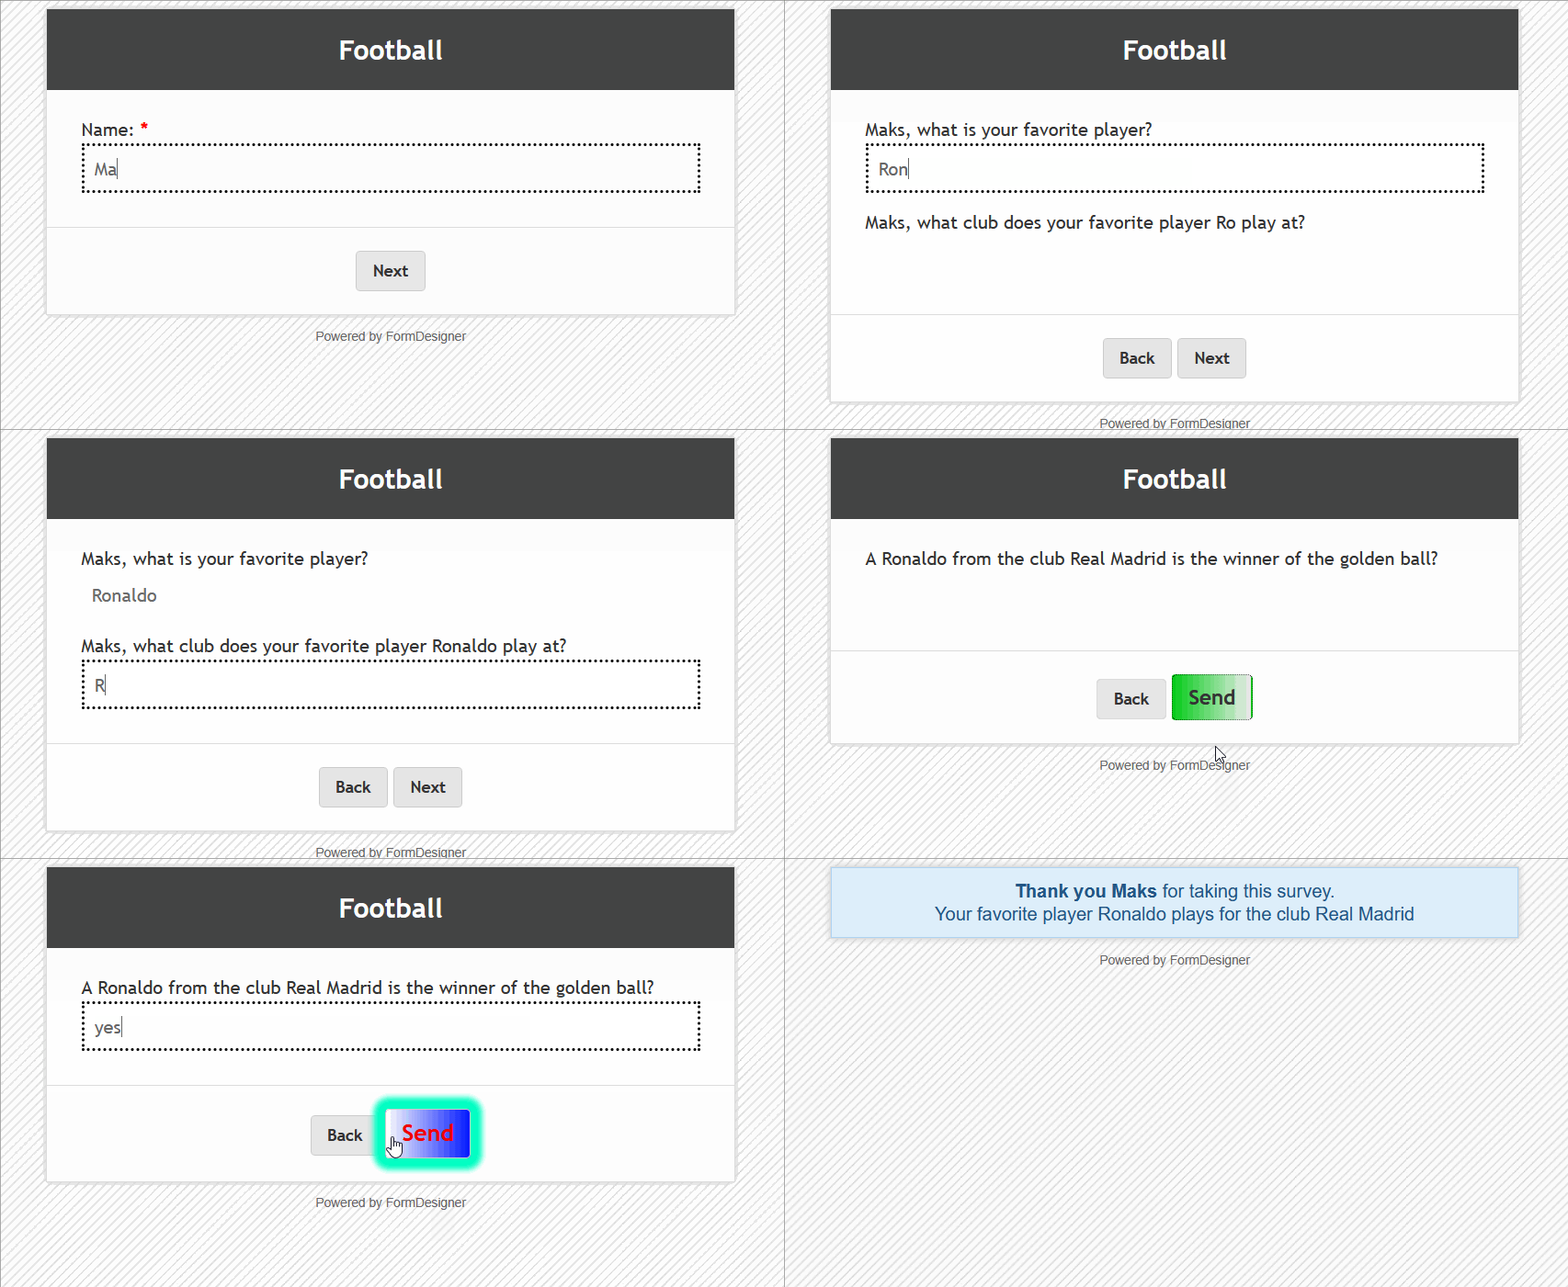
As you can see, it's now much more convenient to use custom macro names. This means that knowing which macro you've specified in a particular element eliminates the need to go through the full list of variables and copy its value. It's important to note that the macro name must be unique within a single form. Macro names must begin with a Latin letter and may contain Latin letters, numbers, hyphens (-), and underscores (_).


