
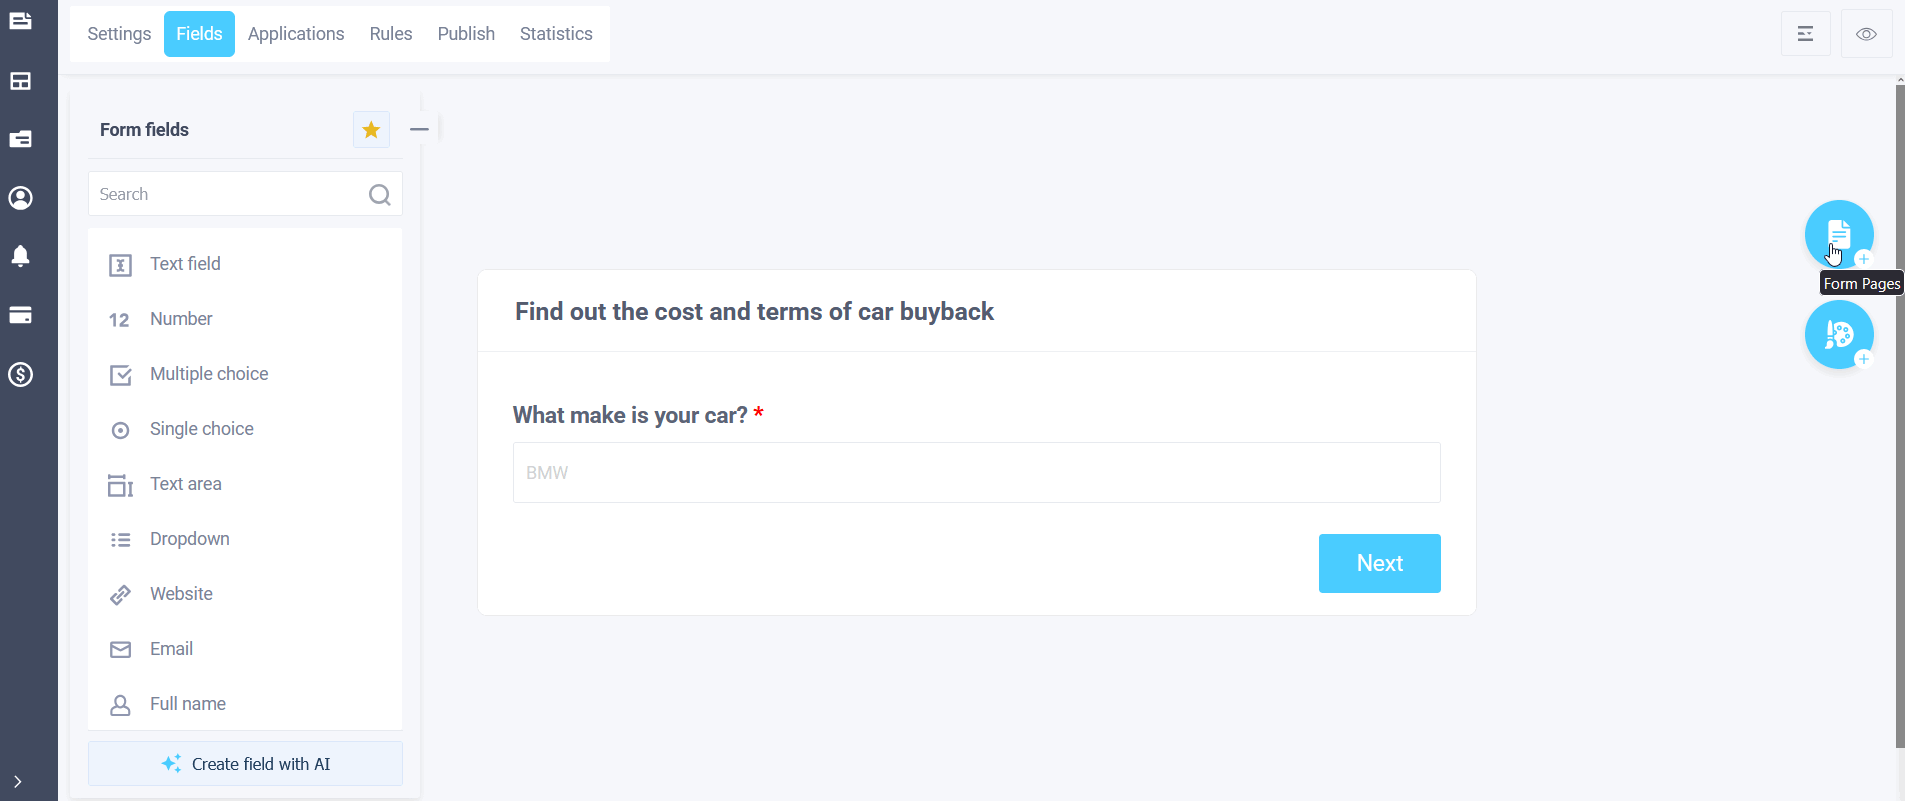
In order to set up a printing template, go to the list of forms in your personal cabinet, select tab "Fields" and click "Form pages":
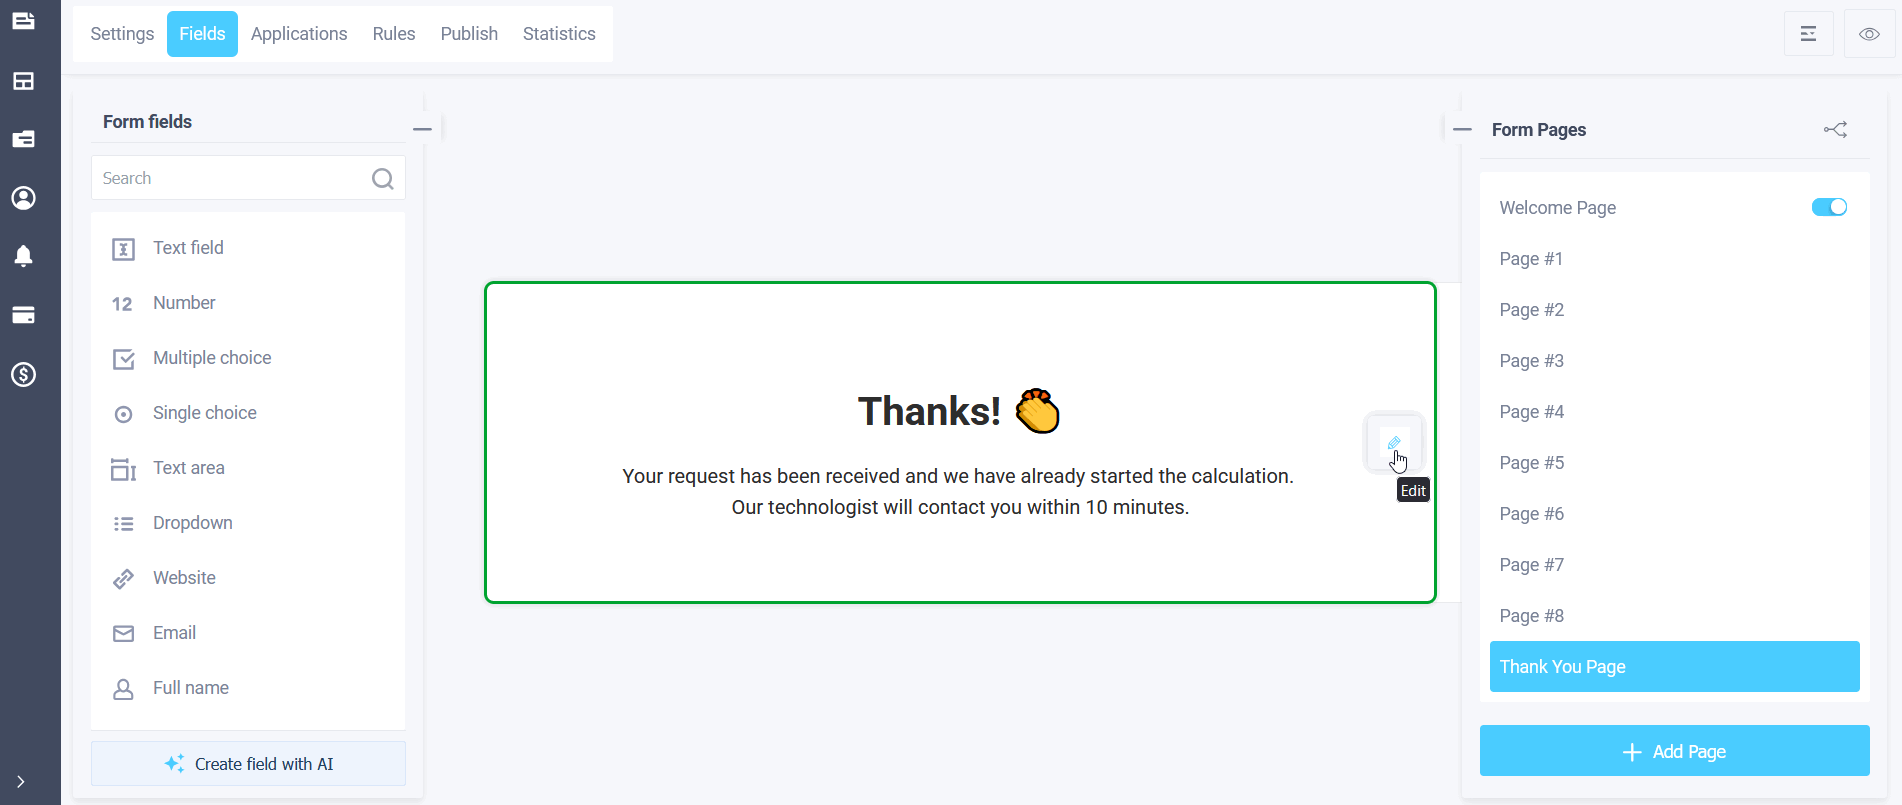
Select the Thank You page and click edit:
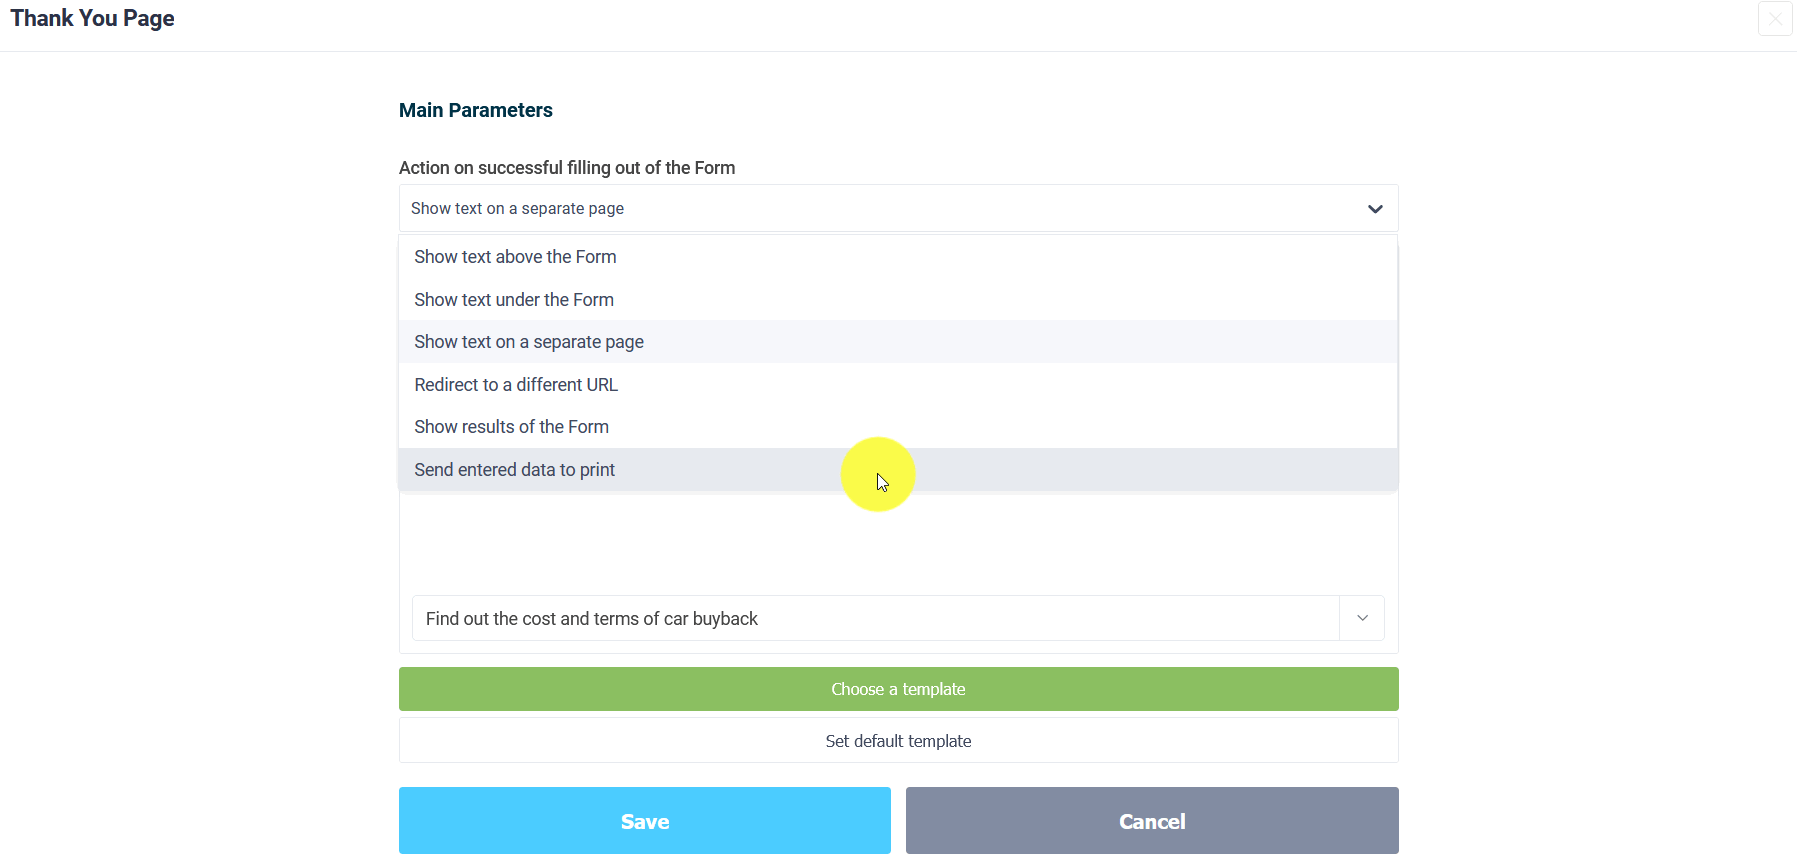
Select - Send entered data to print:
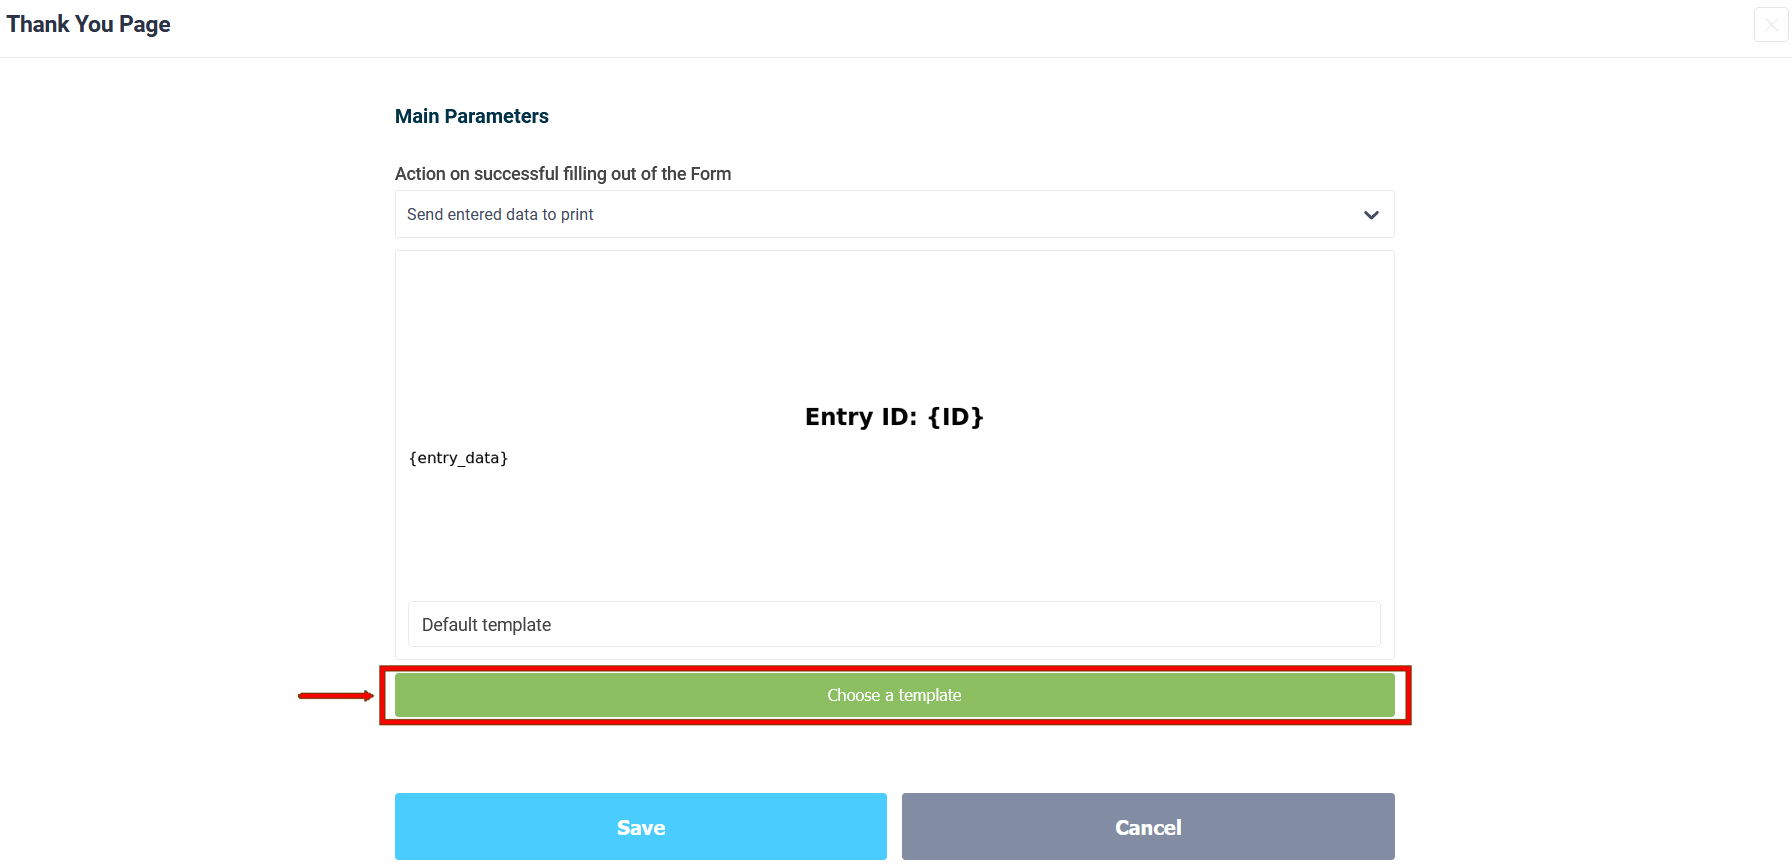
You can immediately set up a template for printing here:
Or in the form Settings - Print page:
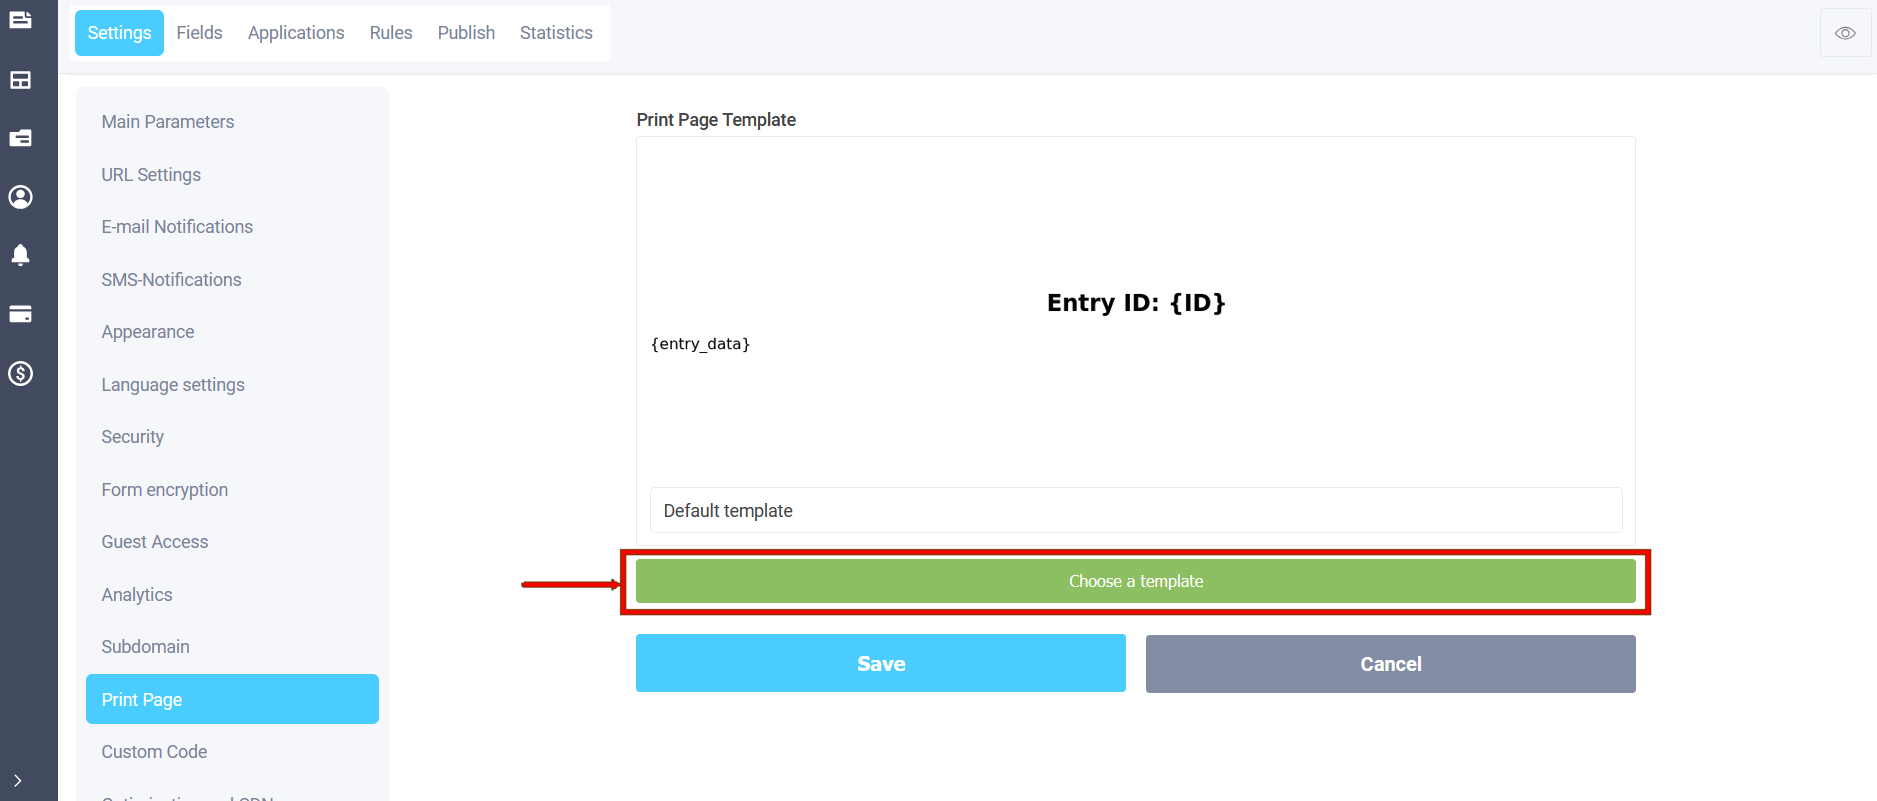
Or in the form Settings - Print page:
There is a simplified editor and a block editor that makes it easy to create the page template you want. You can use the same template in multiple forms now.
The default template is set by default. In order to select a template, you must click on the "Choose a Template" button, after which a window with a list of all available templates will open in front of you:

In order to select the desired template, you need to click on the "Choose a Template" button. To create a new template, click the "Create Template" button, after which a page with a choice of the template editor will open:
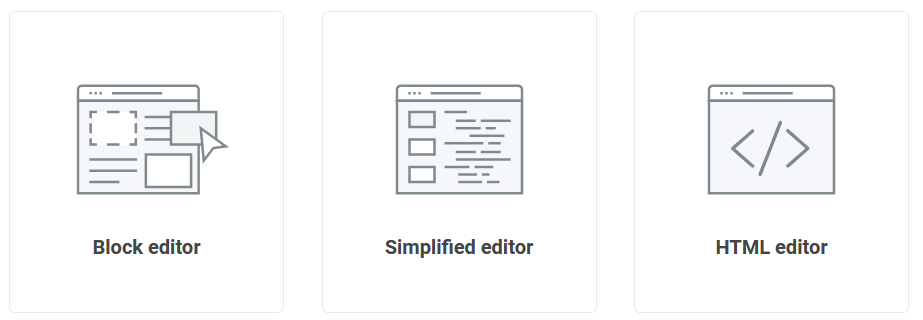
There are currently three editors available: the Block Editor, Simplified Editor and the HTML. The simplified editor allows you to create simple templates:

As you can see, this is a regular text editor with the ability to edit the source code of the template. There is a separate tab "CSS", where you can manually configure some CSS rules.
If you choose the block editor, you'll see a completely different editor:

This is a full-featured block editor for page templates. Here you can add ready-made blocks, edit their appearance, size, fonts, indents, etc. This editor makes it much easier to create a page template for printing and creating PDF documents.
All templates can be copied, deleted and renamed. To do this, in the list of templates, click on the name of the template:

Setting up the desired template and going to the print page, 2 buttons will appear at the top of the page: Print and Download in PDF:

In the simplified editor, the template will also be displayed on the page to be sent to print. Use substitution variables to substitute data from the form:

When the user fills out the form, they will be prompted to print the completed form. There is an option to add a picture to the template. Therefore, you can make invitations, tickets, diplomas, and add a variable element from the form: name, description, etc. It is possible to describe the template more precisely by using the "Code" button and filling it with CSS:

Next, using CSS describe to you the appropriate template (for example, "Pregalaite to Concert"), where there is an image and a variable element from the form (here I took the first name):


