Good afternoon.
As you know, Apple's policy has led to a change in the rules for launching ads on Facebook. From January 2021, anyone who wants to launch conversion campaigns must verify the site domain. This is due to the fact that in iOS 14 and older, users can prohibit tracking their actions on the Internet. In addition, after the introduction of new Apple protocols, Facebook can handle only 8 priority conversion events per domain.
Changes in iOS 14 have affected apps that track users. The owner of any Apple device with iOS version 14.5 (and later) must allow tracking of their actions through the AppTrackingTransparency software platform (framework). If the user does not do this, the event will not be registered by a pixel and it will be impossible to process the conversion, that is, you will lose information.
To receive event and conversion data, as well as optimize for certain events in your sales funnel, you need to confirm the site domain in Business Manager.
After that, you will be able to highlight 8 conversion events and prioritize them. They cover the entire audience and allow you to generate reports even taking into account those users who have given a ban on tracking.
To confirm the linked subdomain to the Facebook form, you need to connect the meta tag to the subdomain. You can get its value by going to Business Manager go to settings and open all settings:
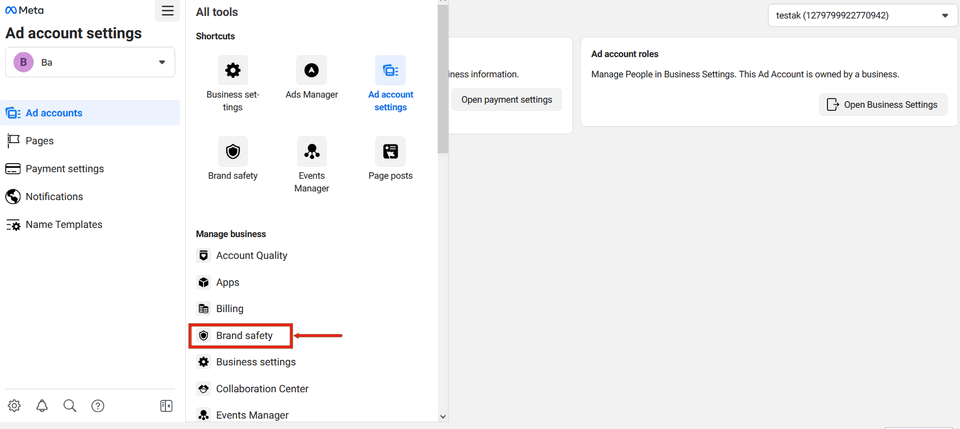
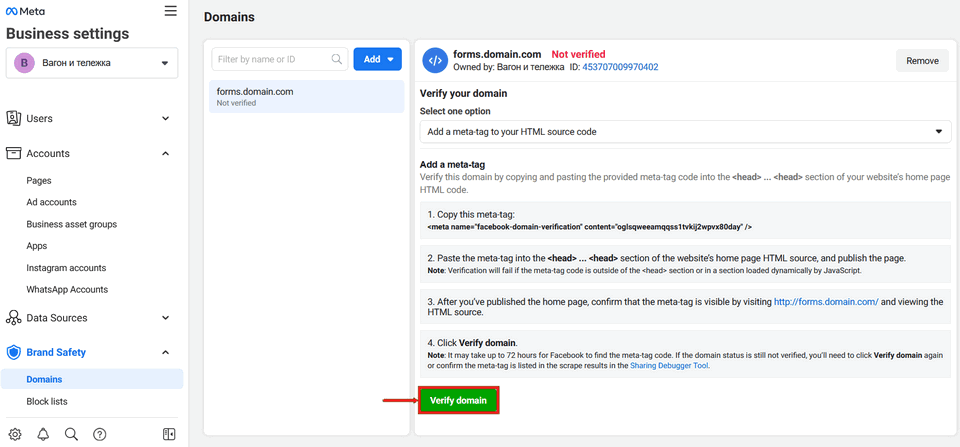
In the "Company Management" field, select the item - Brand security, domains. Click "Add Domain":
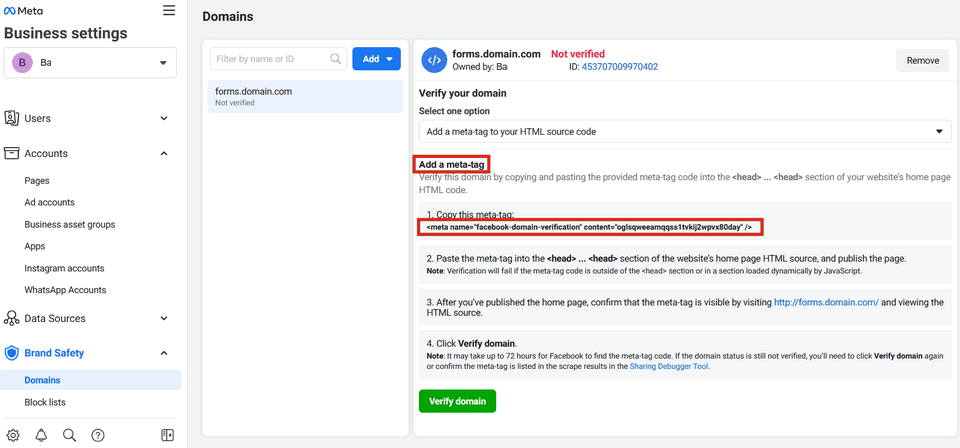
In the window that opens, in the "Add Meta tag" section, copy its value.
Facebook will search for this code on the main page of the subdomain and to display this code on the main page, you need to connect it to the form and make connection settings.
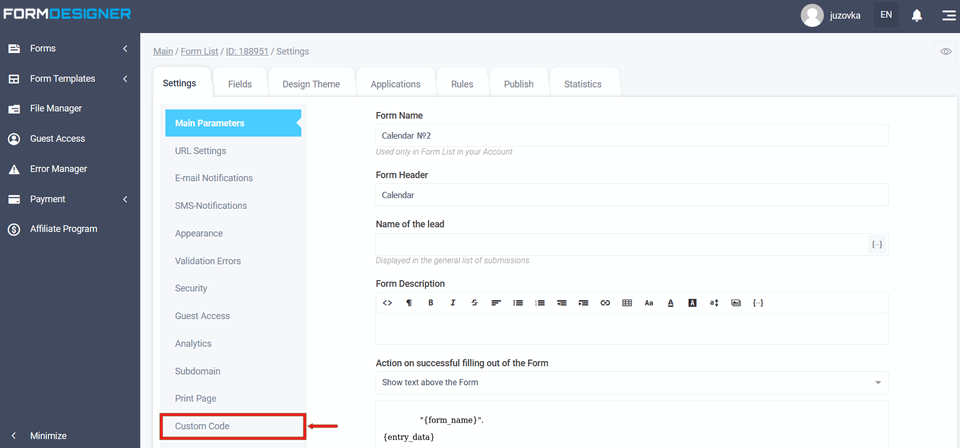
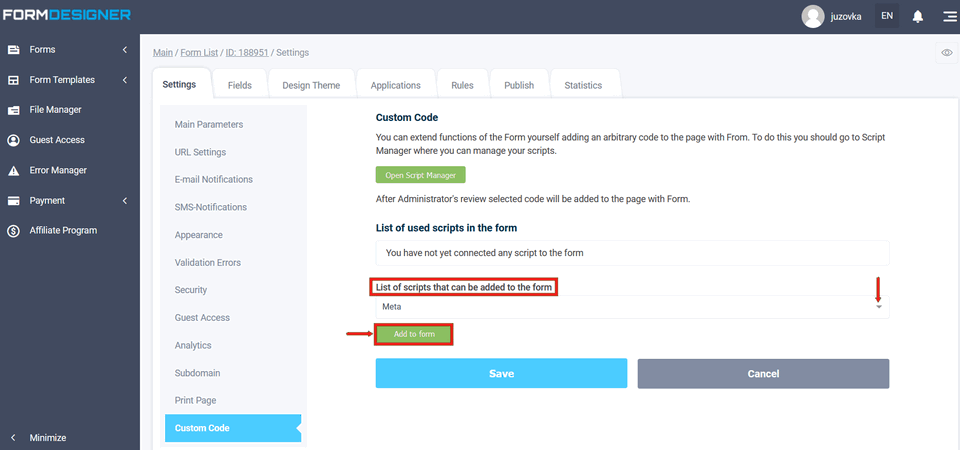
You need to add a meta tag to the form using an arbitrary code. To do this, go to the form settings and select "Custom code":
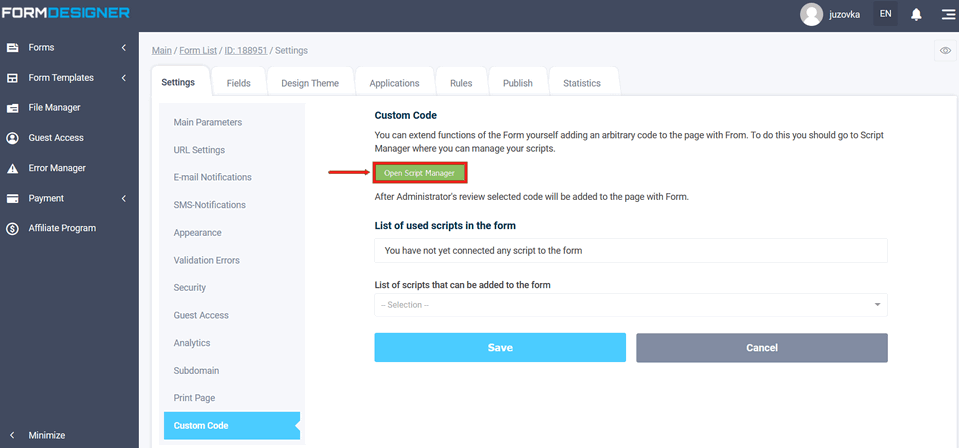
Open the Script Manager:
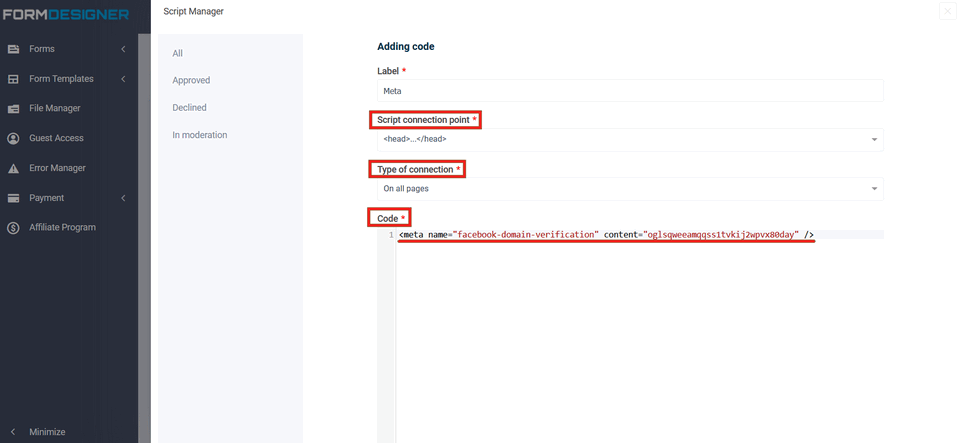
Click "Add Code":

Specify the connection location, connection type, as in the screenshot below, and in the "Code" field, the copied meta tag:
Save the settings.
You need to wait for the administrators to approve the code. After adding it, it will be displayed "On moderation":
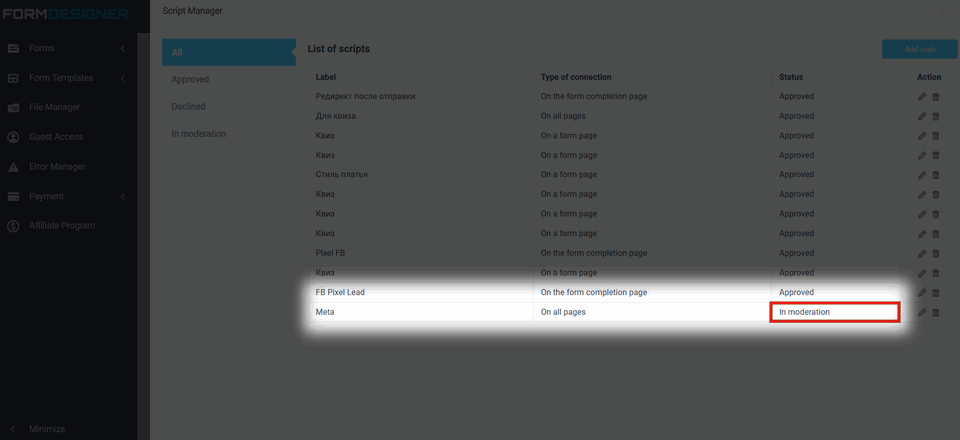
After that, the status will display "Approved". Then you can connect the code to the form.
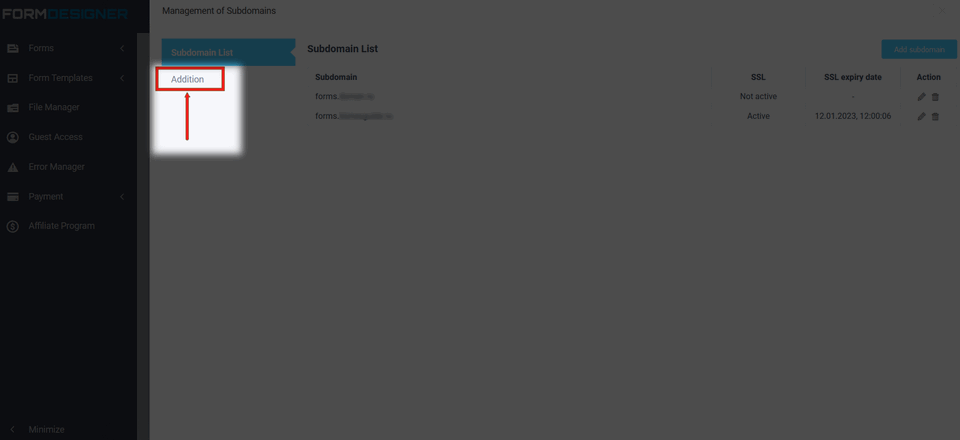
Now you need to select the default form so that it is displayed on the main page. Go to the subdomain section and open "Subdomain Management":
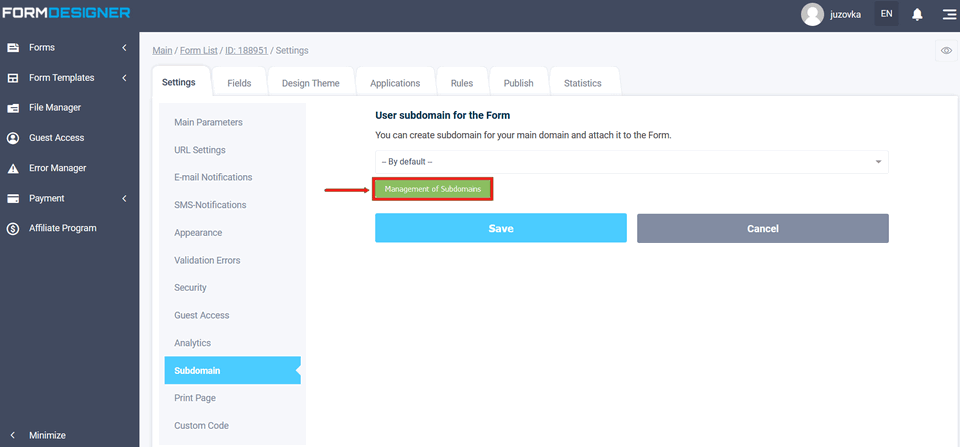
Now you need to select the default form so that it is displayed on the main page. Go to the subdomain section and open "Subdomain Management":
Select "Addition":
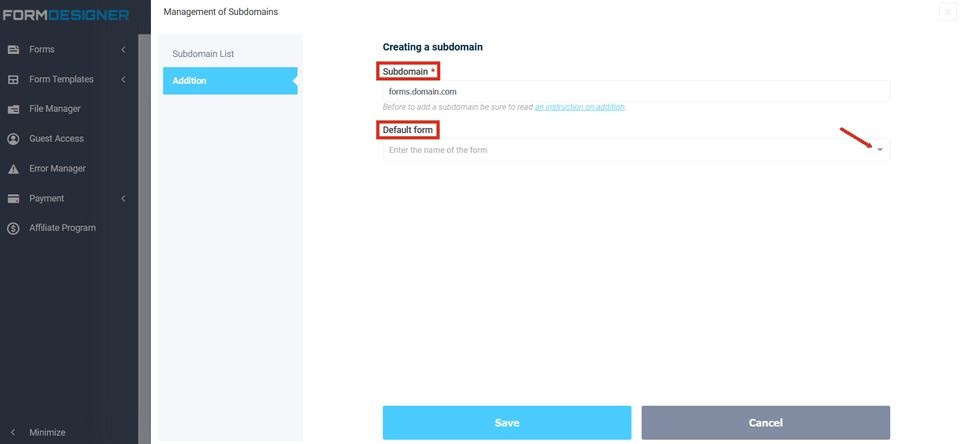
Specify your subdomain and form from the "Default Form" list:
Go to Facebook and click the confirm domain button:
Domain confirmation in Facebook is not a very difficult, but an important step when setting up the cabinet. Of course, the iOS 14 update has brought a lot of trouble to users, but the new Facebook rules allow you to see the necessary data and use them.
How to connect Facebook Pixel to the form, you can find out here.