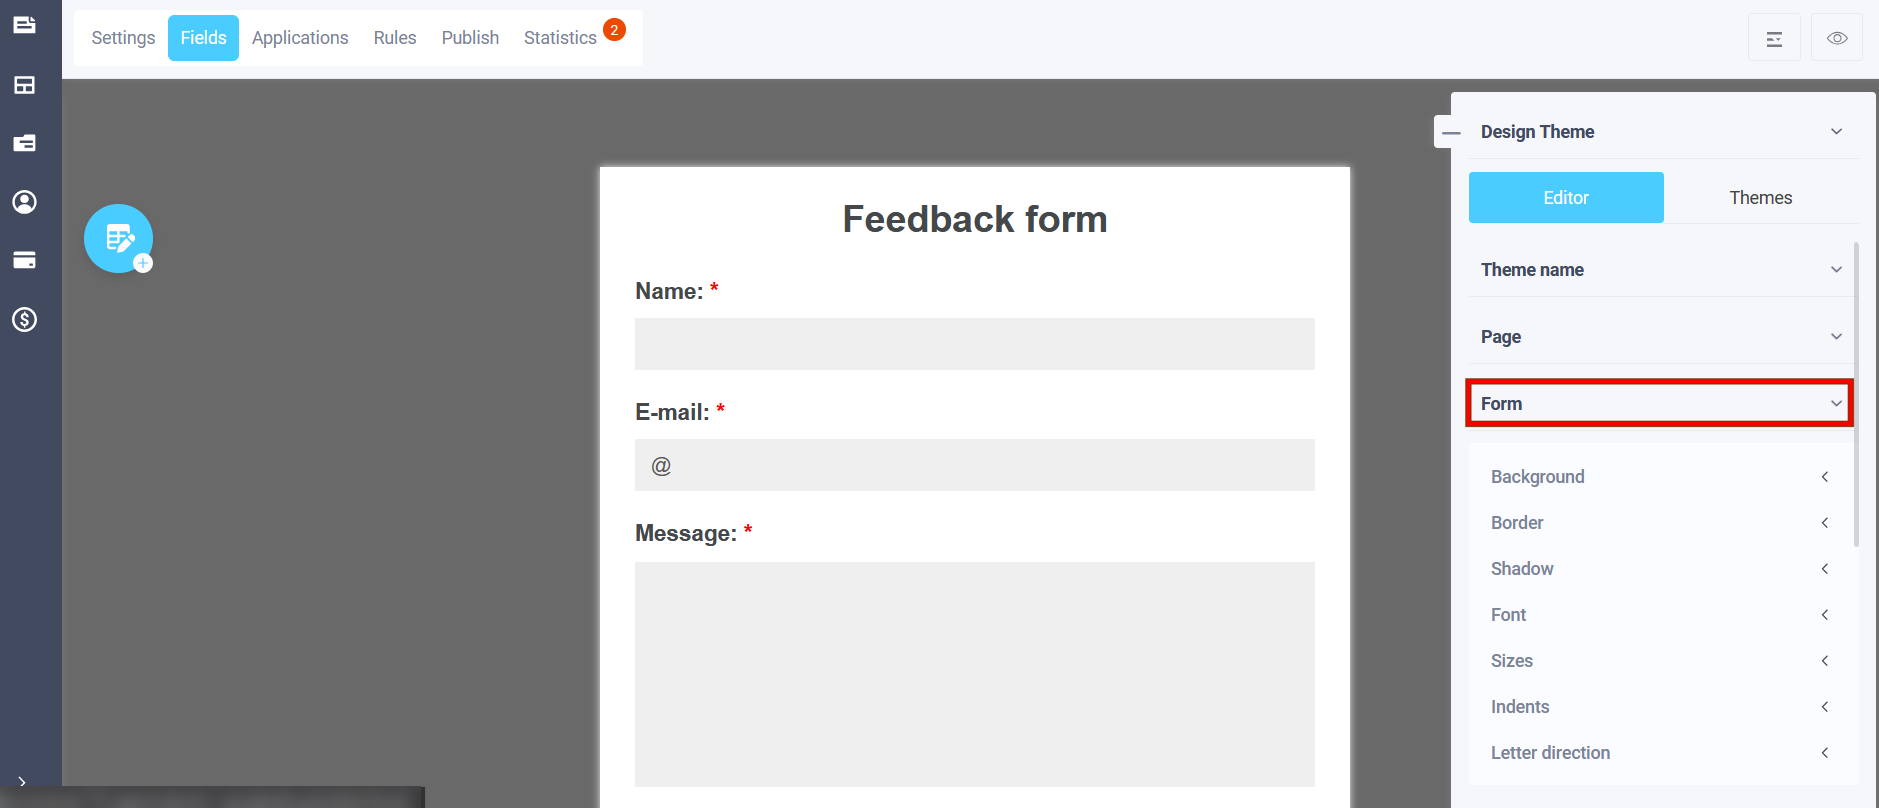
To enter the theme editing mode, you first need to copy the theme, described here - "How to change the design theme?" Then select the "Form" item. The following settings are available for the form:
Background
In the "Background" menu you can select the background type of the form:
- Color
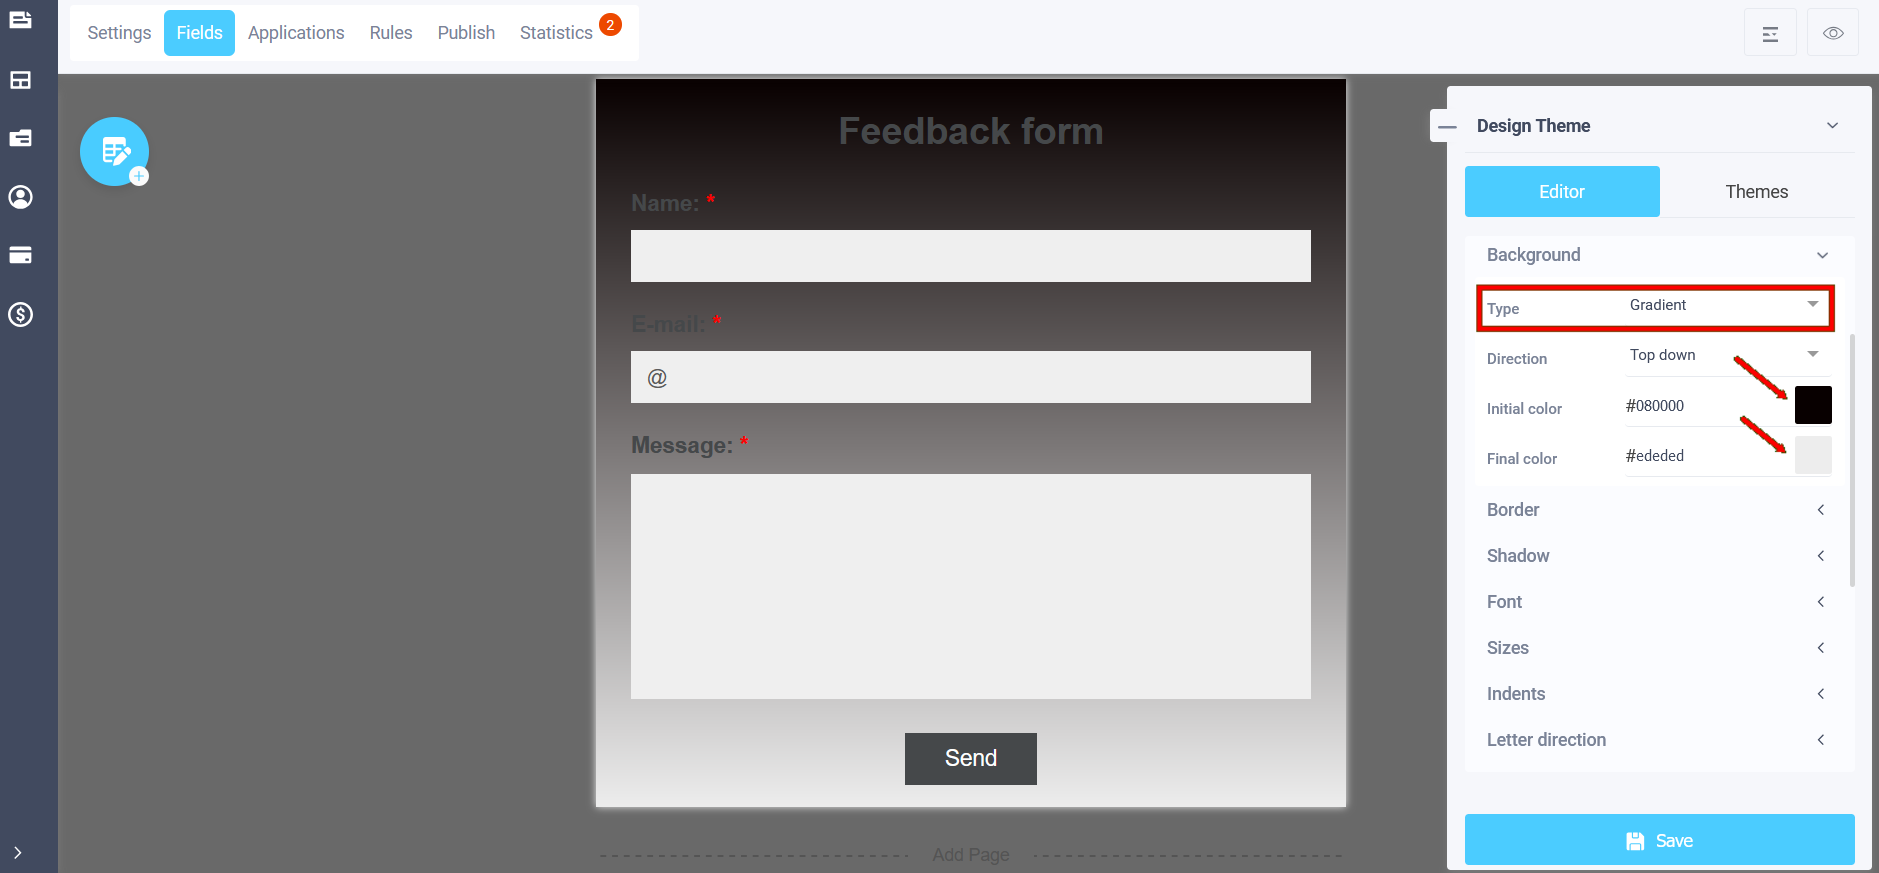
- Gradient
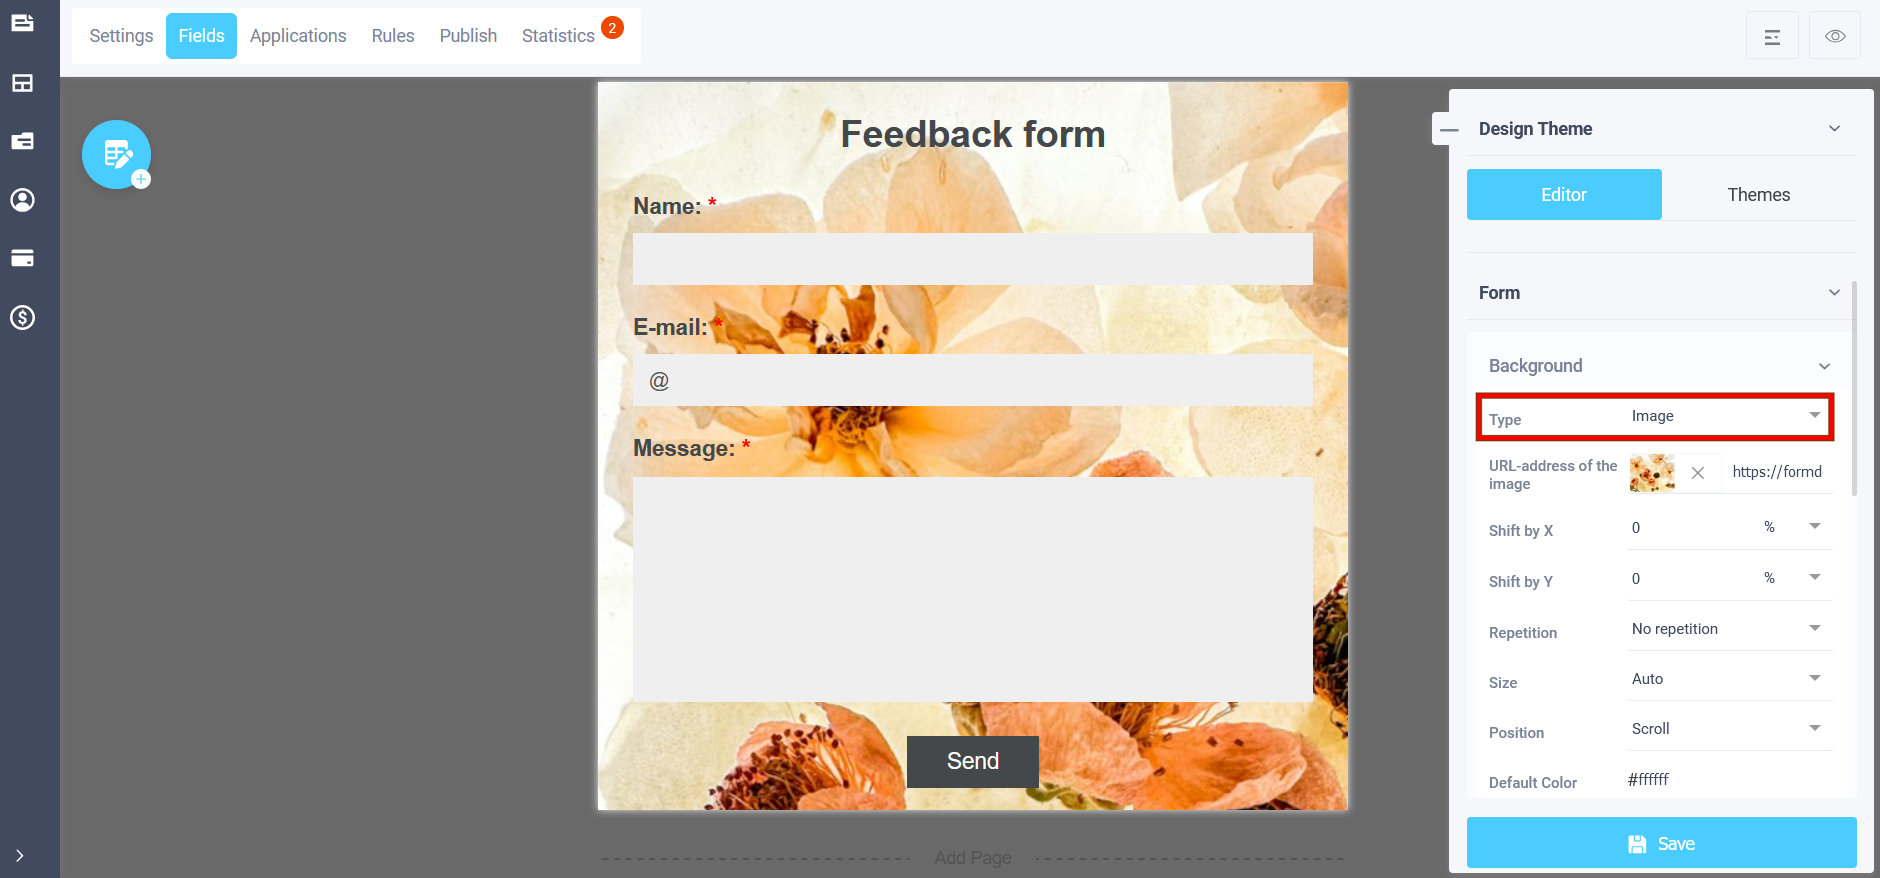
- Image
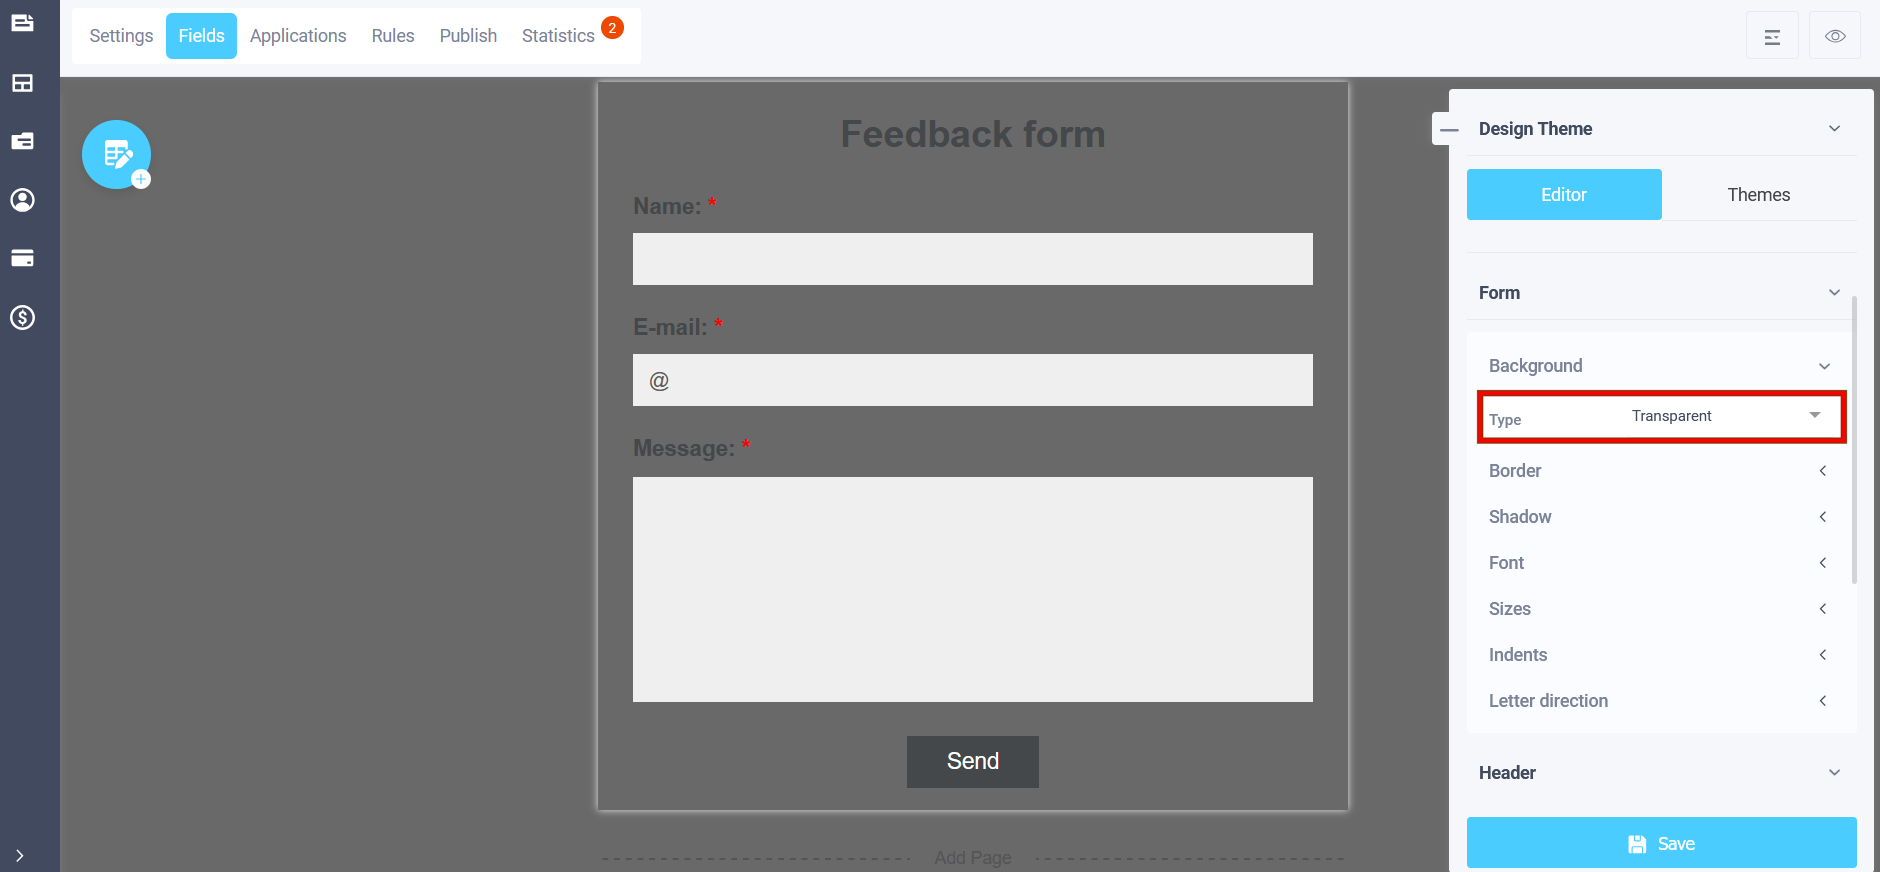
- Transparent
If you select the "Color" item, a single-color background color will be set for the page, the color can be selected from the palette. In the "Gradient" item, you can select the initial color that will transition to the final color, its selection is also available. You can also set the direction of the color transition:
- top down
- from bottom to top
- from left to right
- from right to left
- from top left to bottom right
- from the lower left corner to the upper right
- from the upper right corner to the lower left
- from the lower right corner to the upper left
The next item is "Image". To add an image to the page, click on the "Select image" icon in the "Image URL" field and a pop-up file manager window will open with options for selecting an image:
- Gallery
- Photobank
- My images
In the file manager, standard images are available in the gallery, through the "Upload file" menu you can add your own images, which will be available in the "My images" tab. In the "Repeat" sub-item, you can duplicate the image, both on the entire screen and vertically, horizontally. You can also adjust the shift along the X and Y axes, respectively, in the "Shift by X" and "Shift by Y" sub-items. A transparent background is available in the page background editing menu, to select it, click the corresponding item:
Border
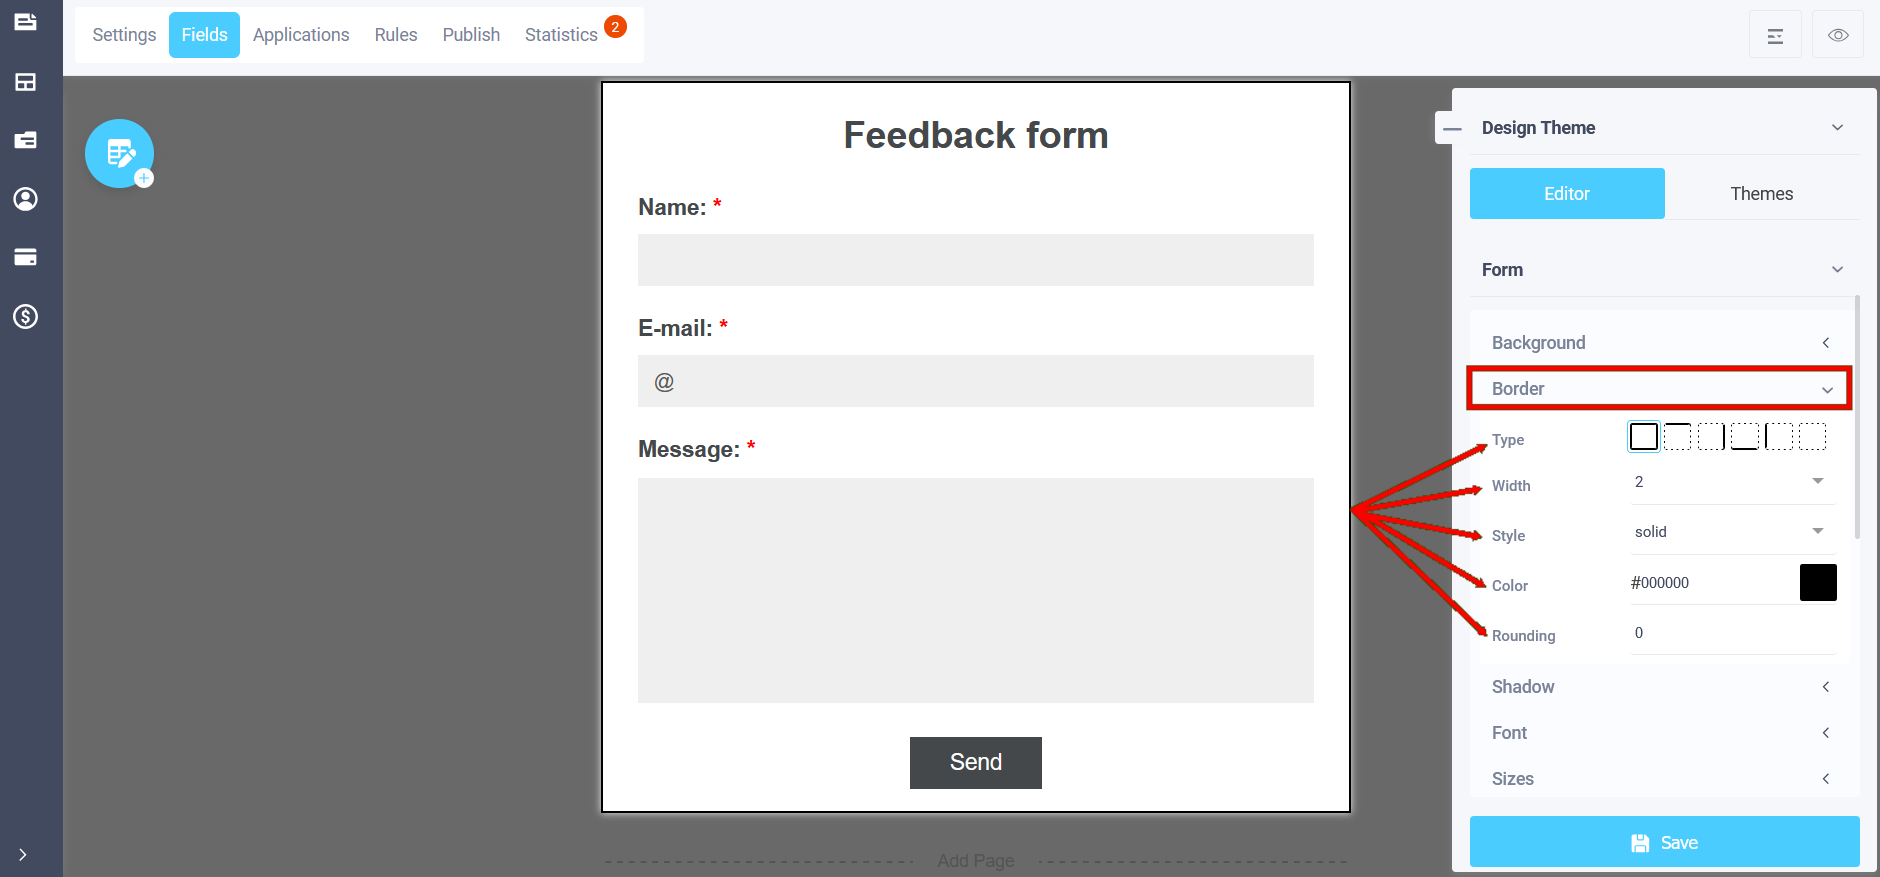
In the theme editing menu, using the "Border" item, you can set:
- Border width
- Border style
- Border color
- Border transparency
- Border rounding
Go to the "Border" list and select the sub-item for customization:
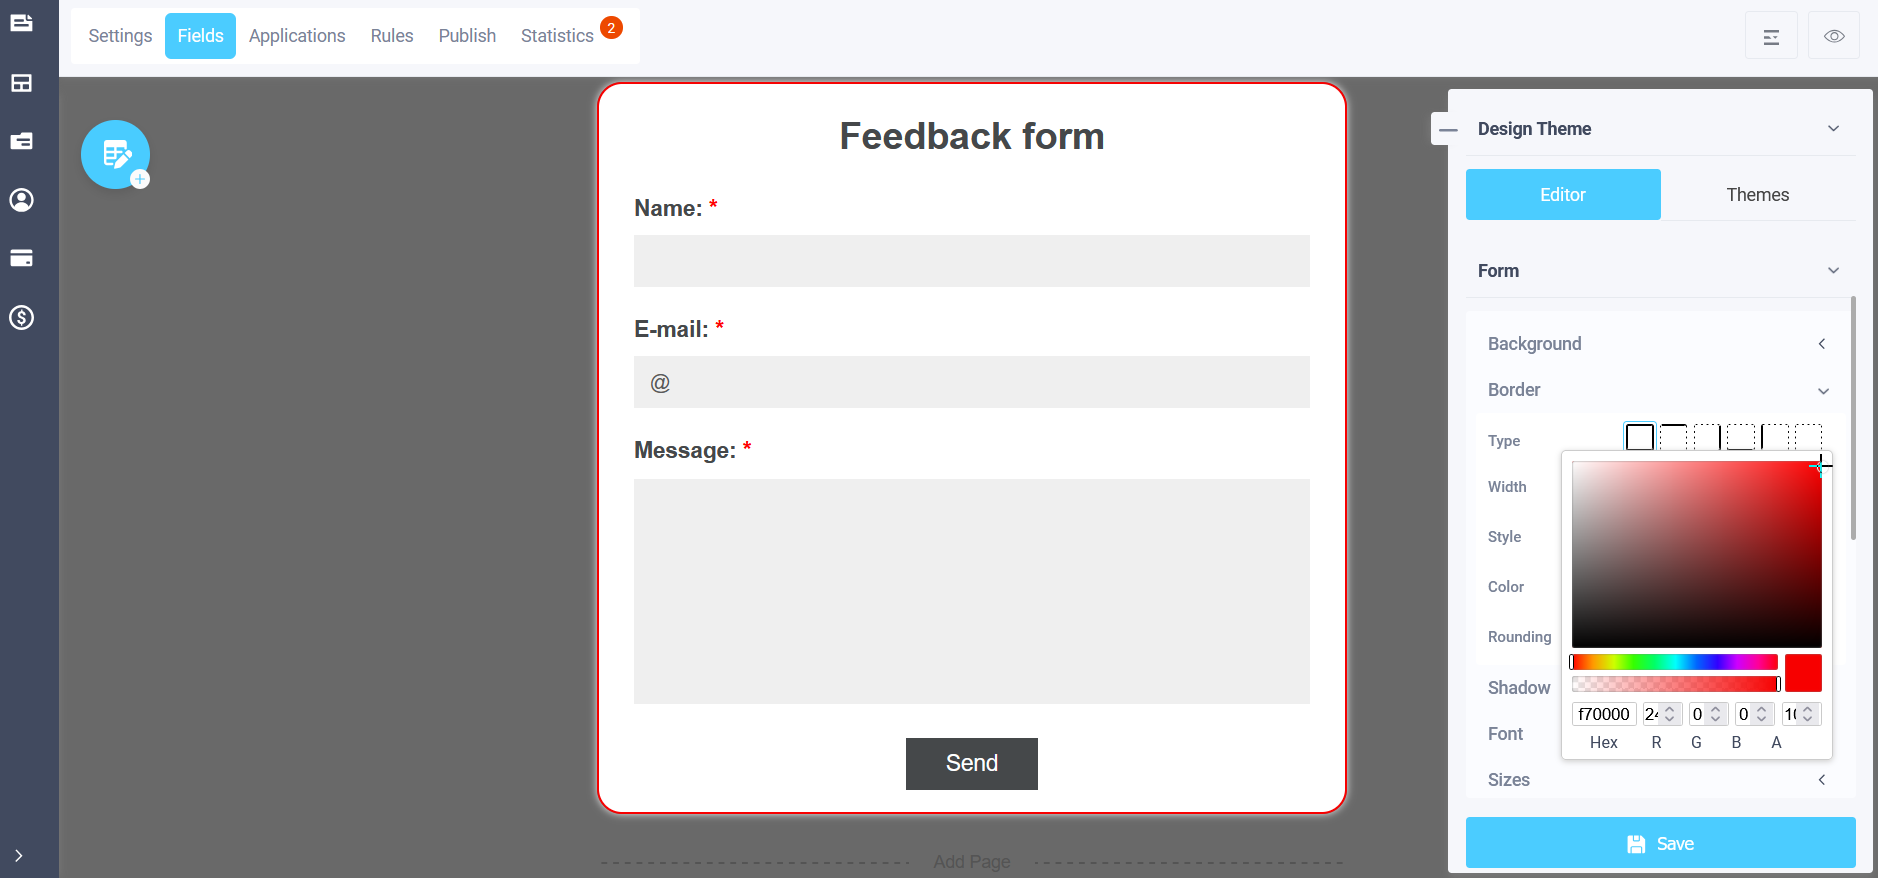
If you go to the "Color" sub-item and click the icon on the right, a color selection palette will open in front of you, where you can select the desired color or enter it manually:
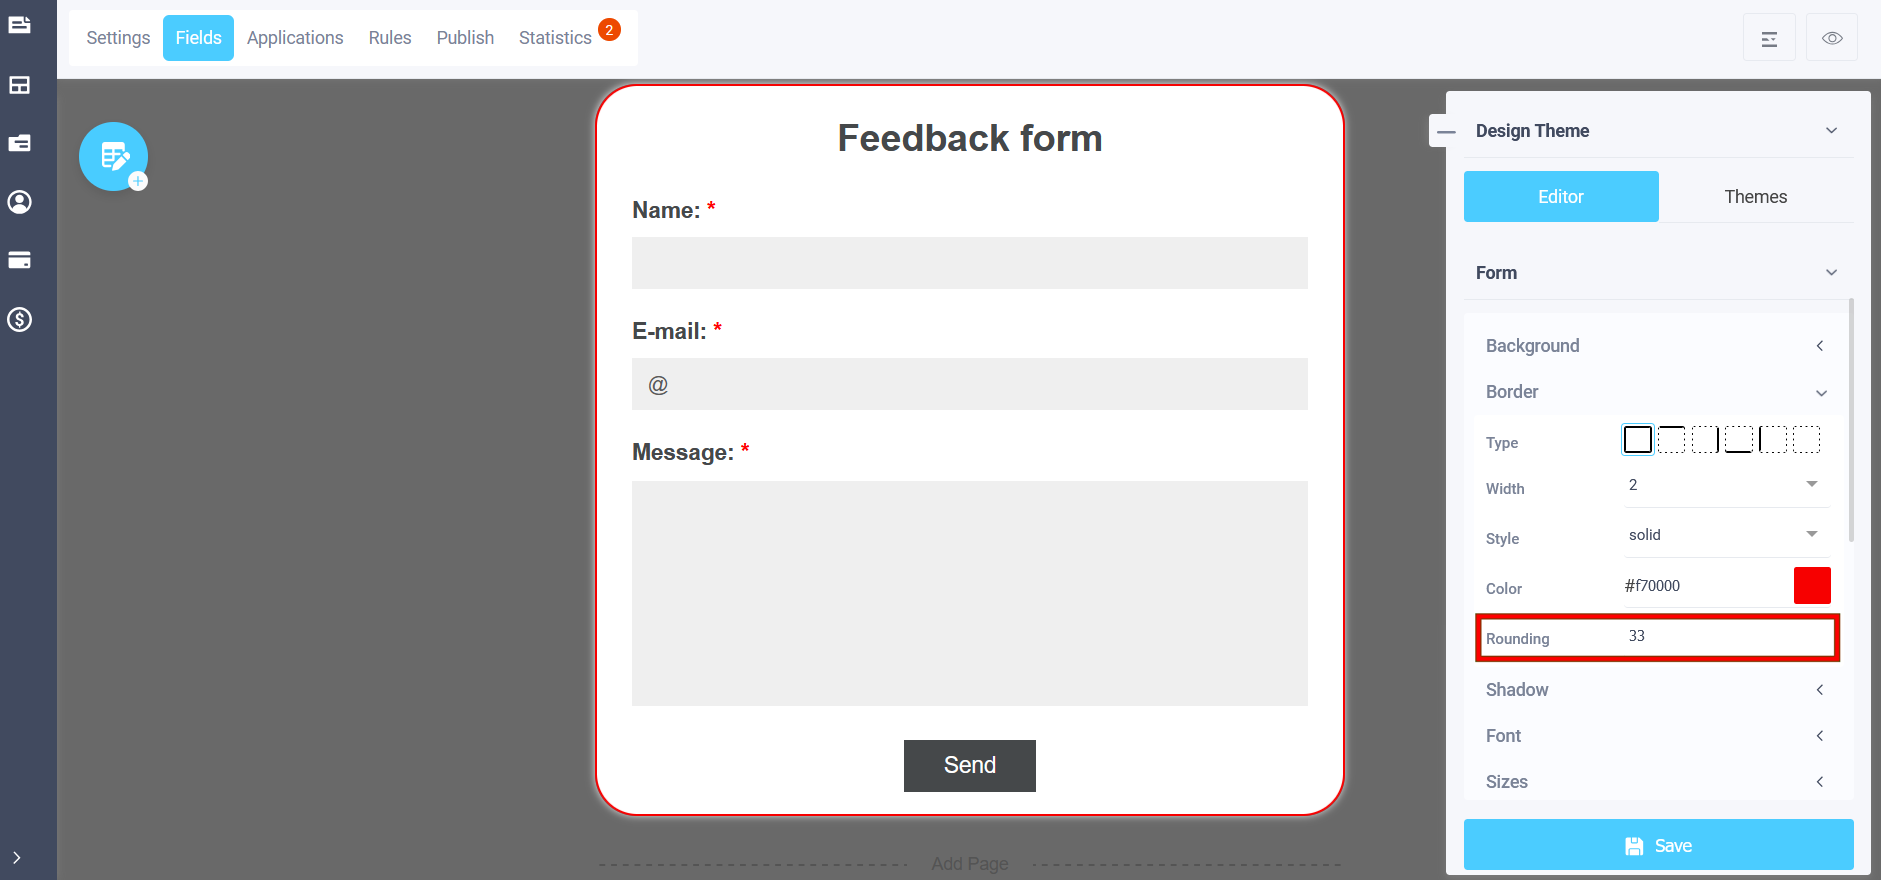
In the "Transparency" settings you can choose how transparent the border will be. In the "Rounding" field you can set the degree of rounding of the edge of the shape Border (0 means the shape will be rectangular).
Shadow
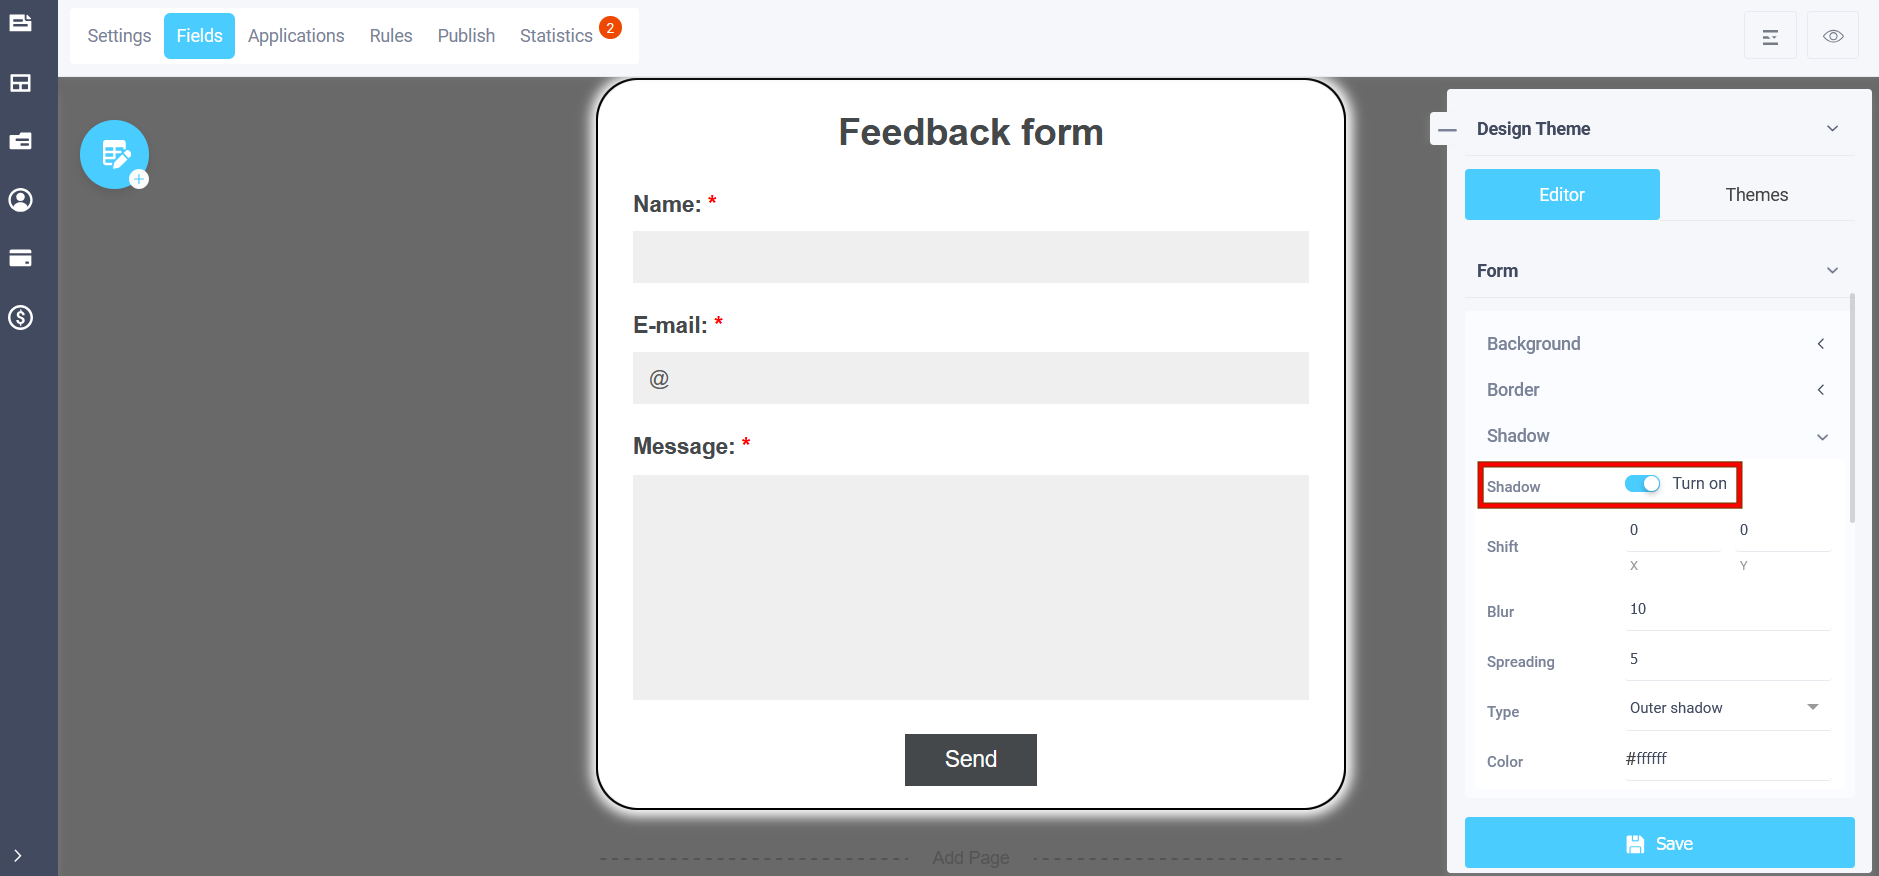
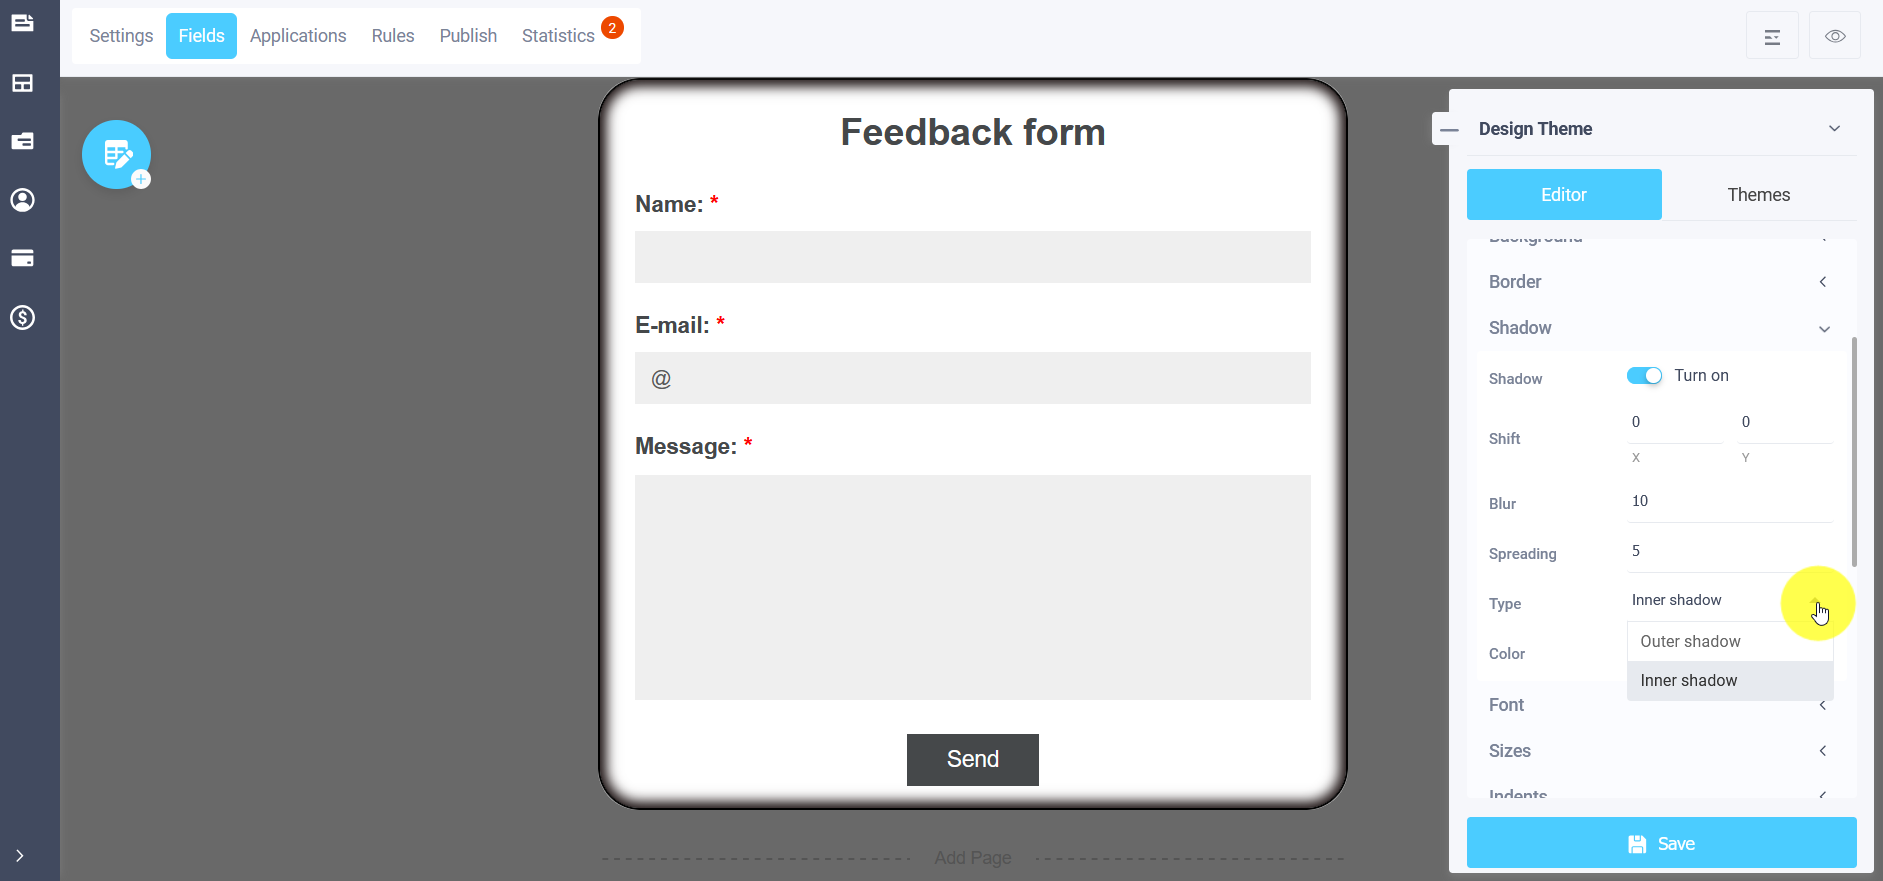
In the edit menu of your design theme you can customize the shadow of the form, to do this turn on "Shadow" by moving the slider:
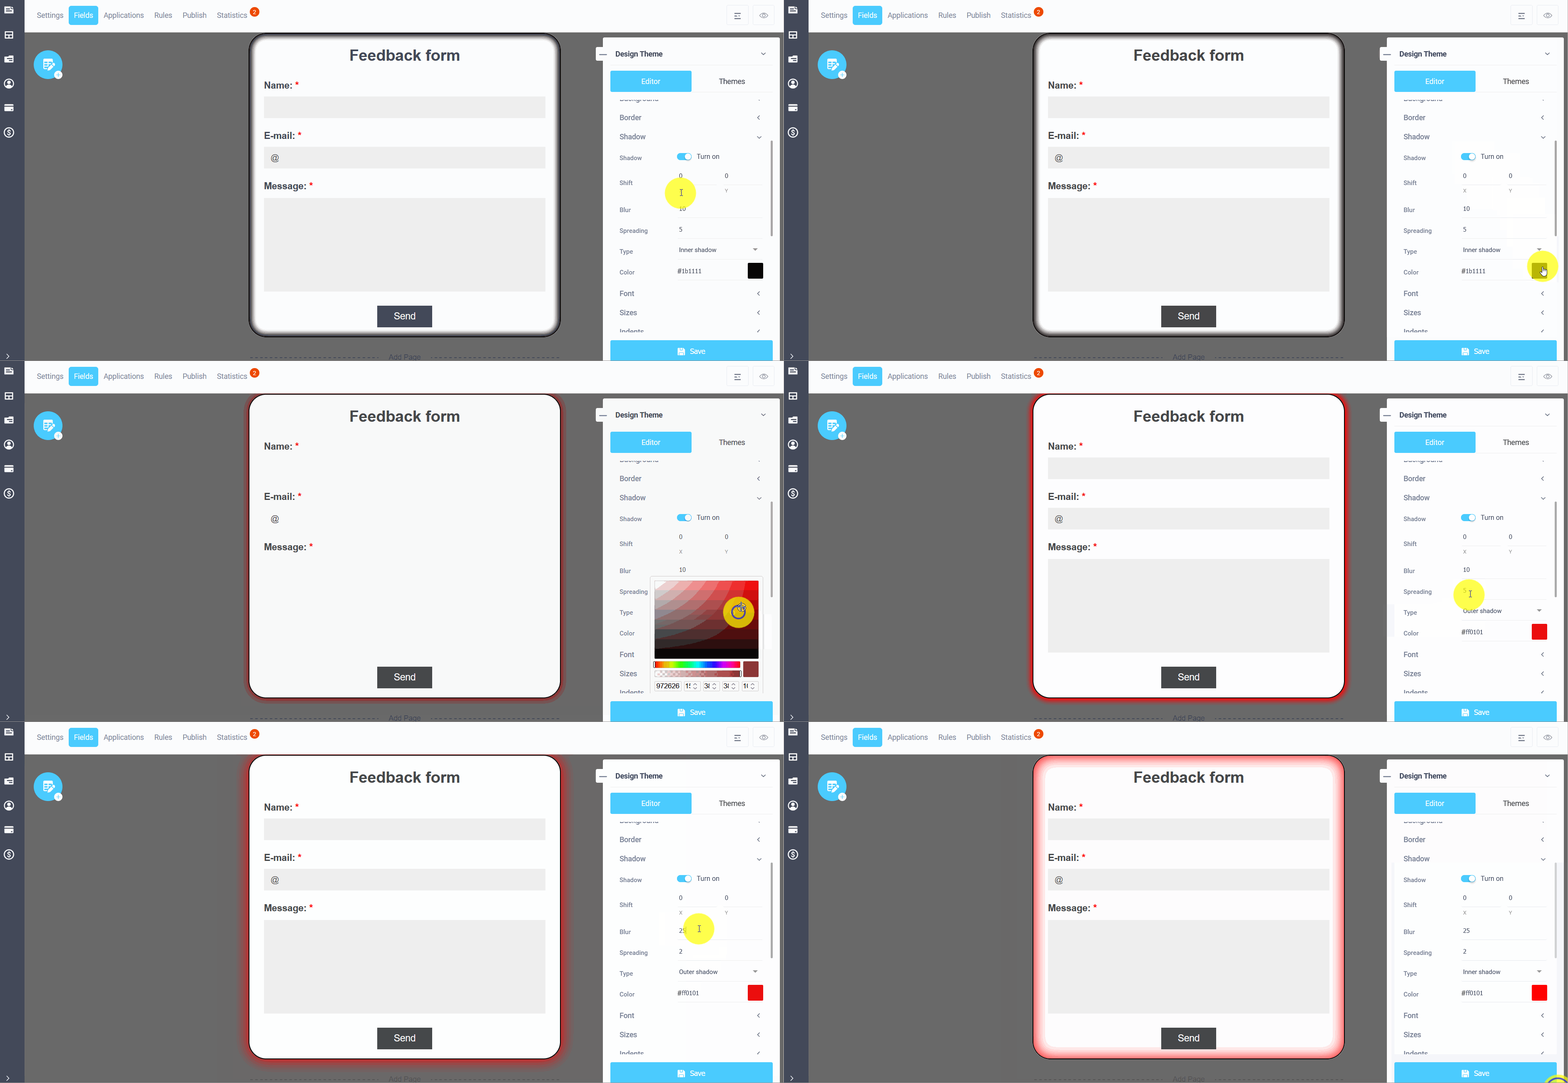
The shadow settings include: shadow type (inner and outer), shadow blur, shadow stretch, transparency, and X and Y offsets.
The animation below clearly shows the impact of changing the parameters:
Font
In the theme editing menu, the following subsections are available in the "Font" section:
- Field Labels
- Field Description
- Answering options
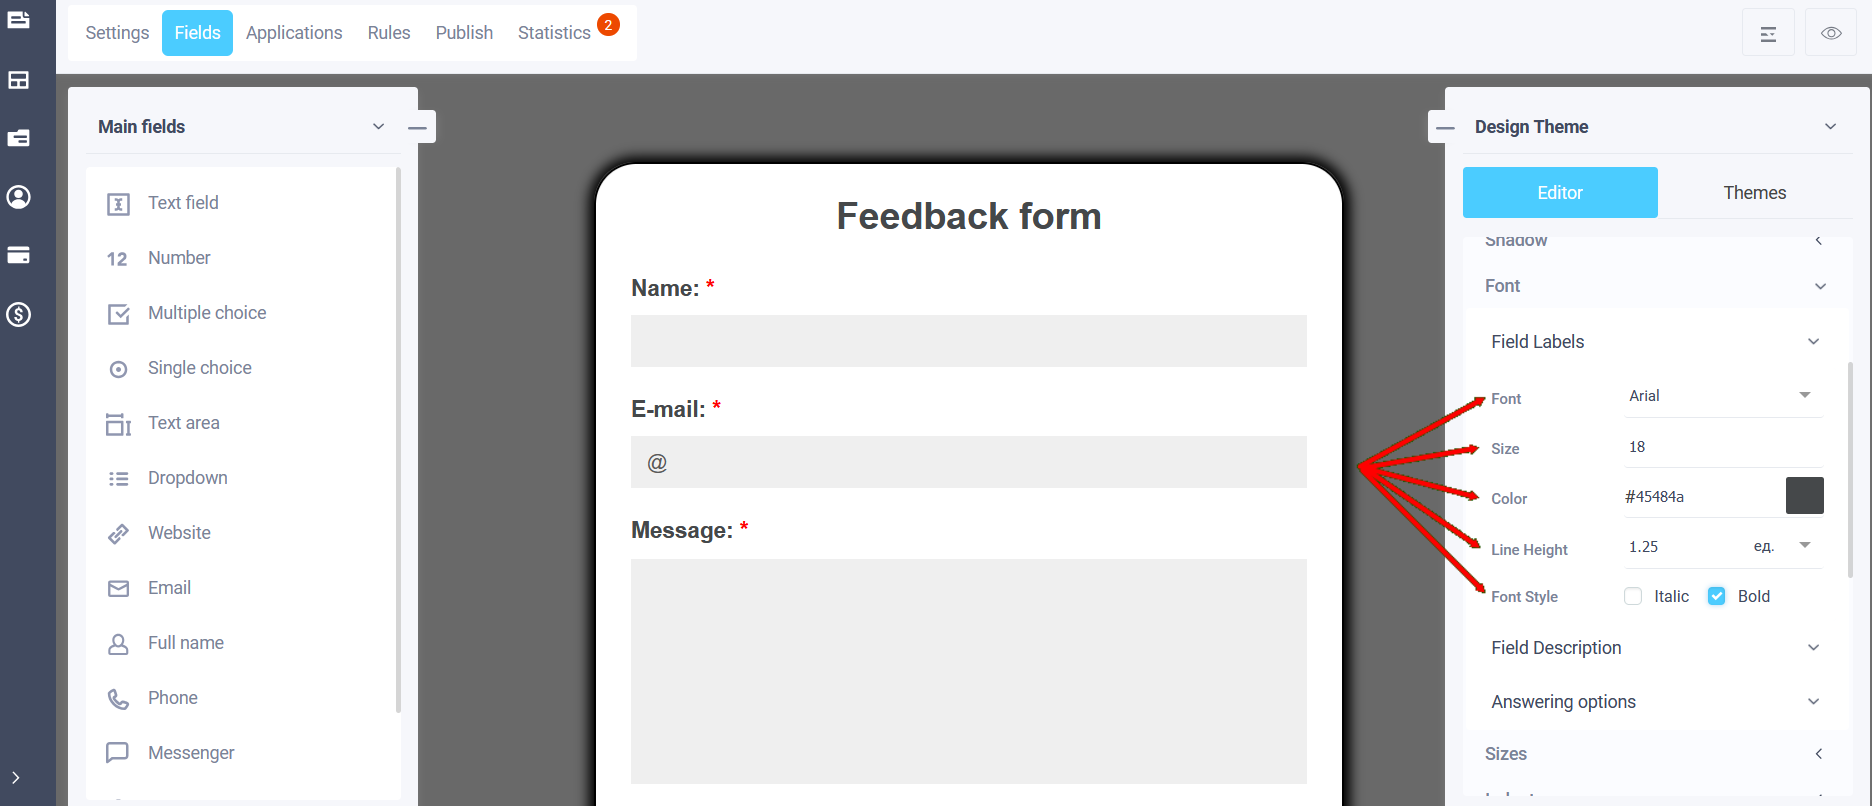
In the "Field Labels" subsection, you can select the font, font color, size, color, make the font italic or bold:
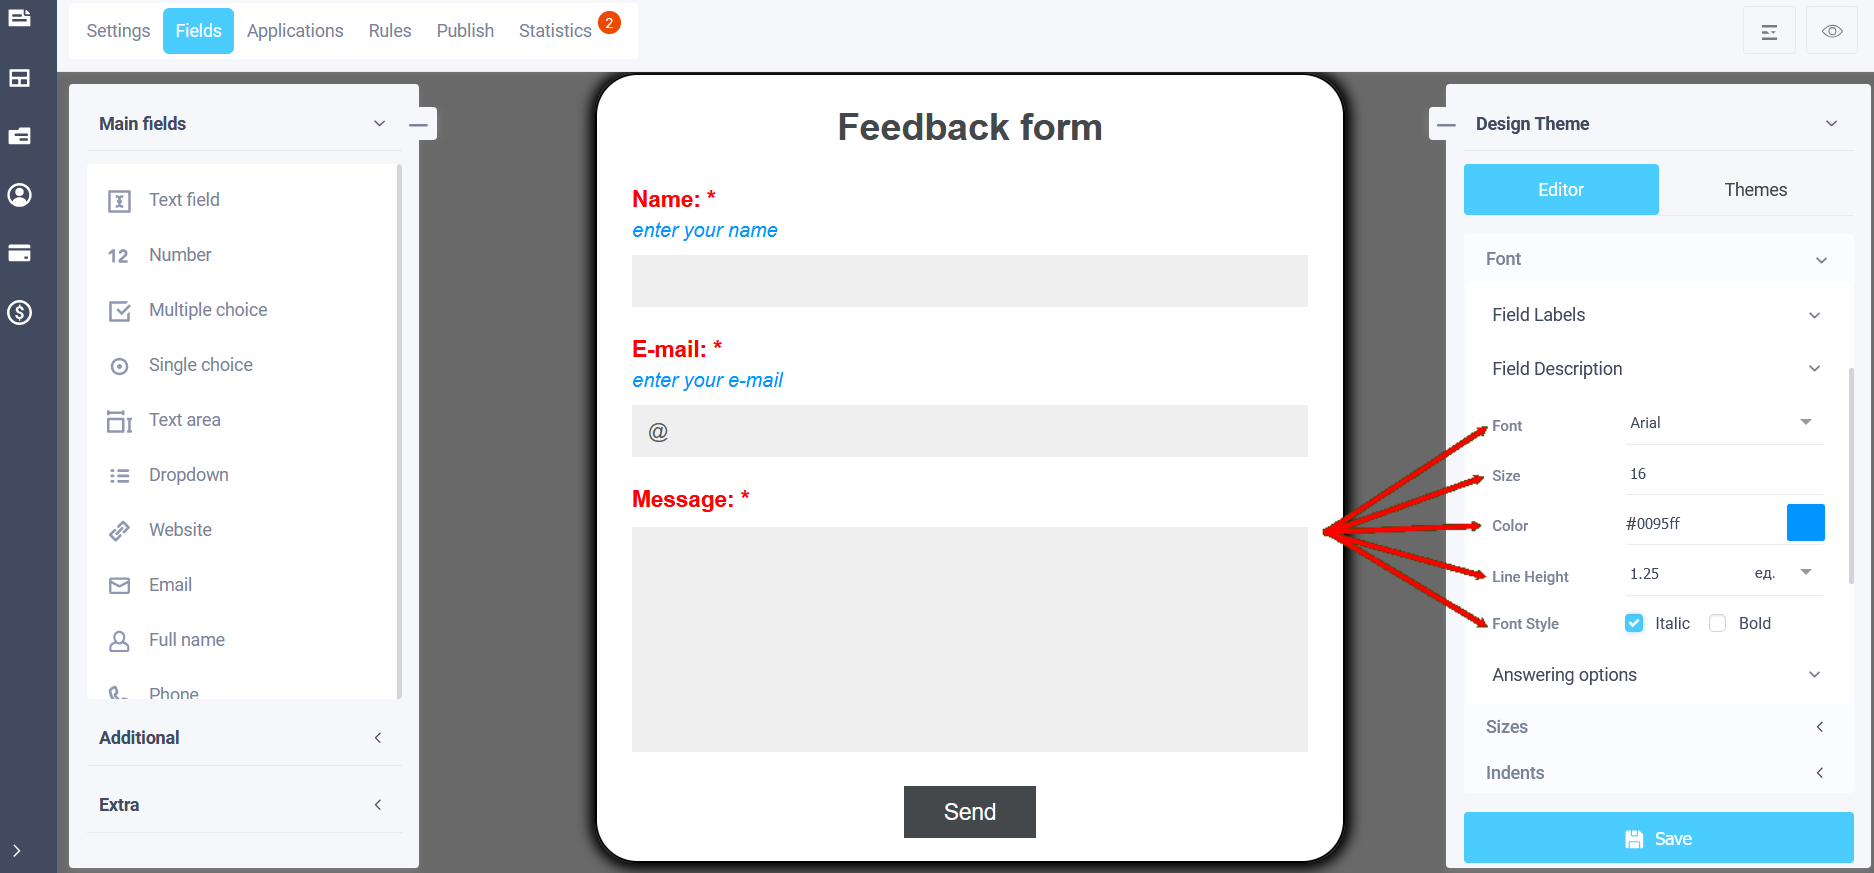
In the "Field Description" subsection, you can select the font, font color, size, color of the description of elements, make the font italic or bold
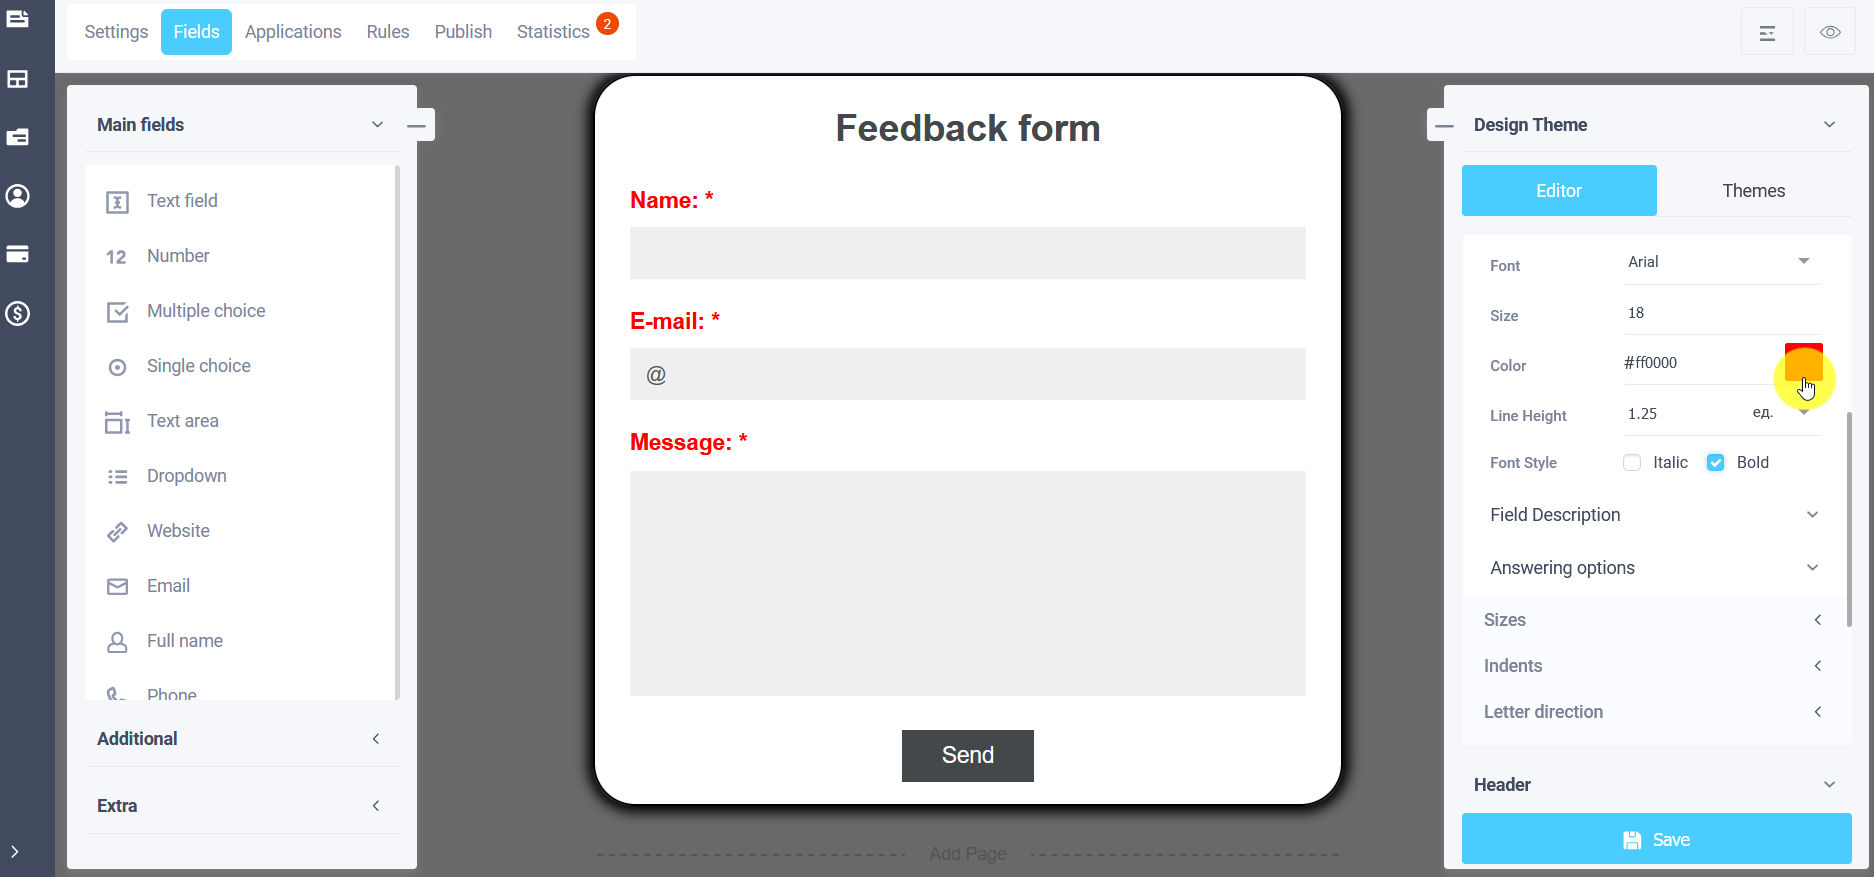
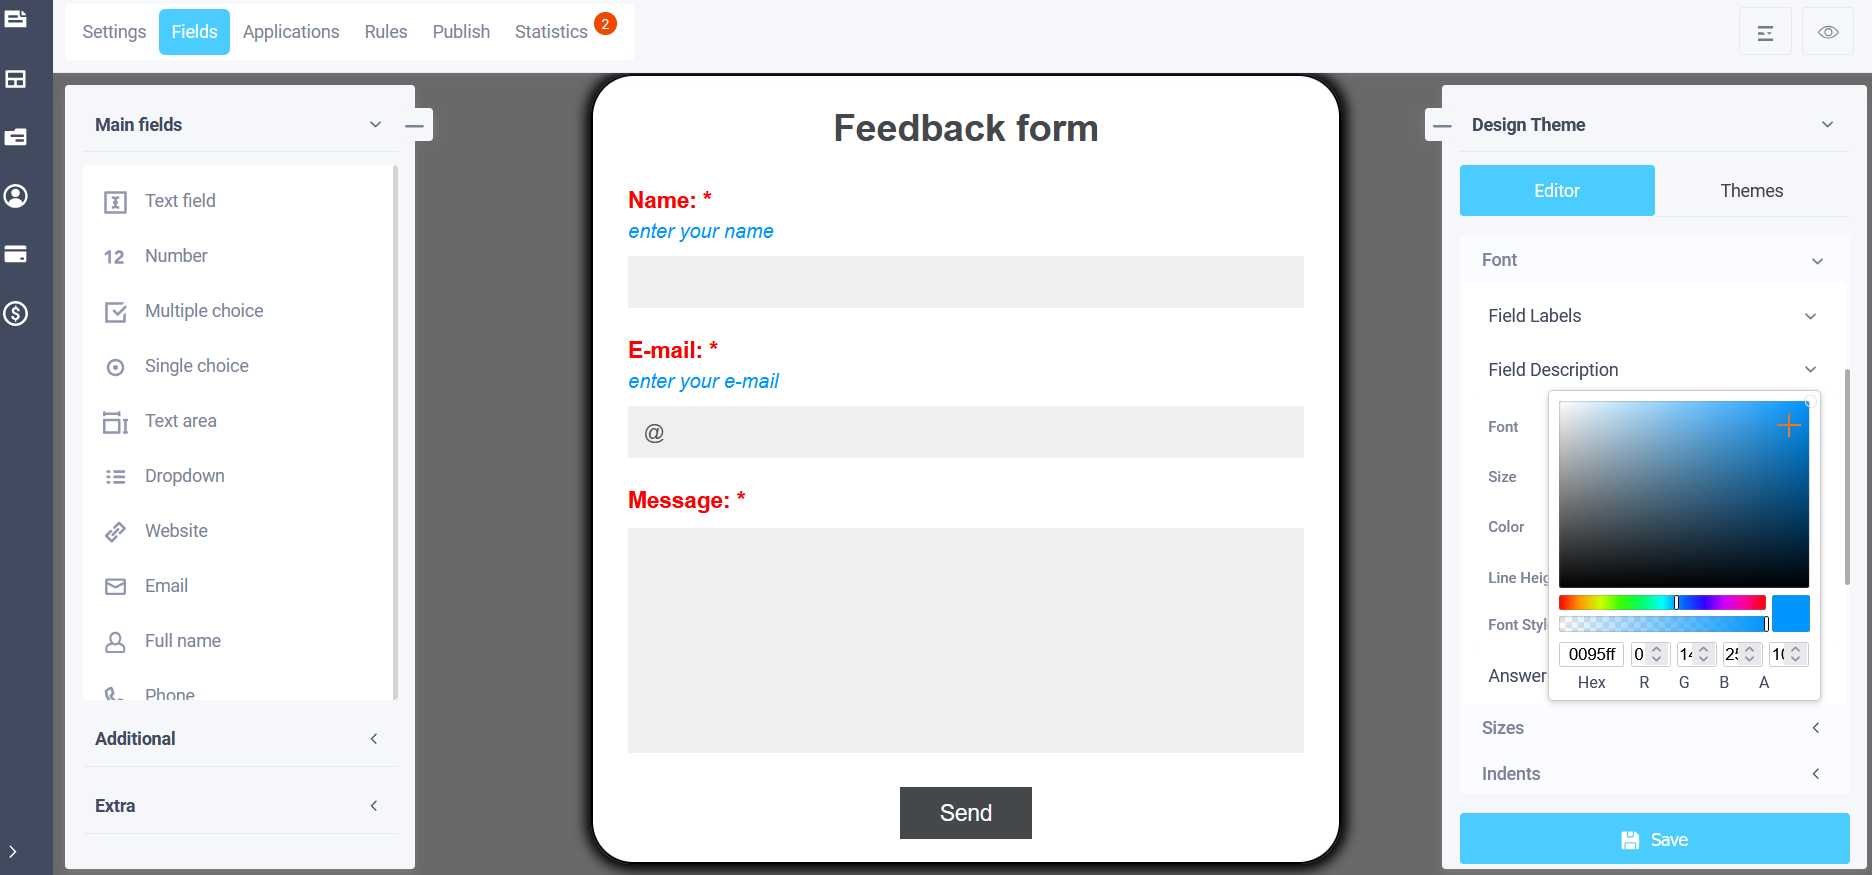
In the "Color" field on the right, if you click on the icon, a palette will open with a choice of color and shade:
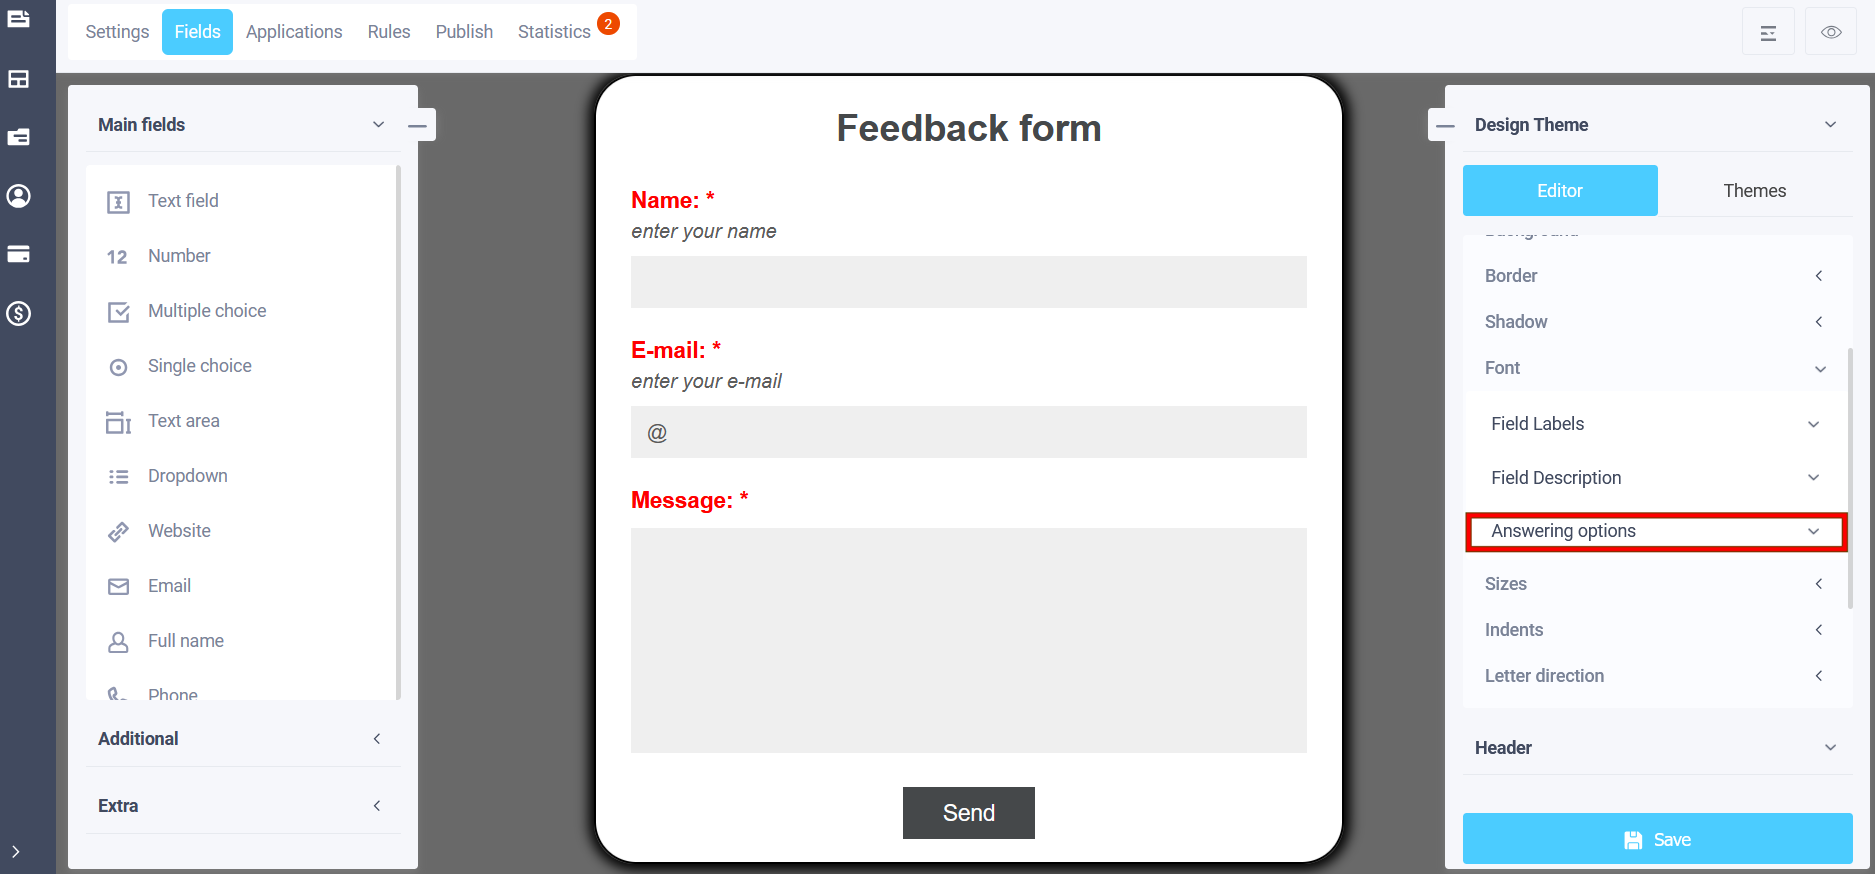
To enter the settings of the "Answering options" subsection, click on the corresponding item:
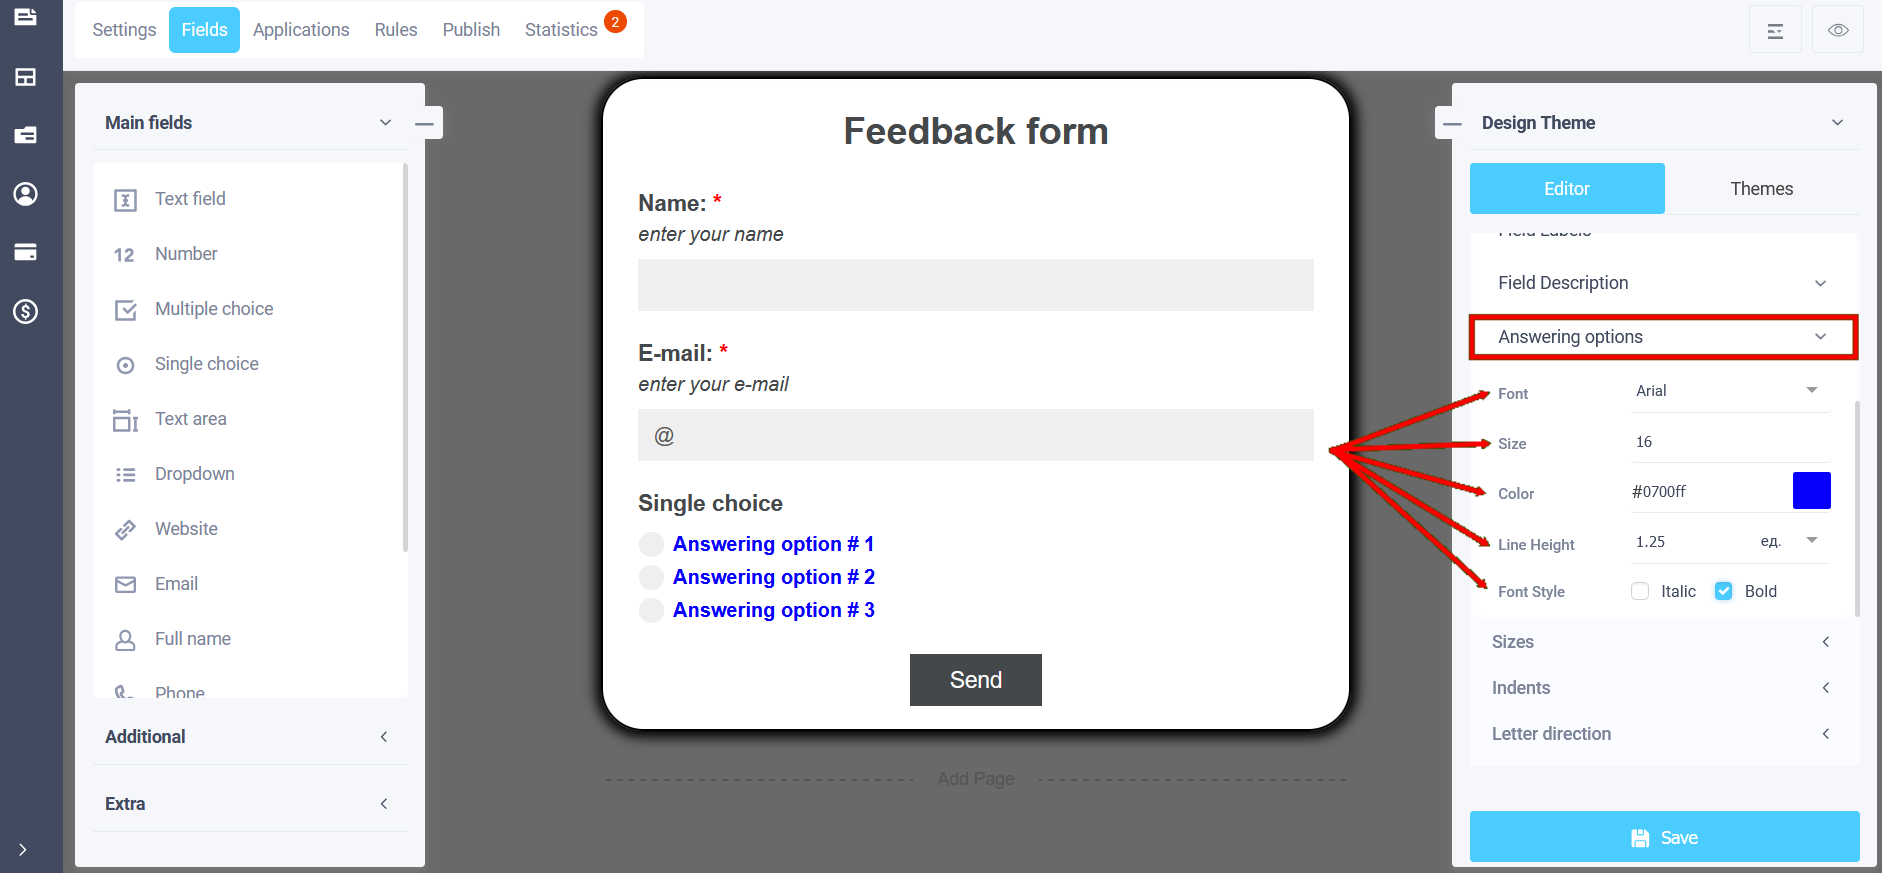
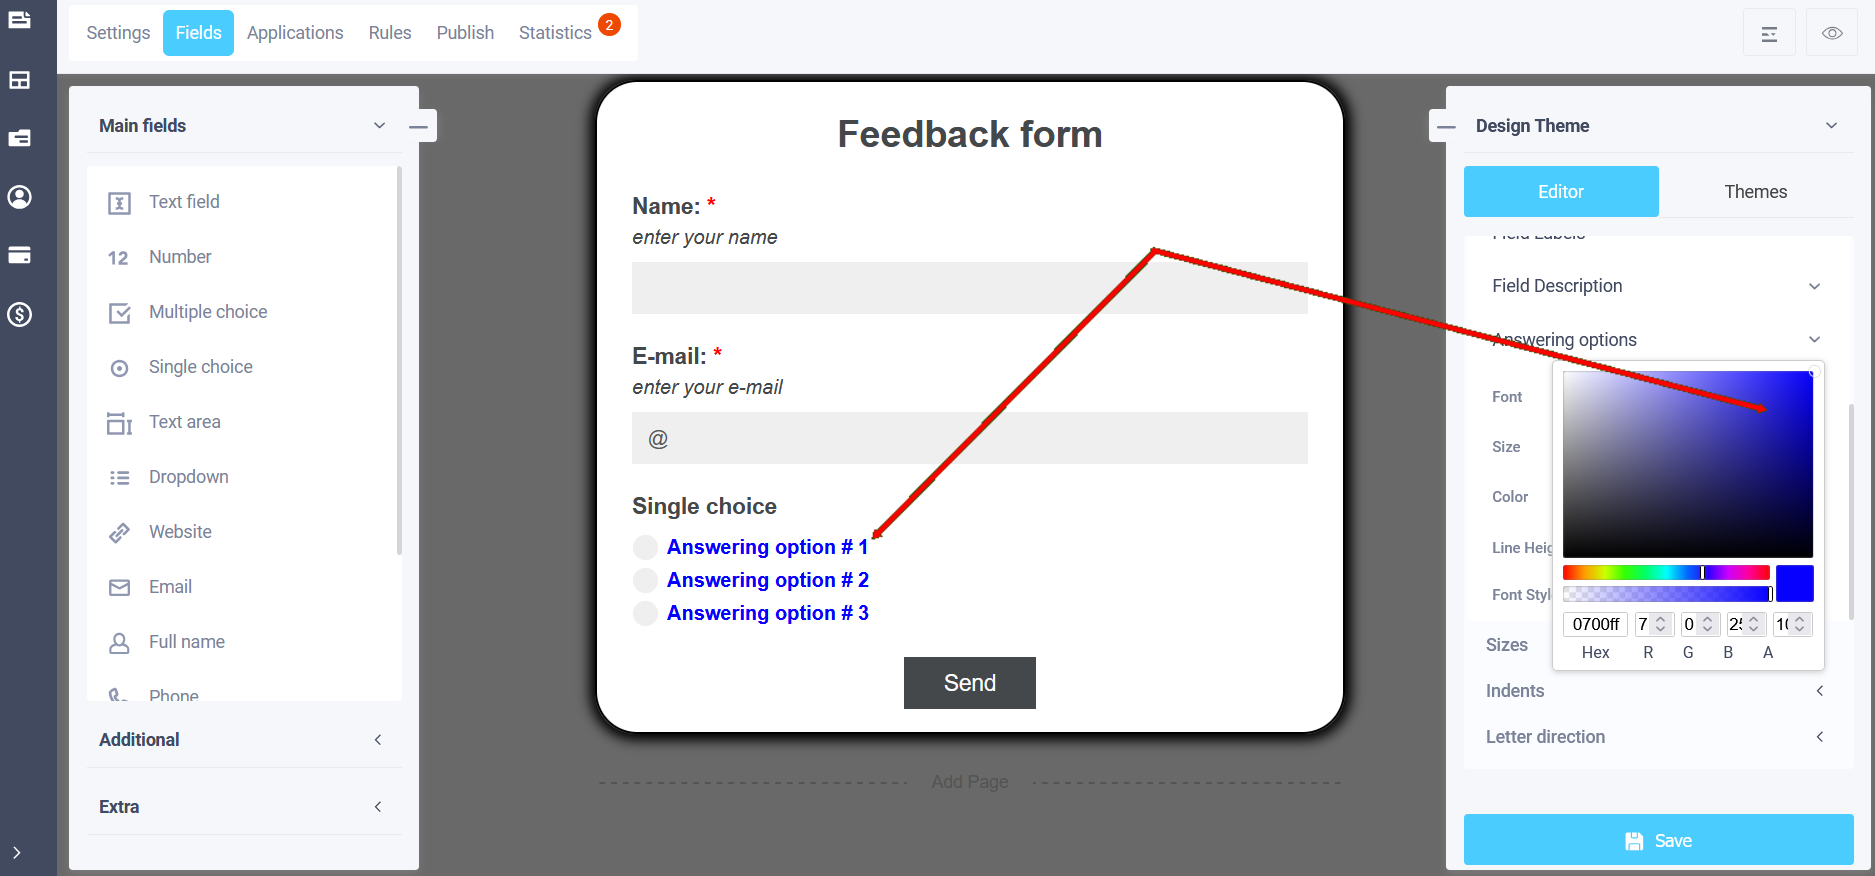
In the "Answering Options" subsection, you can select the font, font color, size, color for the answer options (drop-down list and radio buttons), make the font italic or bold:
In the "Color" field on the right, if you click on the icon, a palette will open with a choice of color and shade:
Sizes
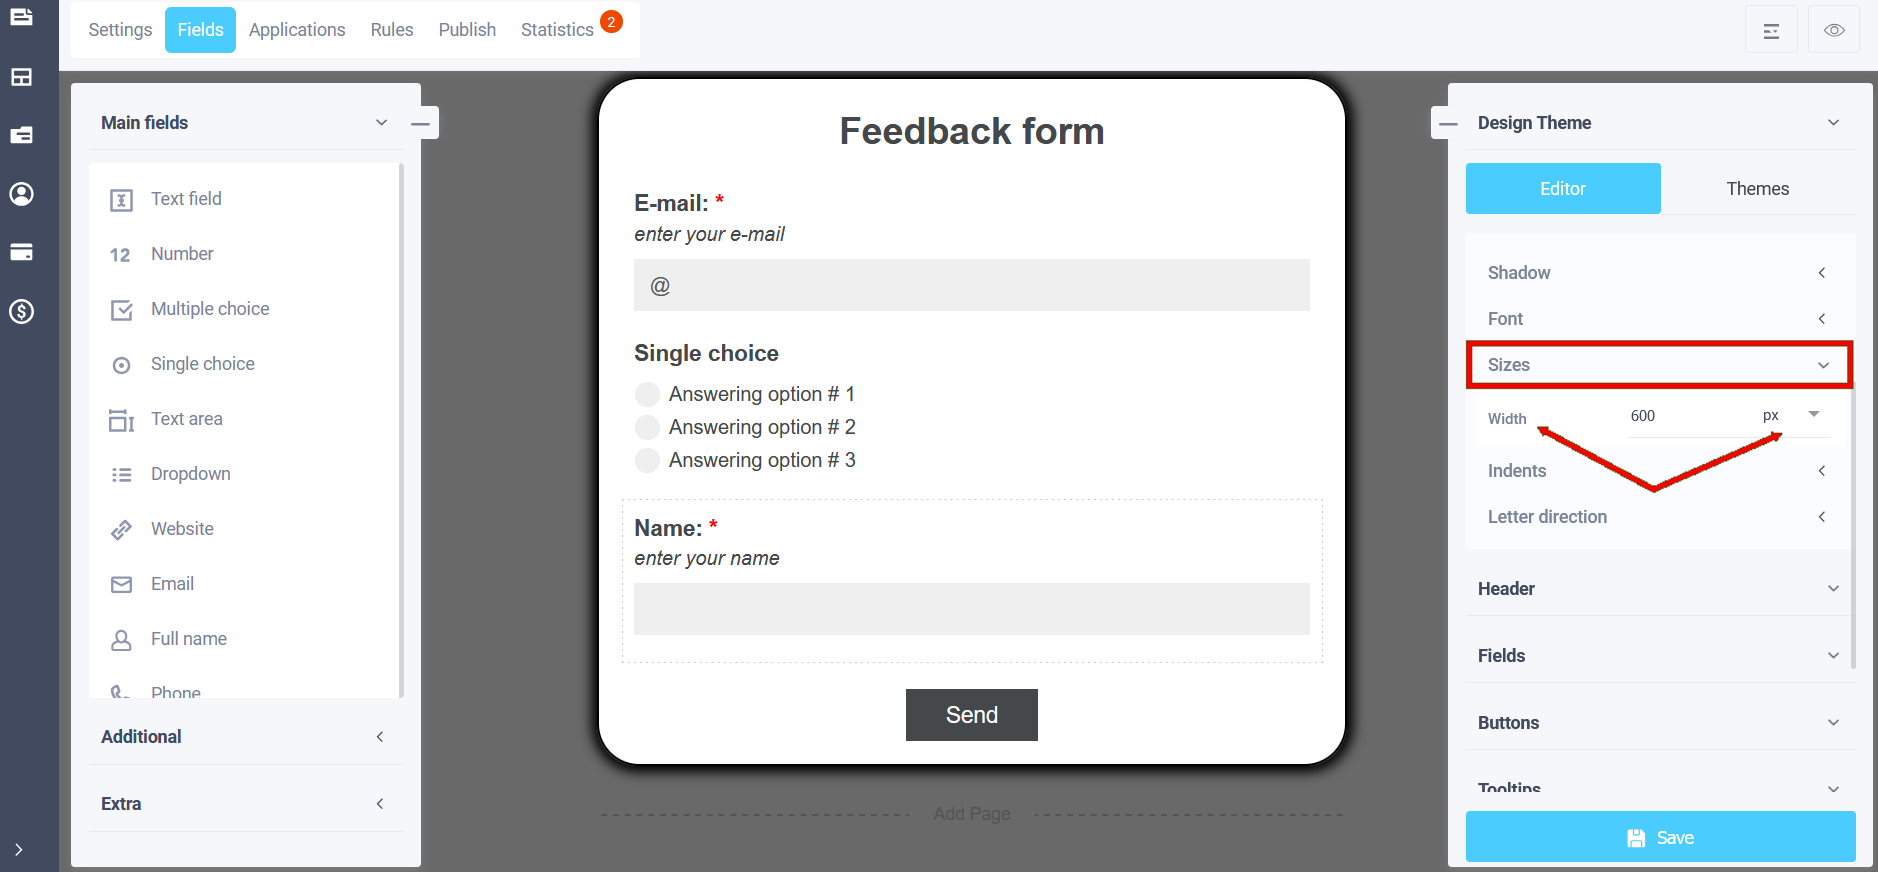
Here you can adjust the width of the form by specifying a value in pixels:
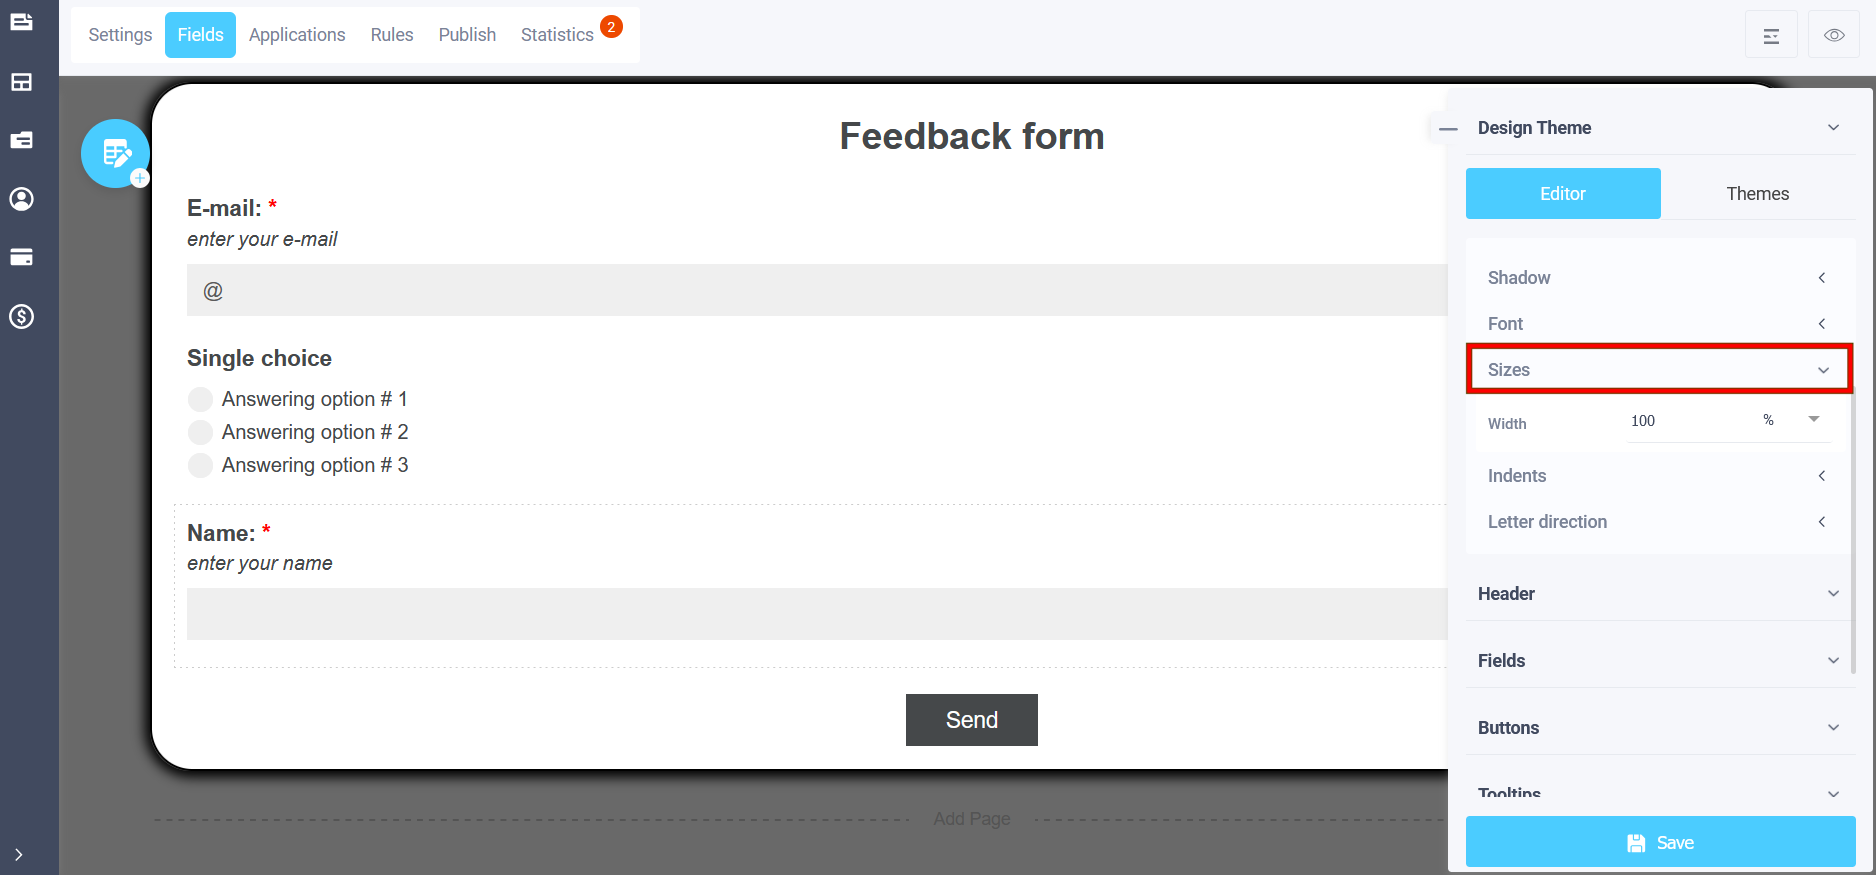
Or in percentages:
Indents
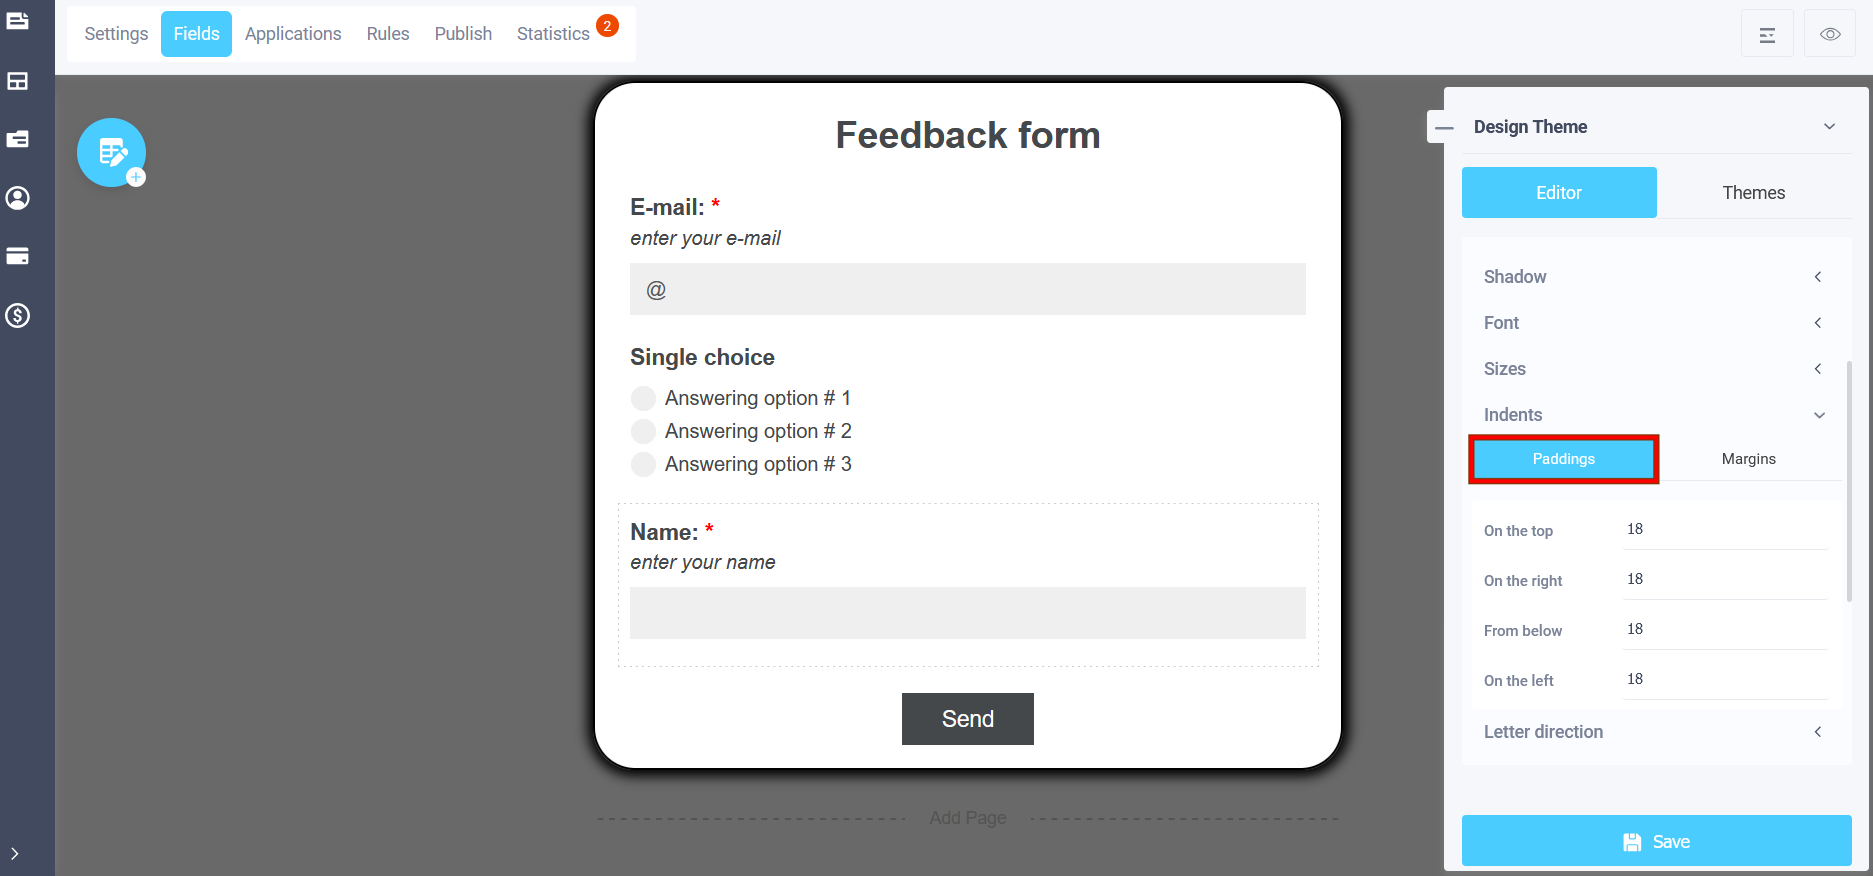
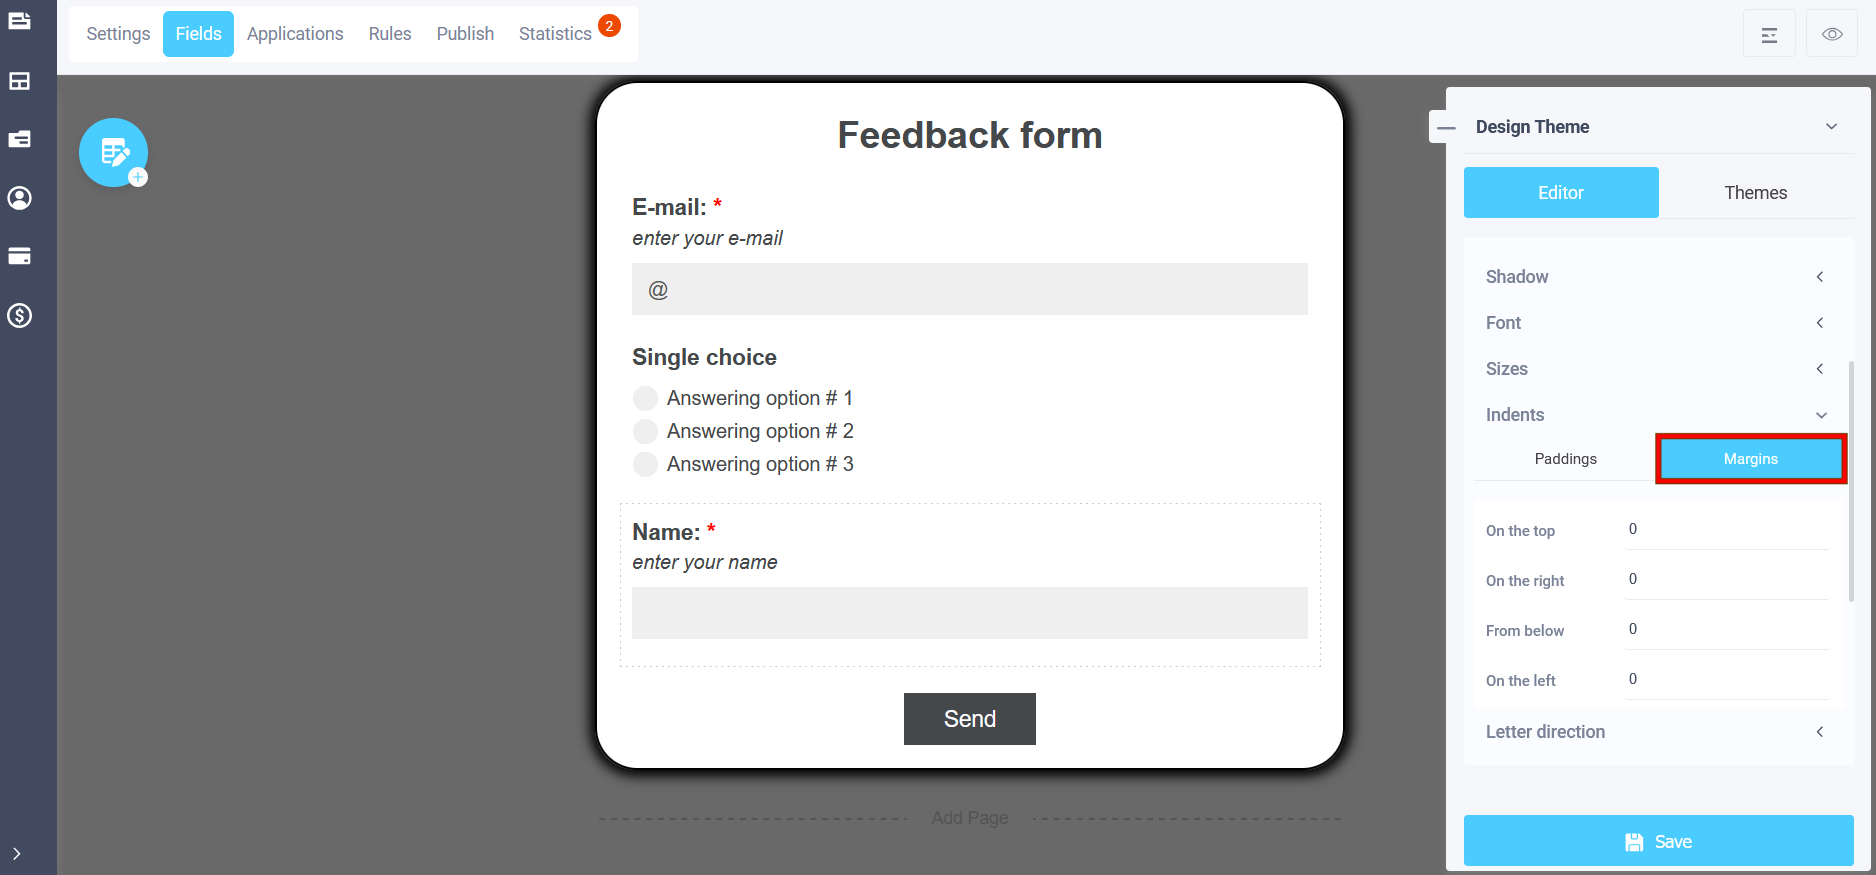
To enter the "Indents" settings in the form theme editing mode, click on the "Indents" subsection and you will be able to configure the internal and external indents of the form:
The following parameters are available for customization in the internal and external indents:
- on the top
- from below
- on the right
- on the left
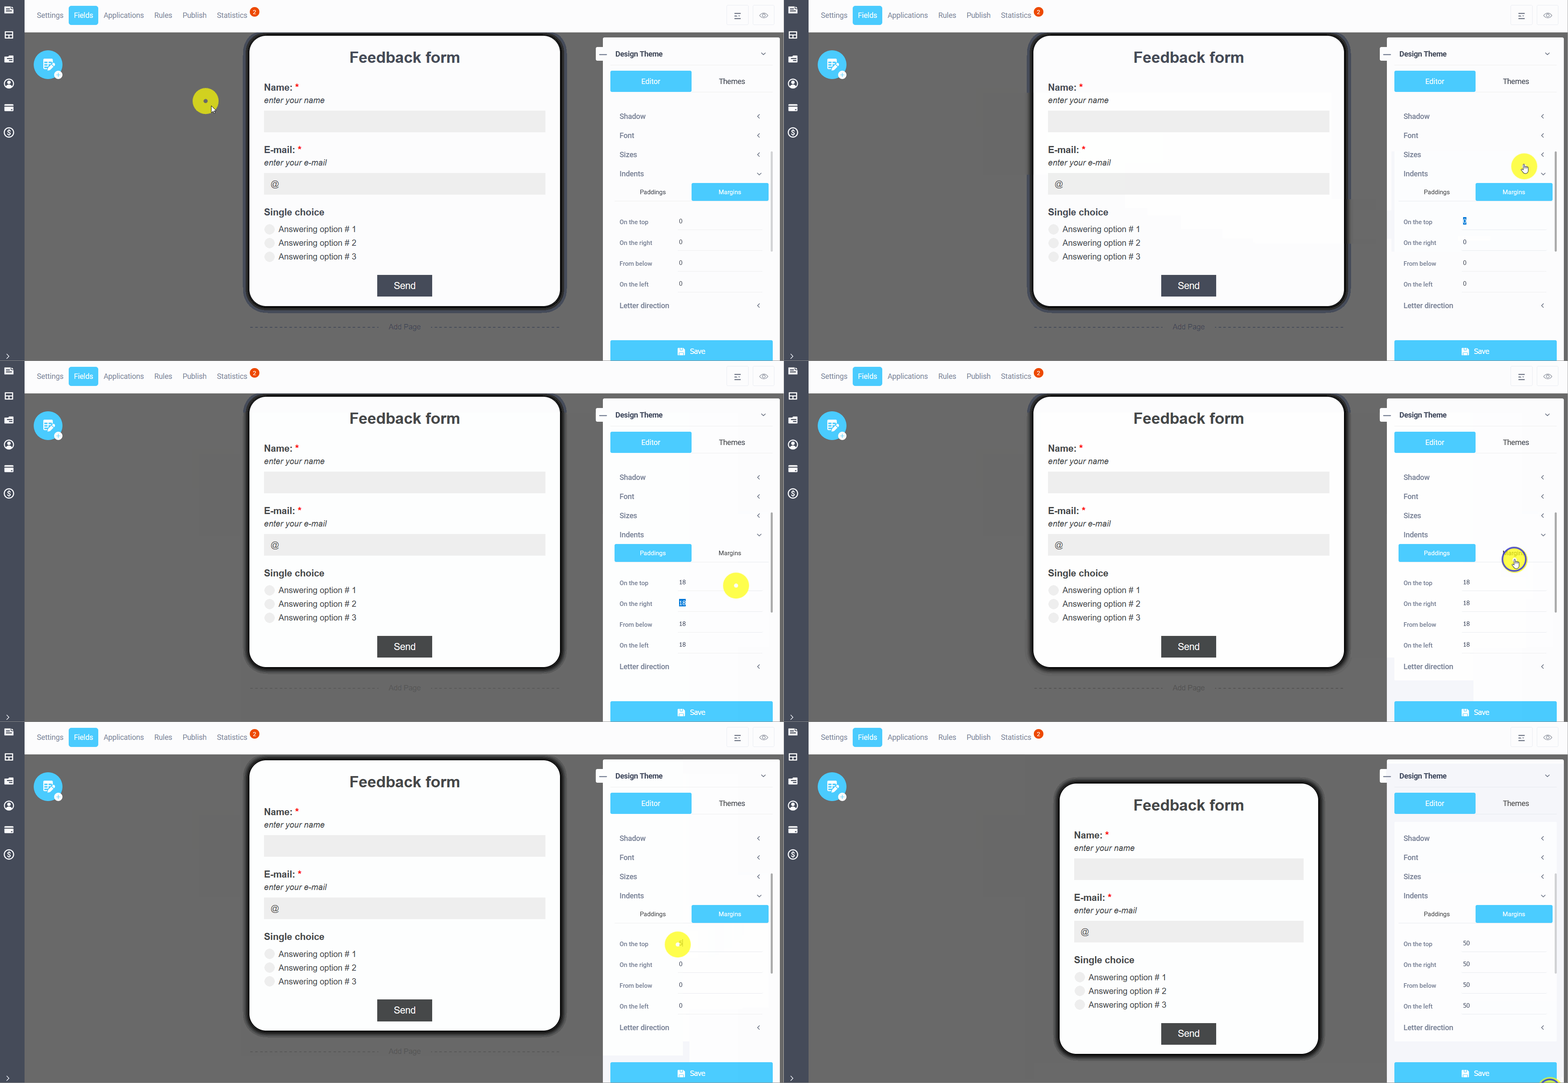
By changing the indentation settings, you can customize the appearance of form theme fields:
Letter direction
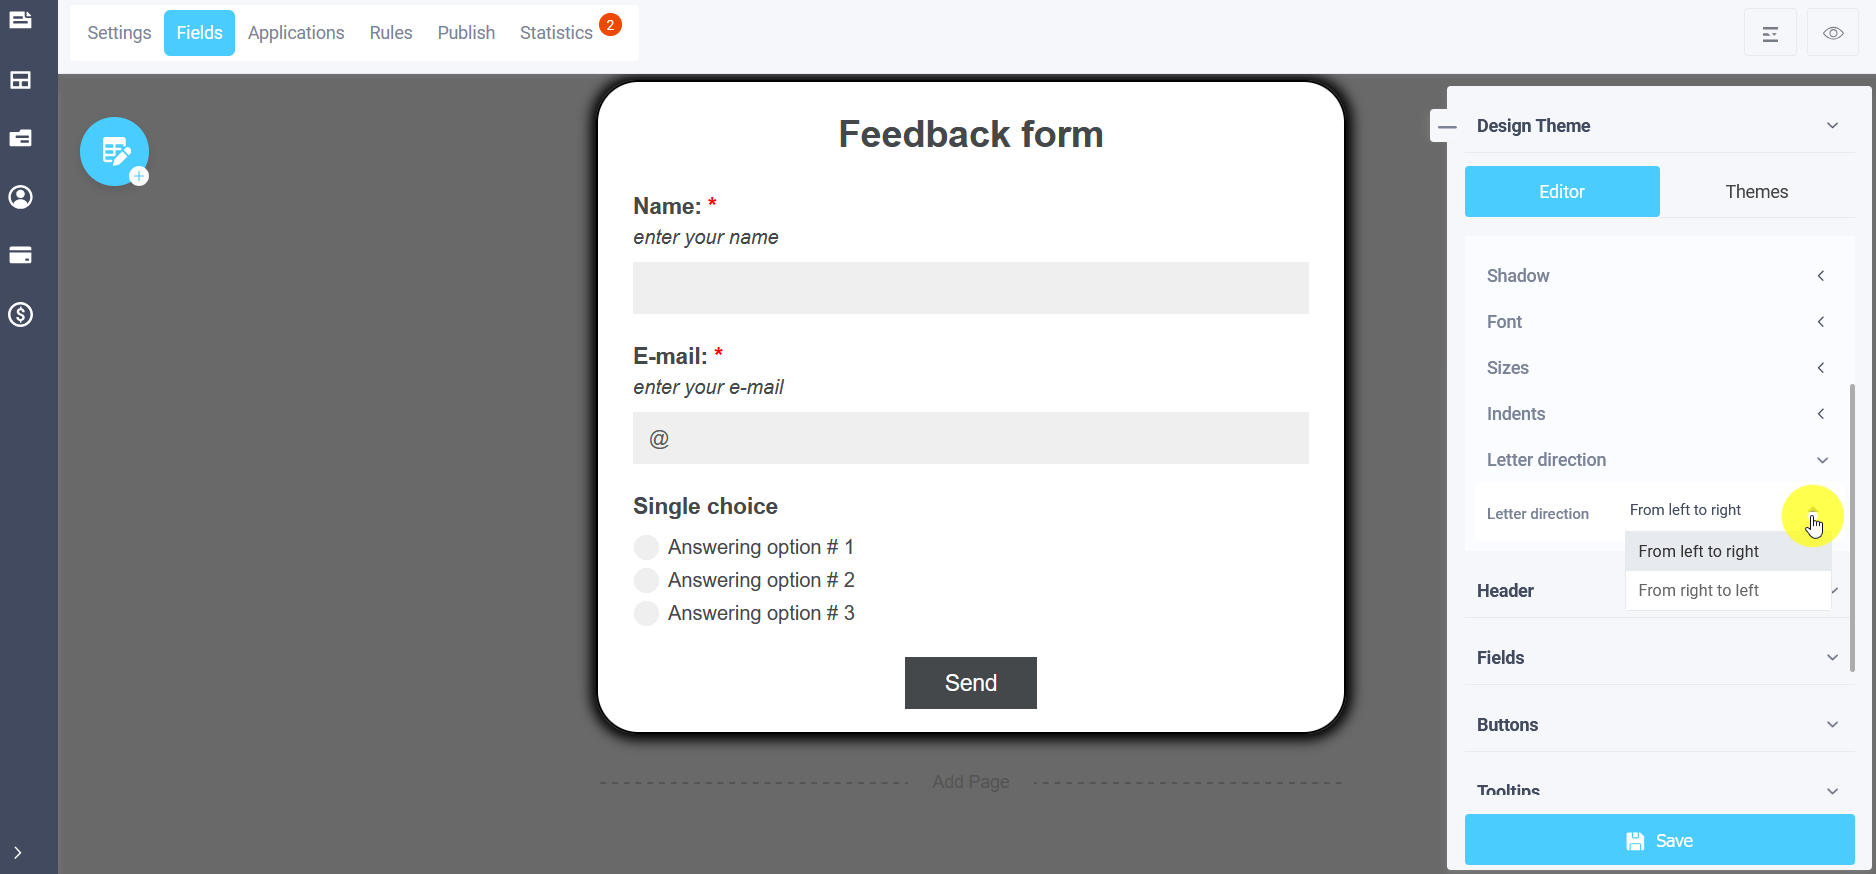
In the writing direction you can choose: left to right and right to left:
You can easily customize your web form to any Middle Eastern and South Asian language, such as Arabic or Hebrew.

