To connect the integration application Selzy, you need to log in to your personal account and select the "Applications" section in the required form:

You will see a list of all available application. Click on the icon "+Add " in the item "Selzy":
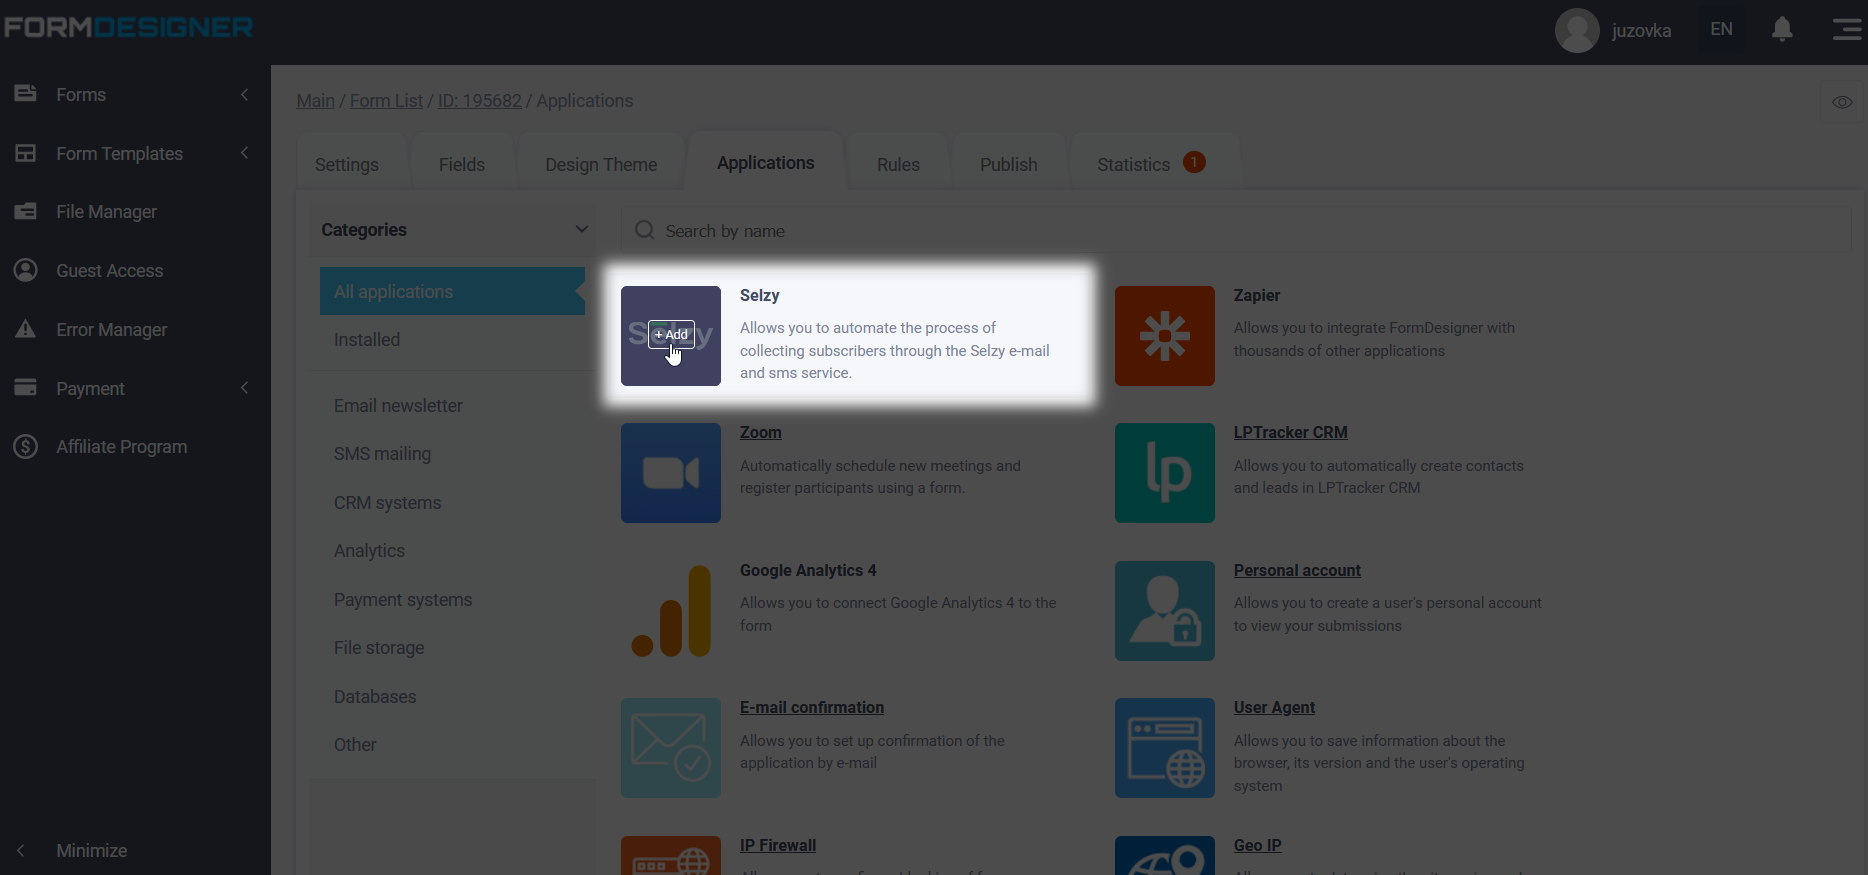
Application Settings
A pop-up window opens with the application settings, where you need to enter the key from your mail service account in the "API Access Key" field Selzy. Next, click sync and save:
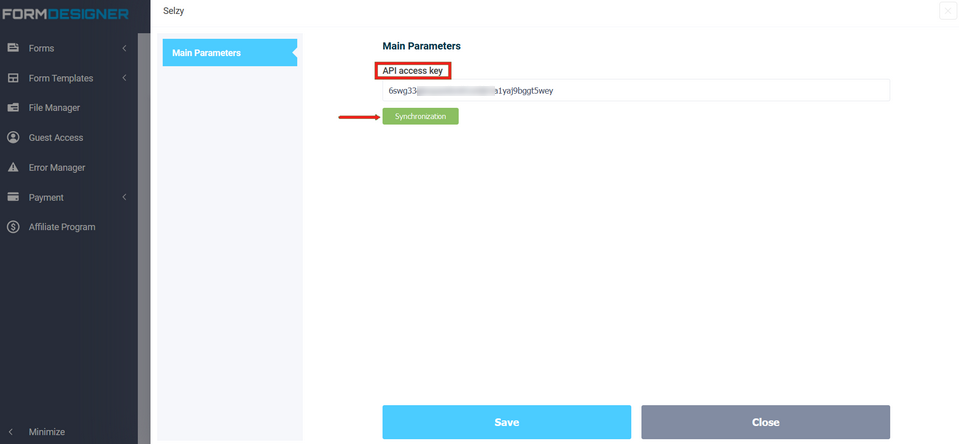
Access key to the Selzy application API
To find out where the "API Access Key" is located, you need to go to the Settings of the Selzy account:
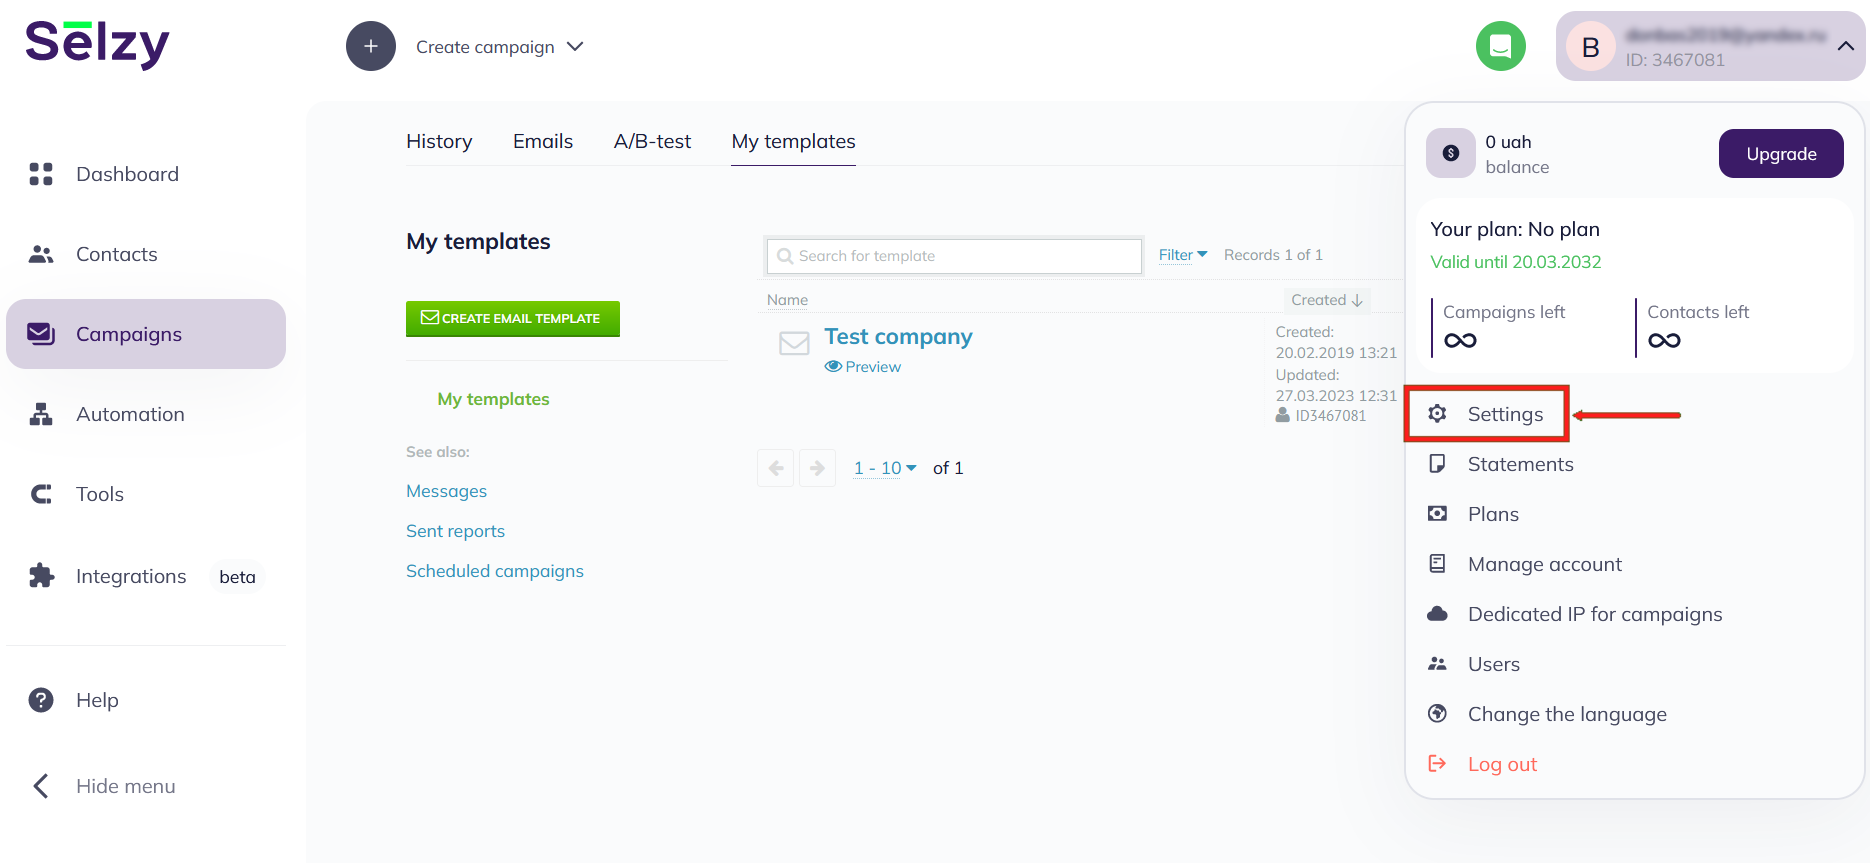
In the account settings, go to the "Integration and API" tab:
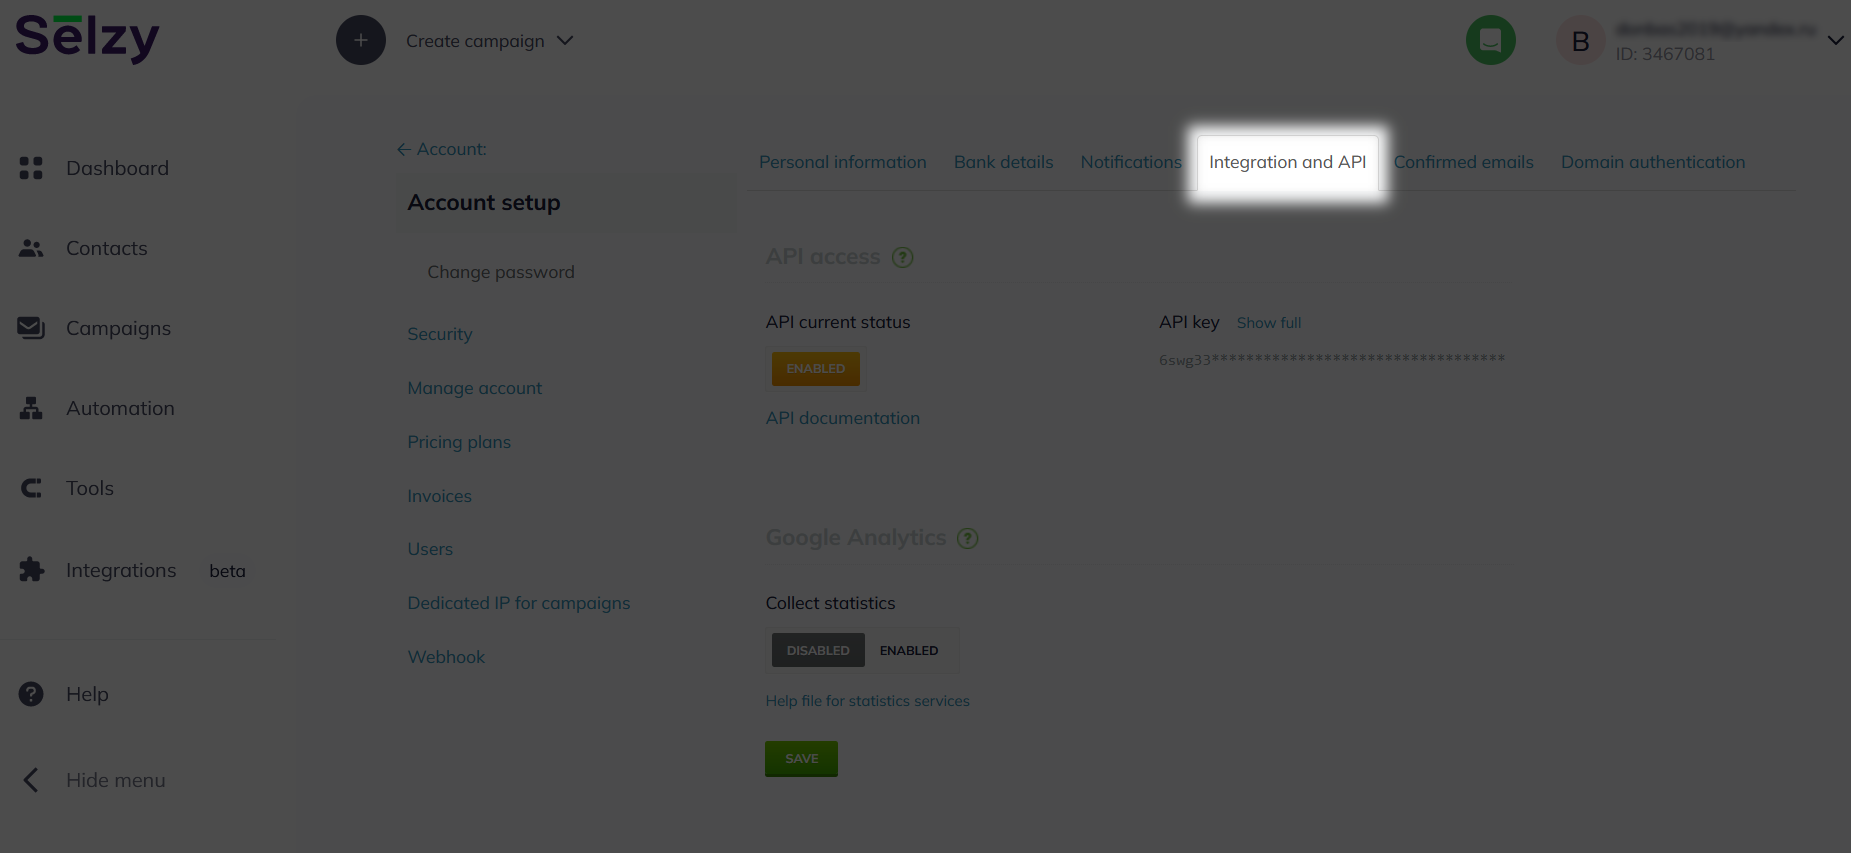
Click in the "API key" field - show full:
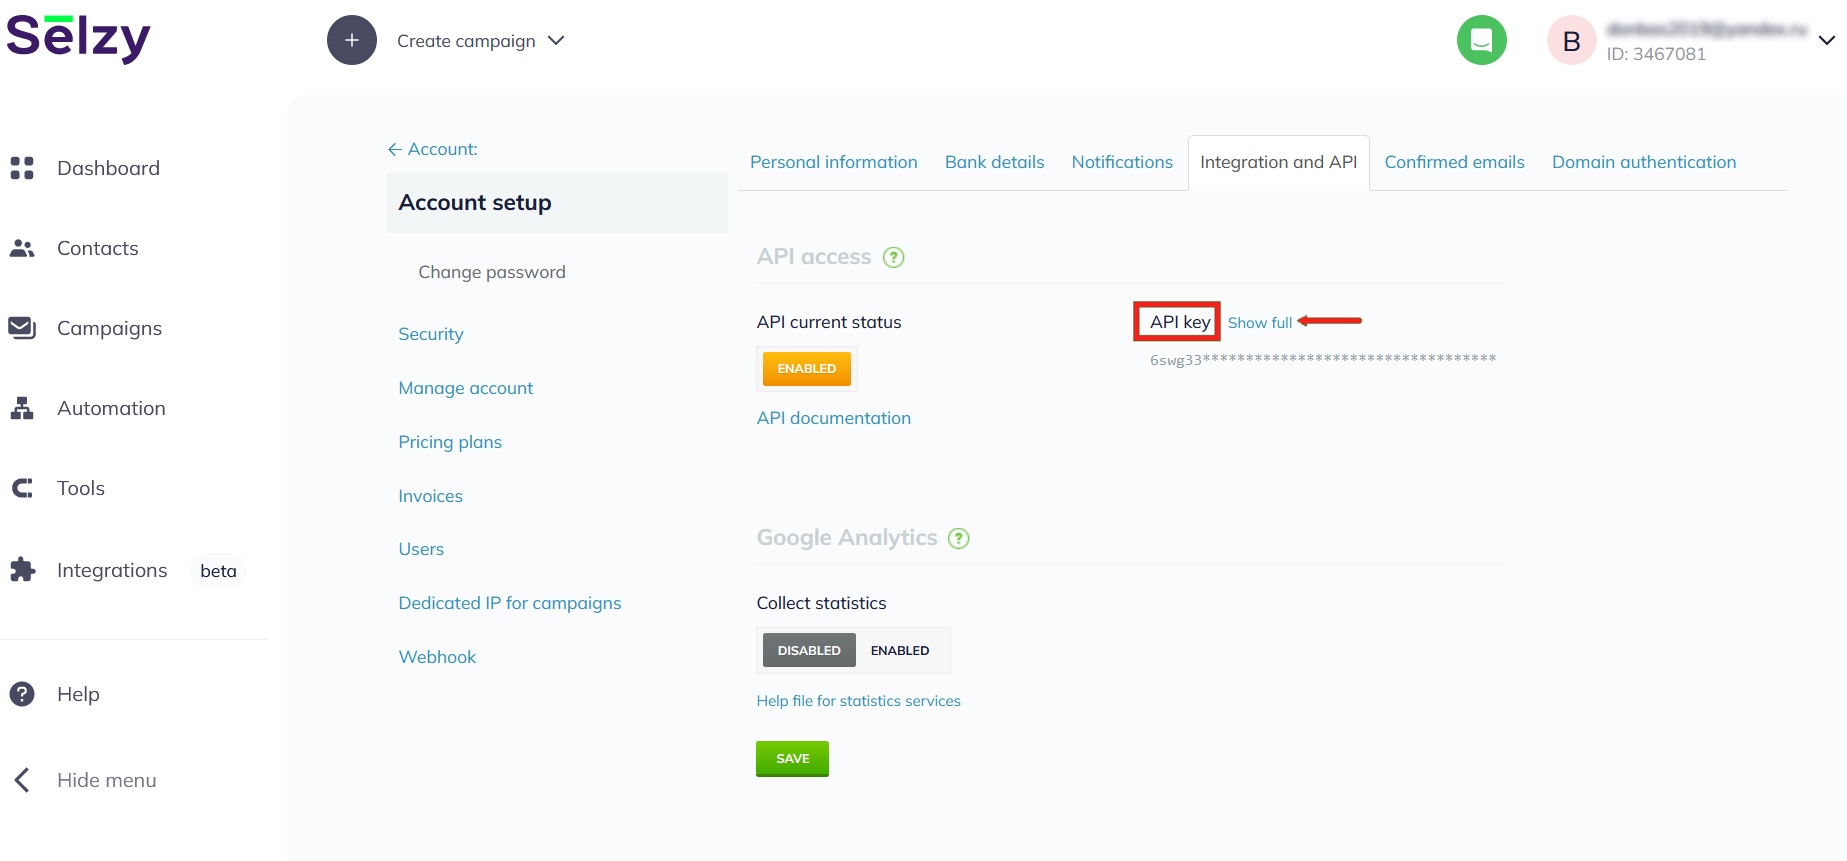
A form will appear asking for the password that you use to log in to your personal account Selzy. Enter the password:
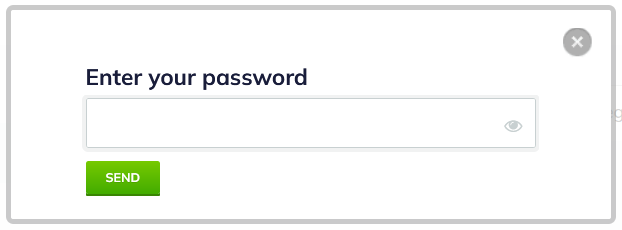
The API access key will be displayed in full and you can copy it to yourself in the settings of the Selzy integration application:
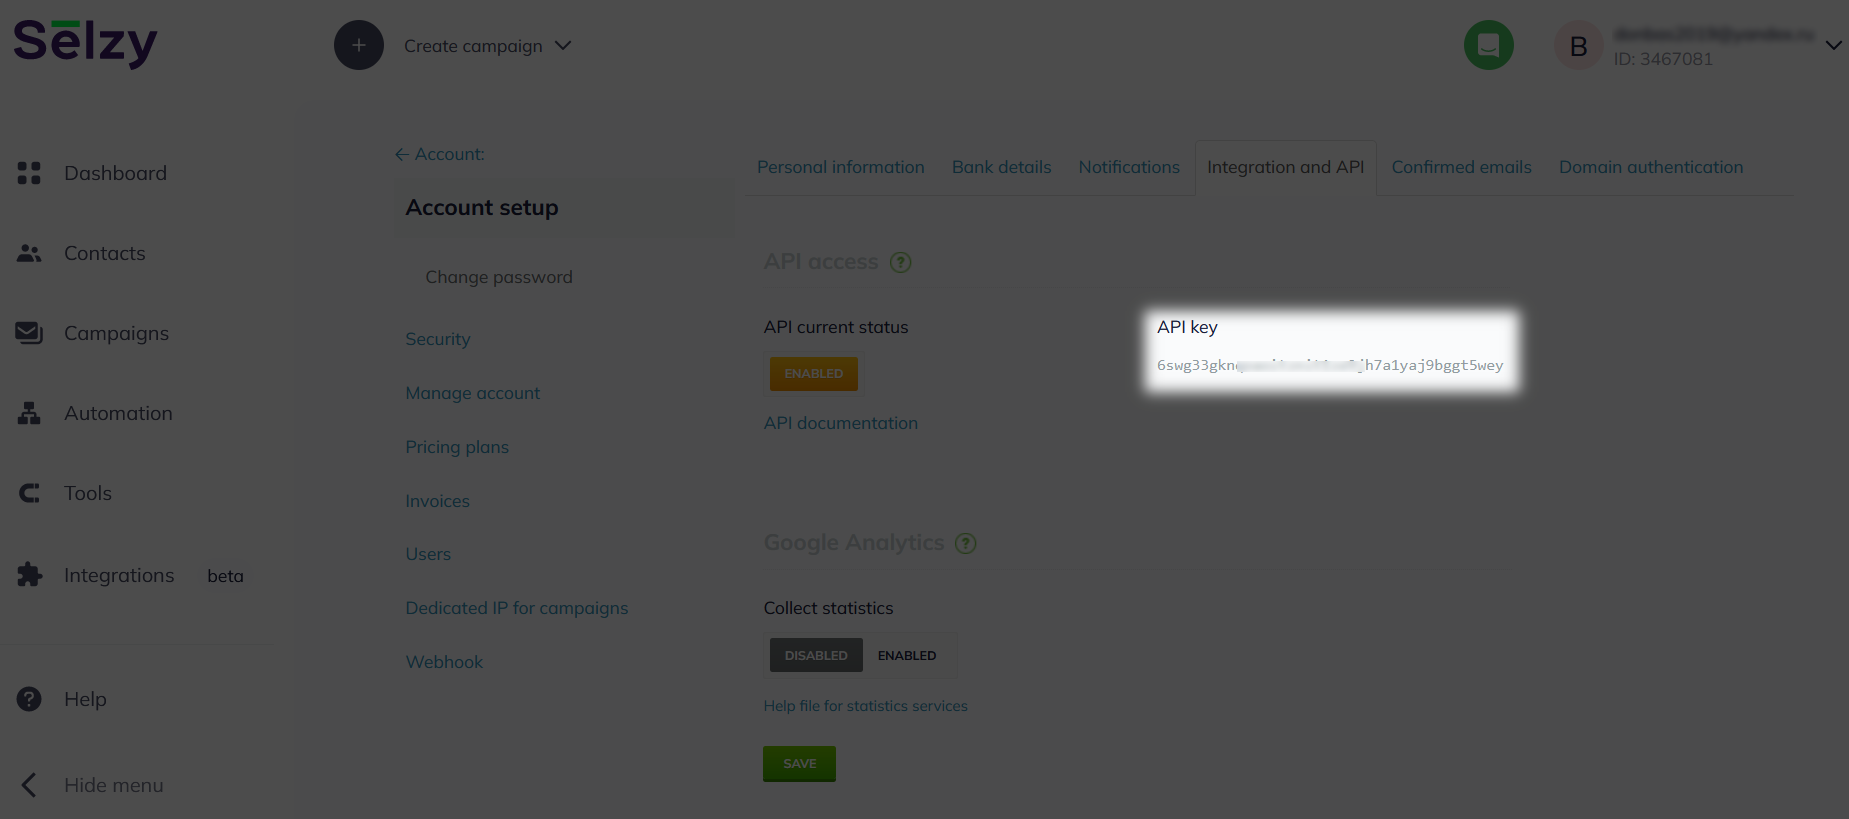
After synchronizing the data with Selzy and saving it, the settings of the Selzy integration application will open in front of you:
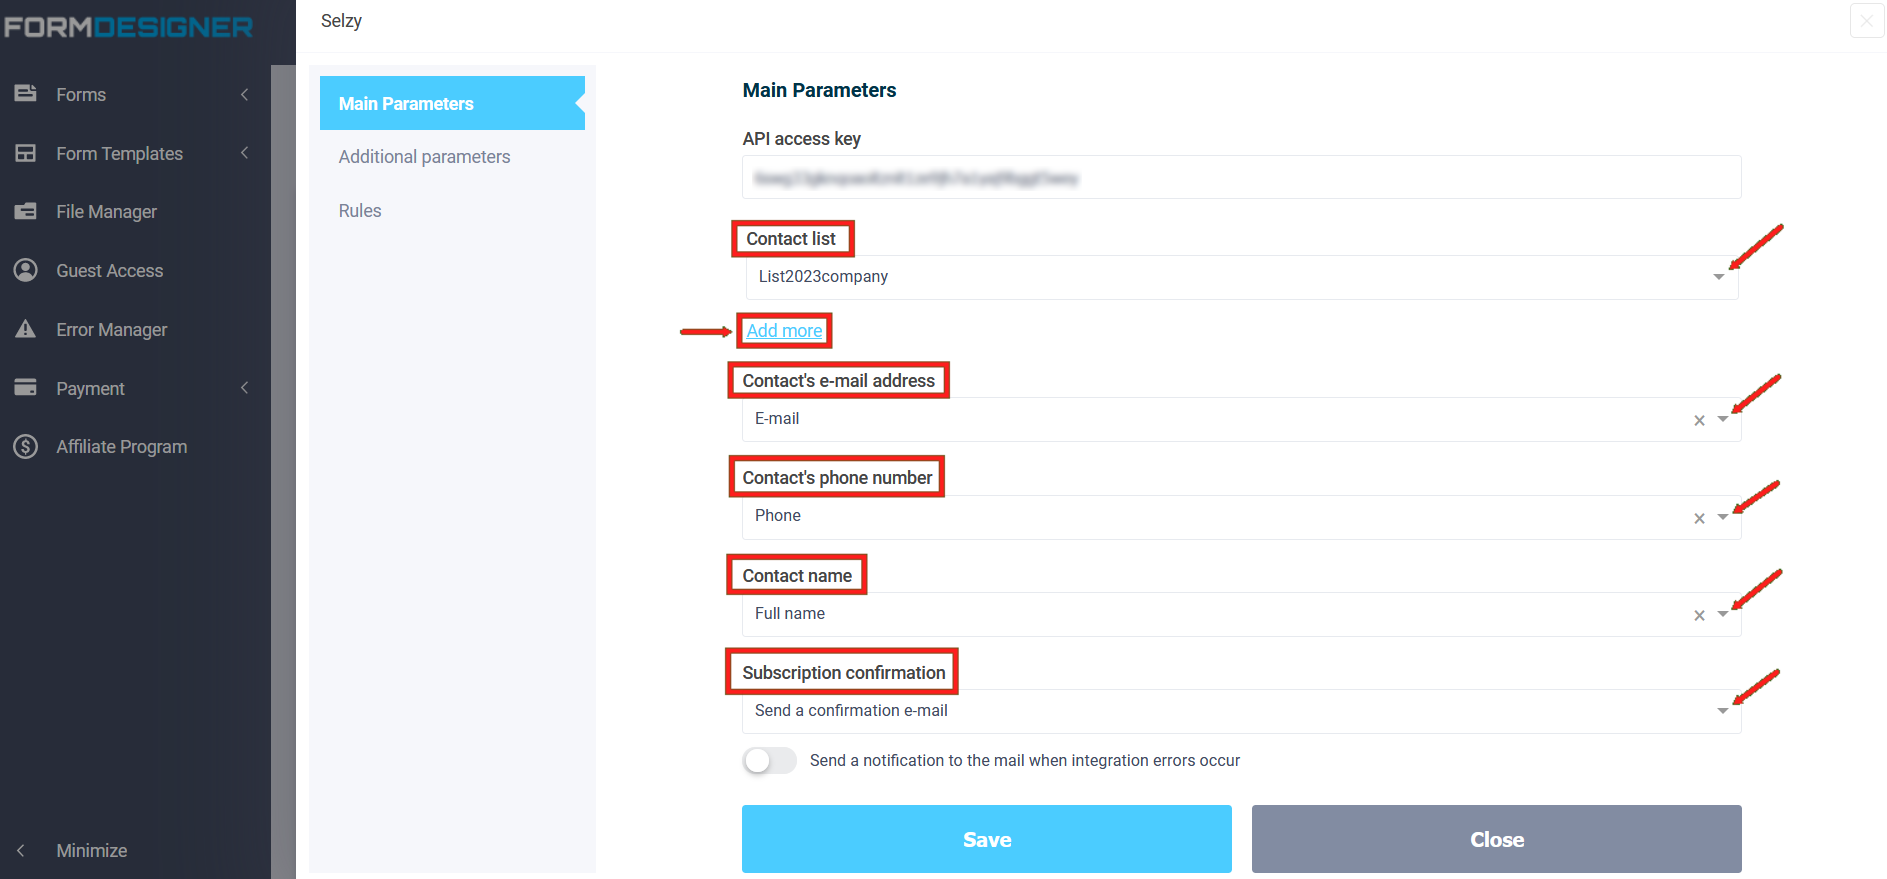
You need to select a list of contacts to which users who have filled out the form will subscribe. Next, you need to select the form element that will contain the subscriber's e-mail address, subscriber's phone number and subscriber's name. A prerequisite is the presence in the form of an e-mail address or a field for entering a phone number. The name of the contact may not be filled in.
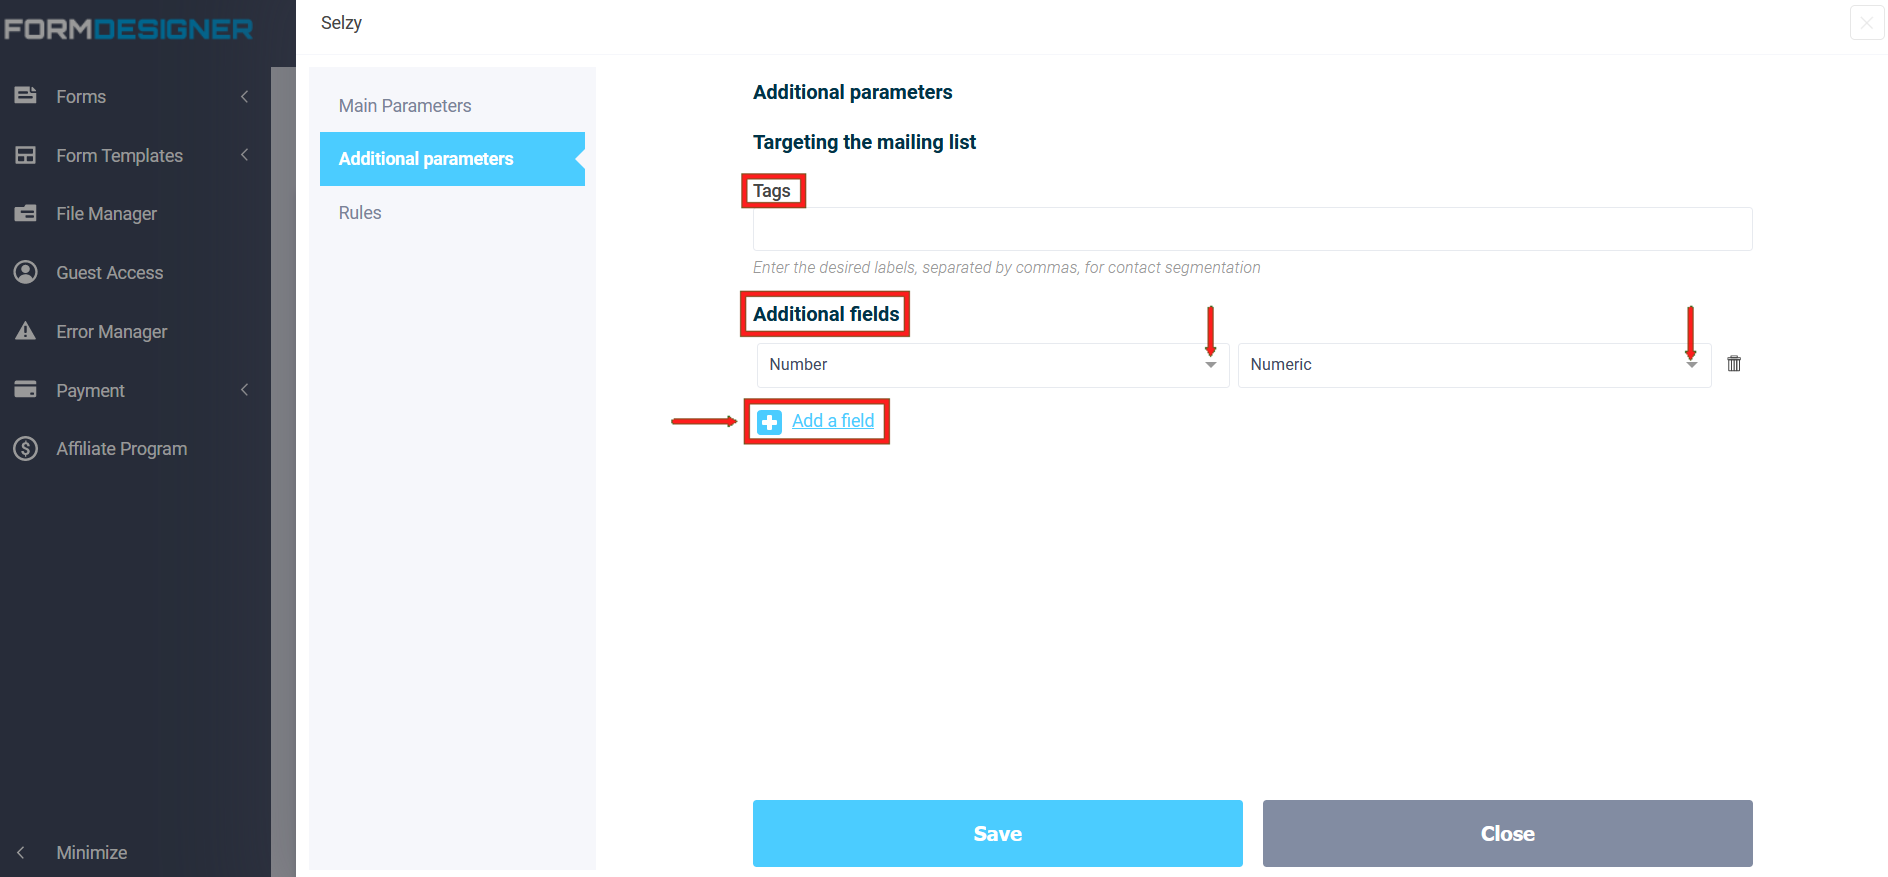
Additional parameters of the Selzy module
In the "Additional Parameters" section, the "Additional Fields" tab that you added to Selzy is available:
Logic
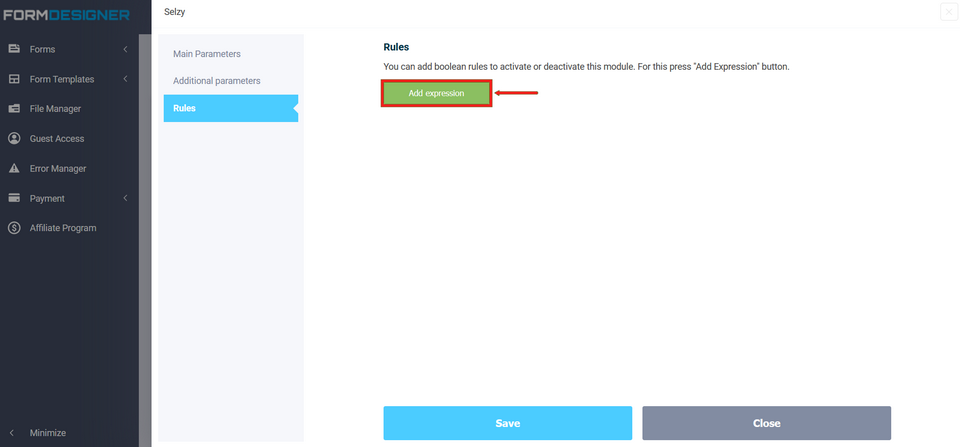
In the Logic section, you can add logic rules for activating or deactivating the Selzy integration application:
