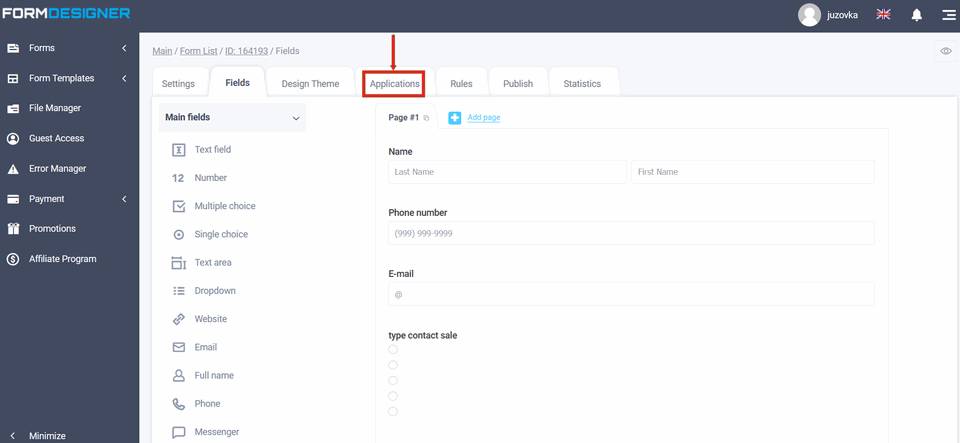
To connect the integration module, you need to go to your personal cabinet and select the "Applications" section in the required form:
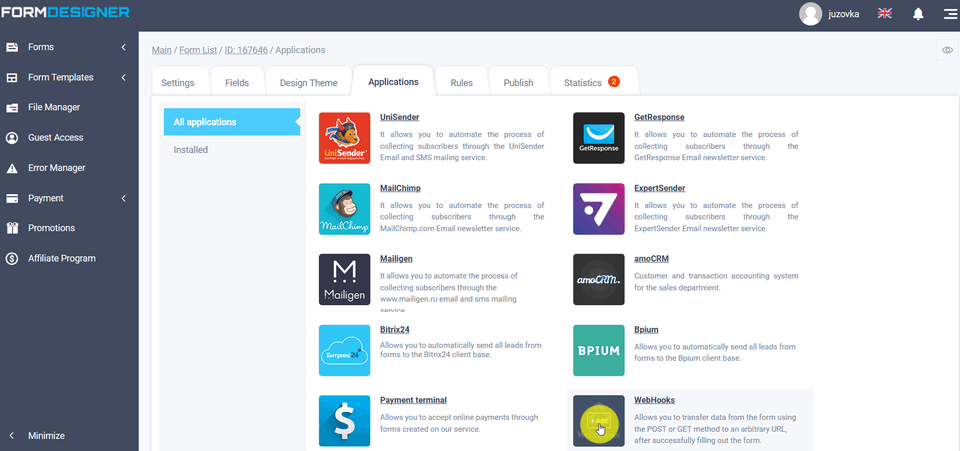
A list of all available applications will appear in front of you. Click the "+Add" icon under WebHooks:
Applications settings
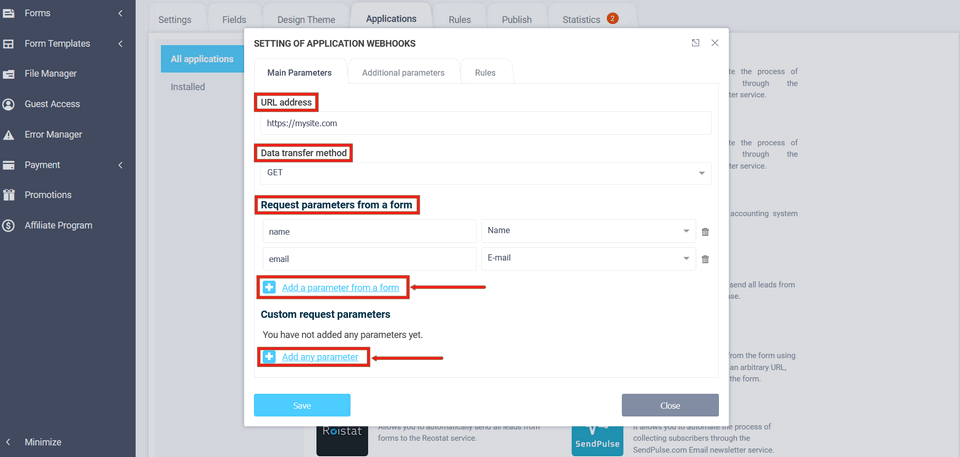
You will see a popup with the WebHooks application settings:
Data transfer method
In this window you must enter the URL where the data will be sent. Next you must select the method of data transfer: POST, GET, PUT or PATCH:
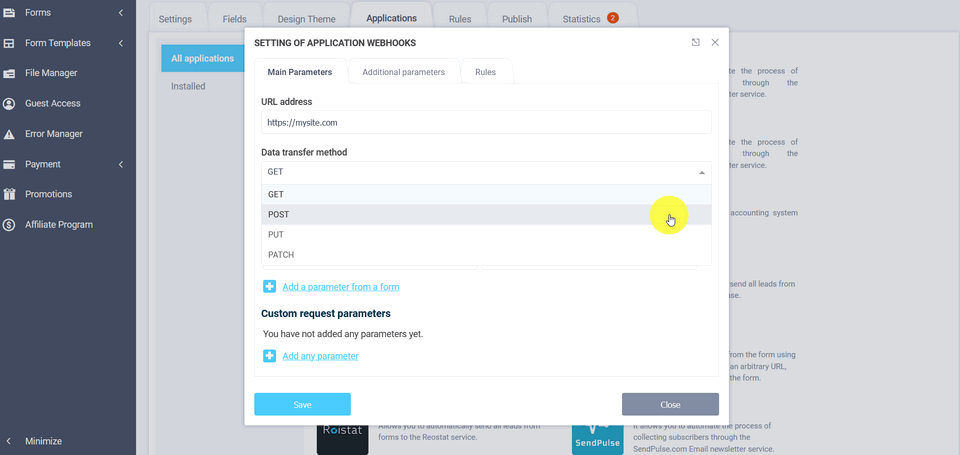
After that you need to configure the request parameters, ie what kind of data will be sent. You can add any parameter from a form to the "Request Parameters from Form" field. To Click on the "Add parameter from form" icon, a new line will be added A new line will be added, where you must specify the name of the parameter and select value from the form, which will correspond to it. You can also add any parameter to You can add any parameter to the query. You can do this by clicking on Add Custom Parameter" icon, whereupon a new line will be added A new line where you must specify any value in addition to the name of the parameter will be added. value. This is necessary if you need to configure integration with a web-service, where you have to specify in the request API access key.
Advanced parameters of the "Webhooks" application
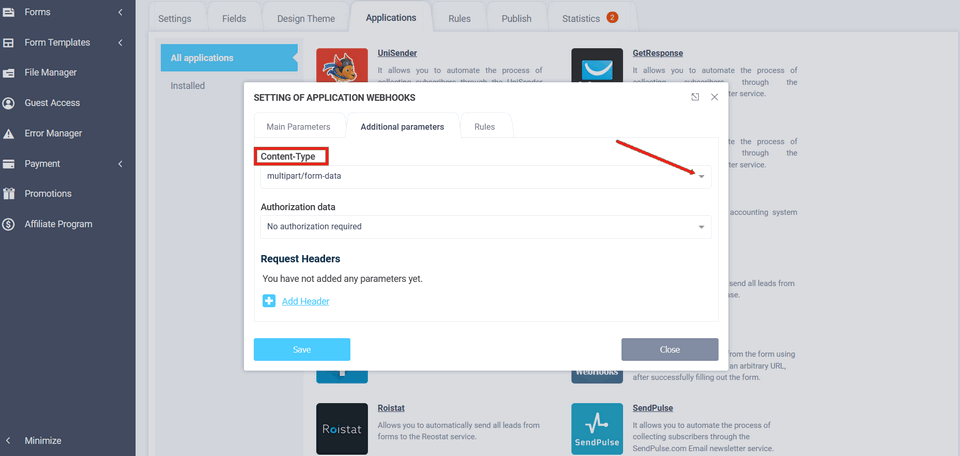
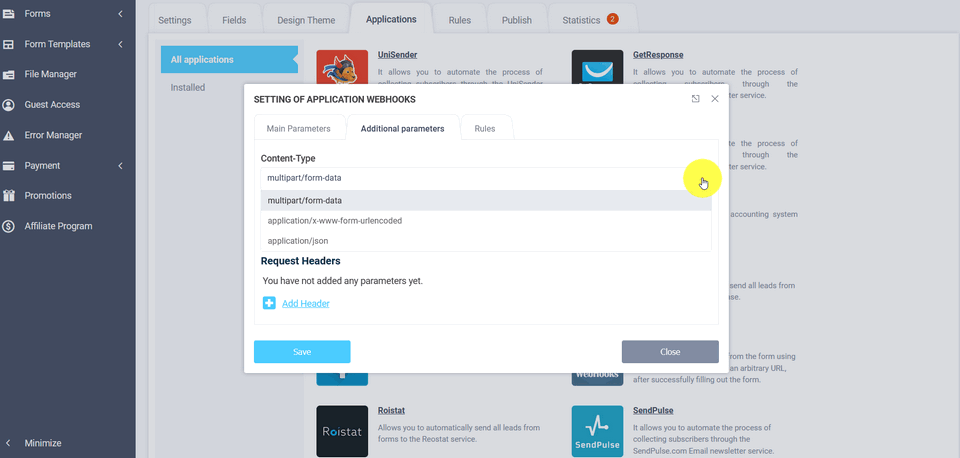
In the "Advanced Options" tab, you can set the Content-Type - multipart/form-data, application/x-www-form-urlencoded, application/json:
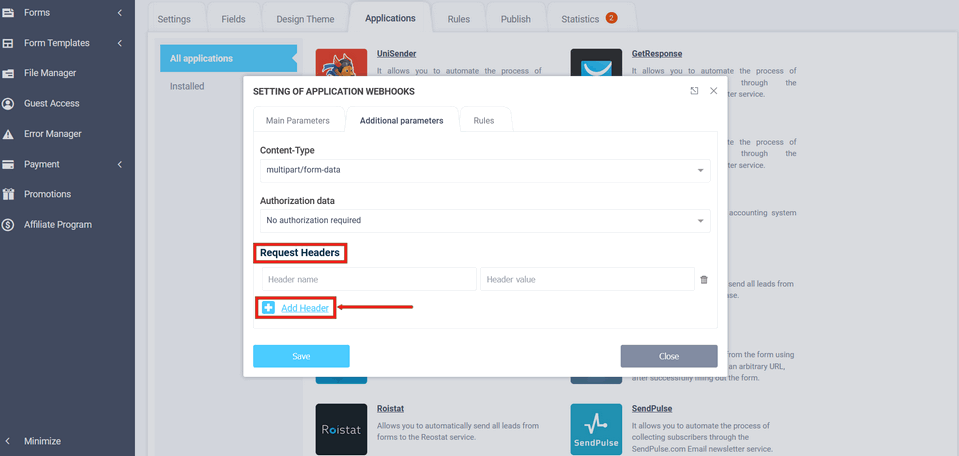
In the "Request Headers" field, you can add a header and authorization data by clicking the "Add Header" icon:
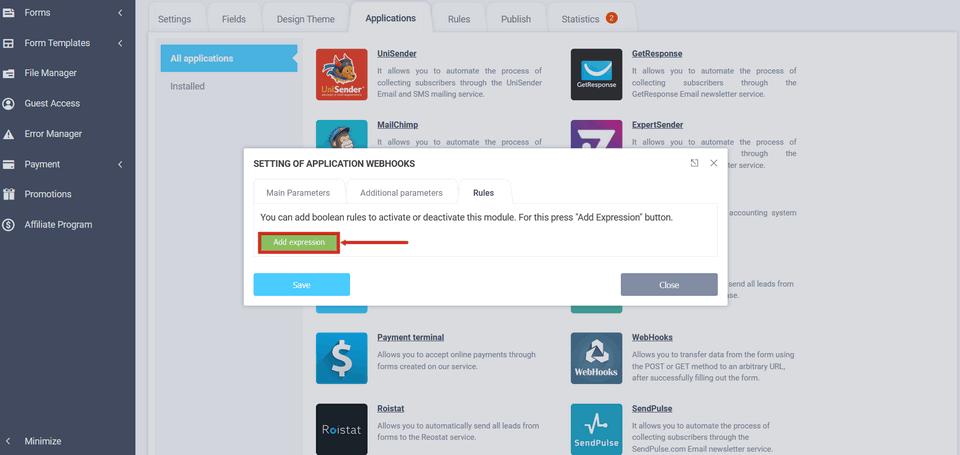
In the settings of the Webhooks module in the "Logic" tab, you can add logical rules to activate or deactivate this module. To do this, click the "Add Expression" icon:
