NetHunt is a simple CRM system inside Gmail for optimizing business processes, which does not require staff training. NetHunt CRM helps small and medium-sized businesses manage sales, work more effectively with their client base and analyze team productivity.
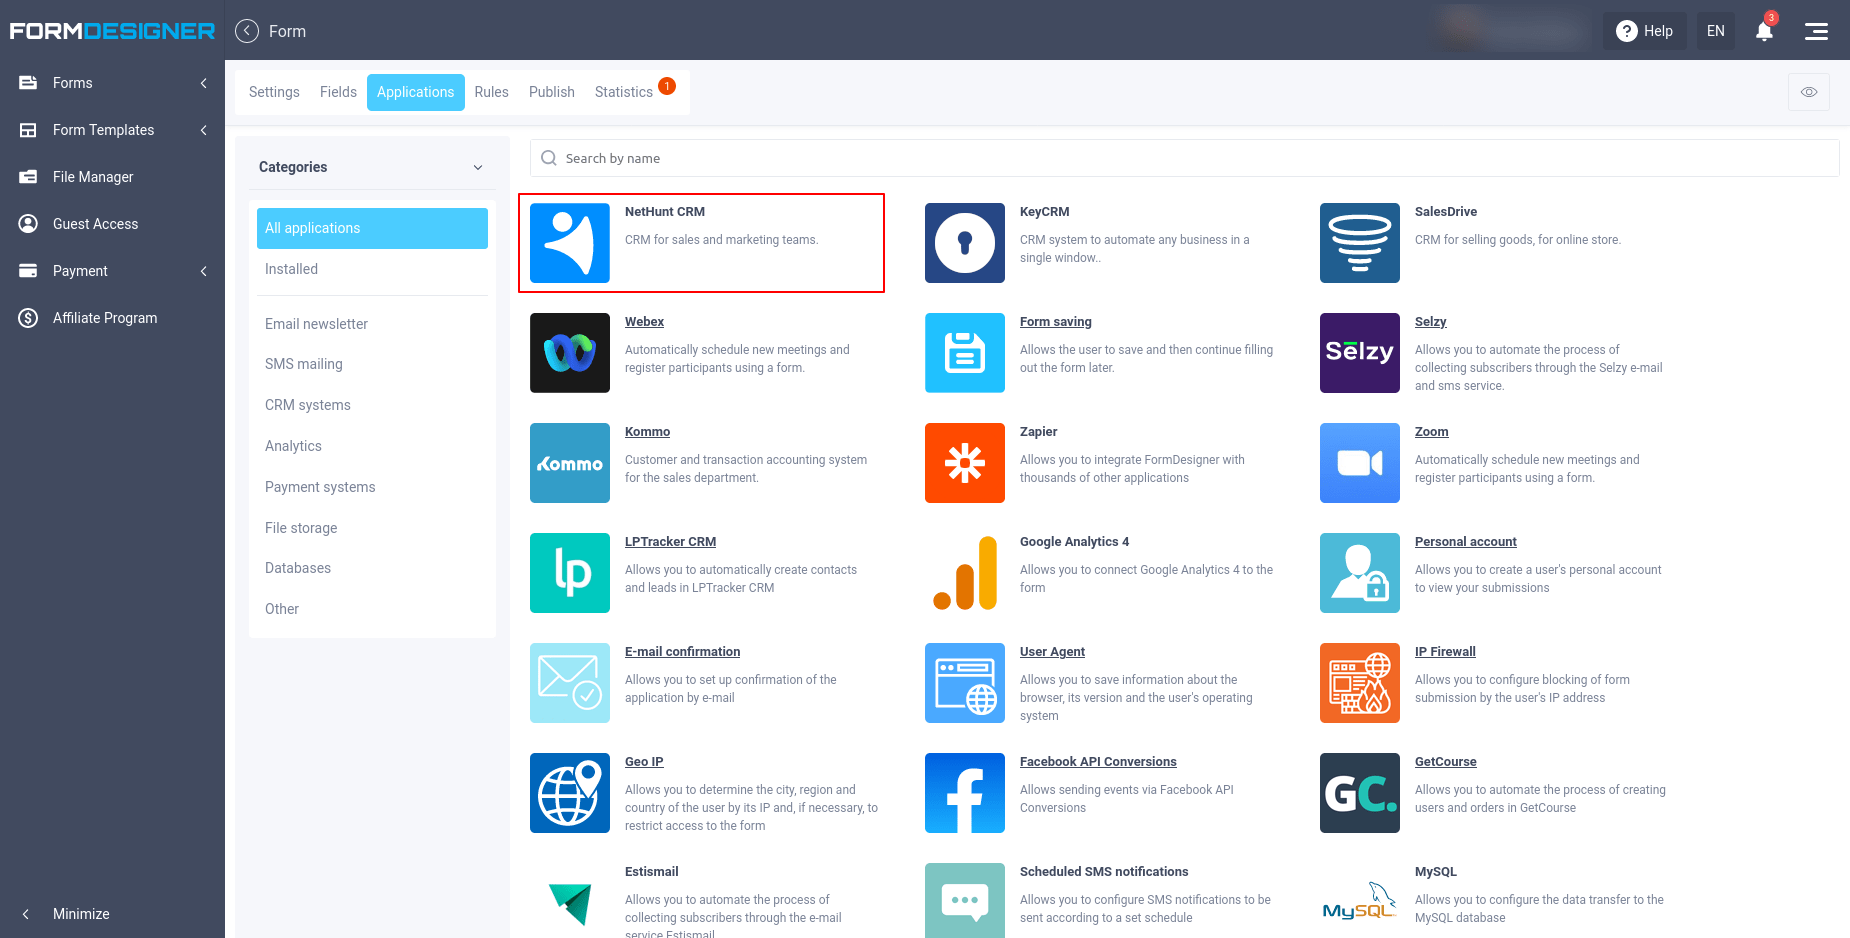
In order to set up integration with NetHunt CRM, open the desired web form and go to the “Applications” section. There, in the list of modules, find the NetHunt CRM integration:
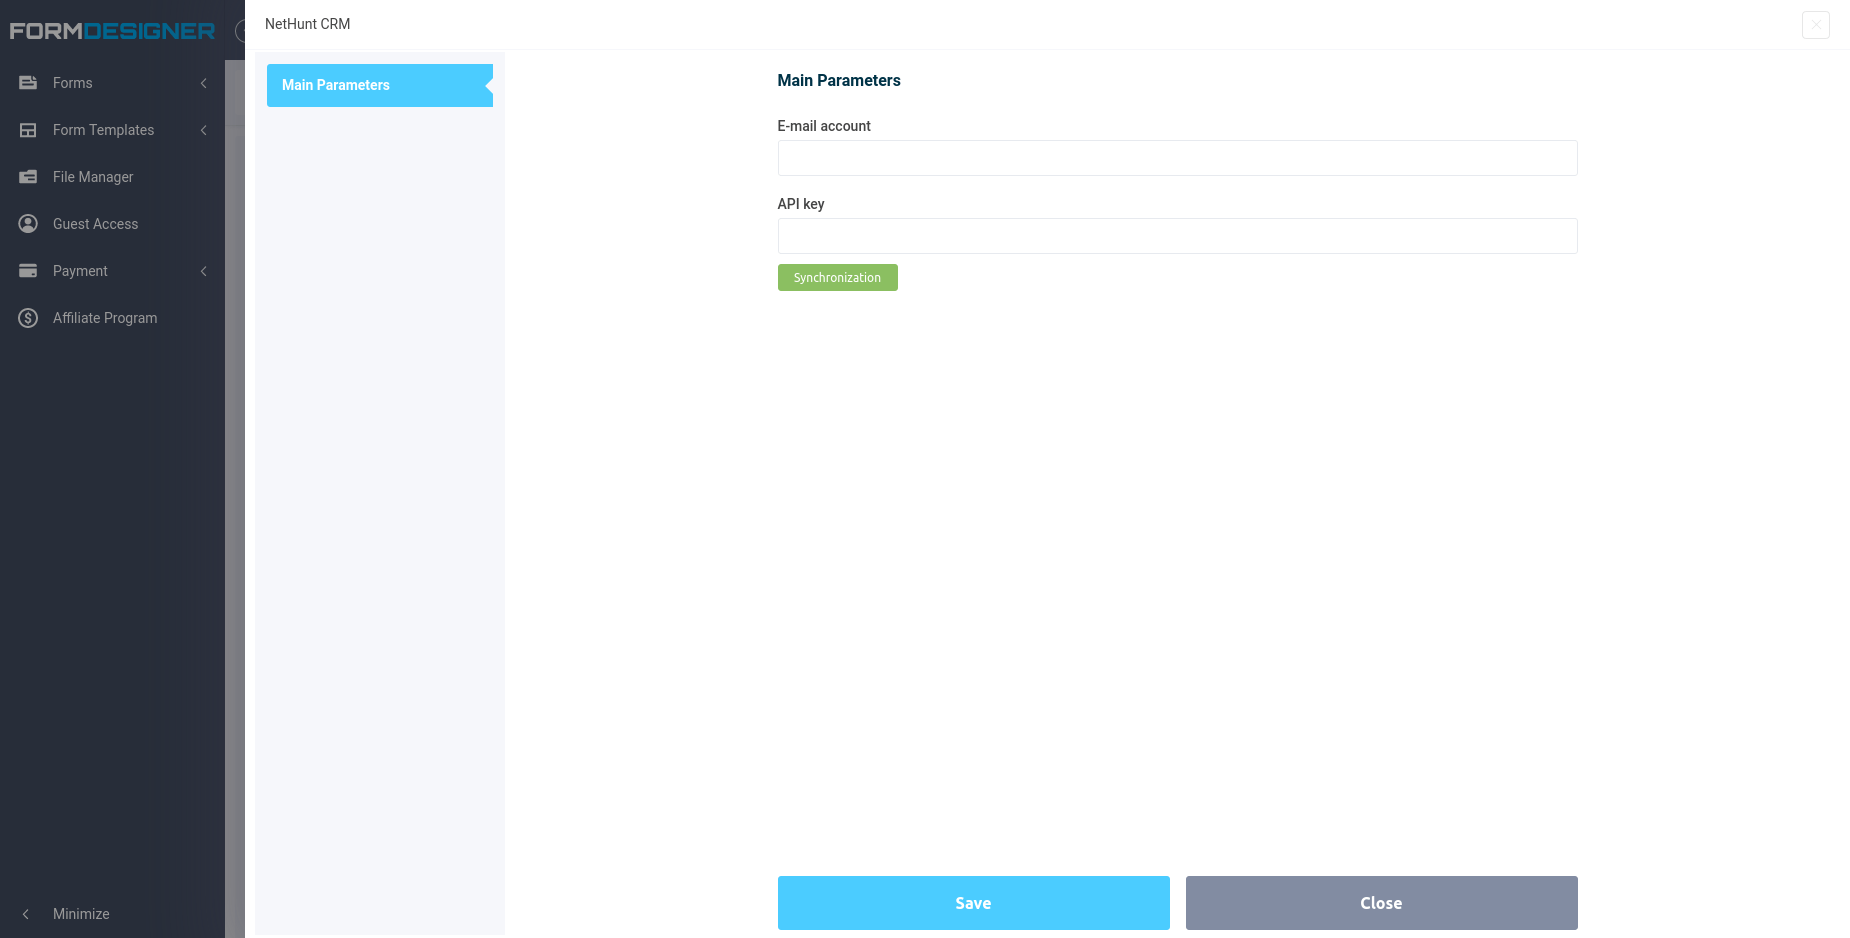
Hover your mouse cursor over it and click the “Add” button, after which the main module settings will open in front of you:
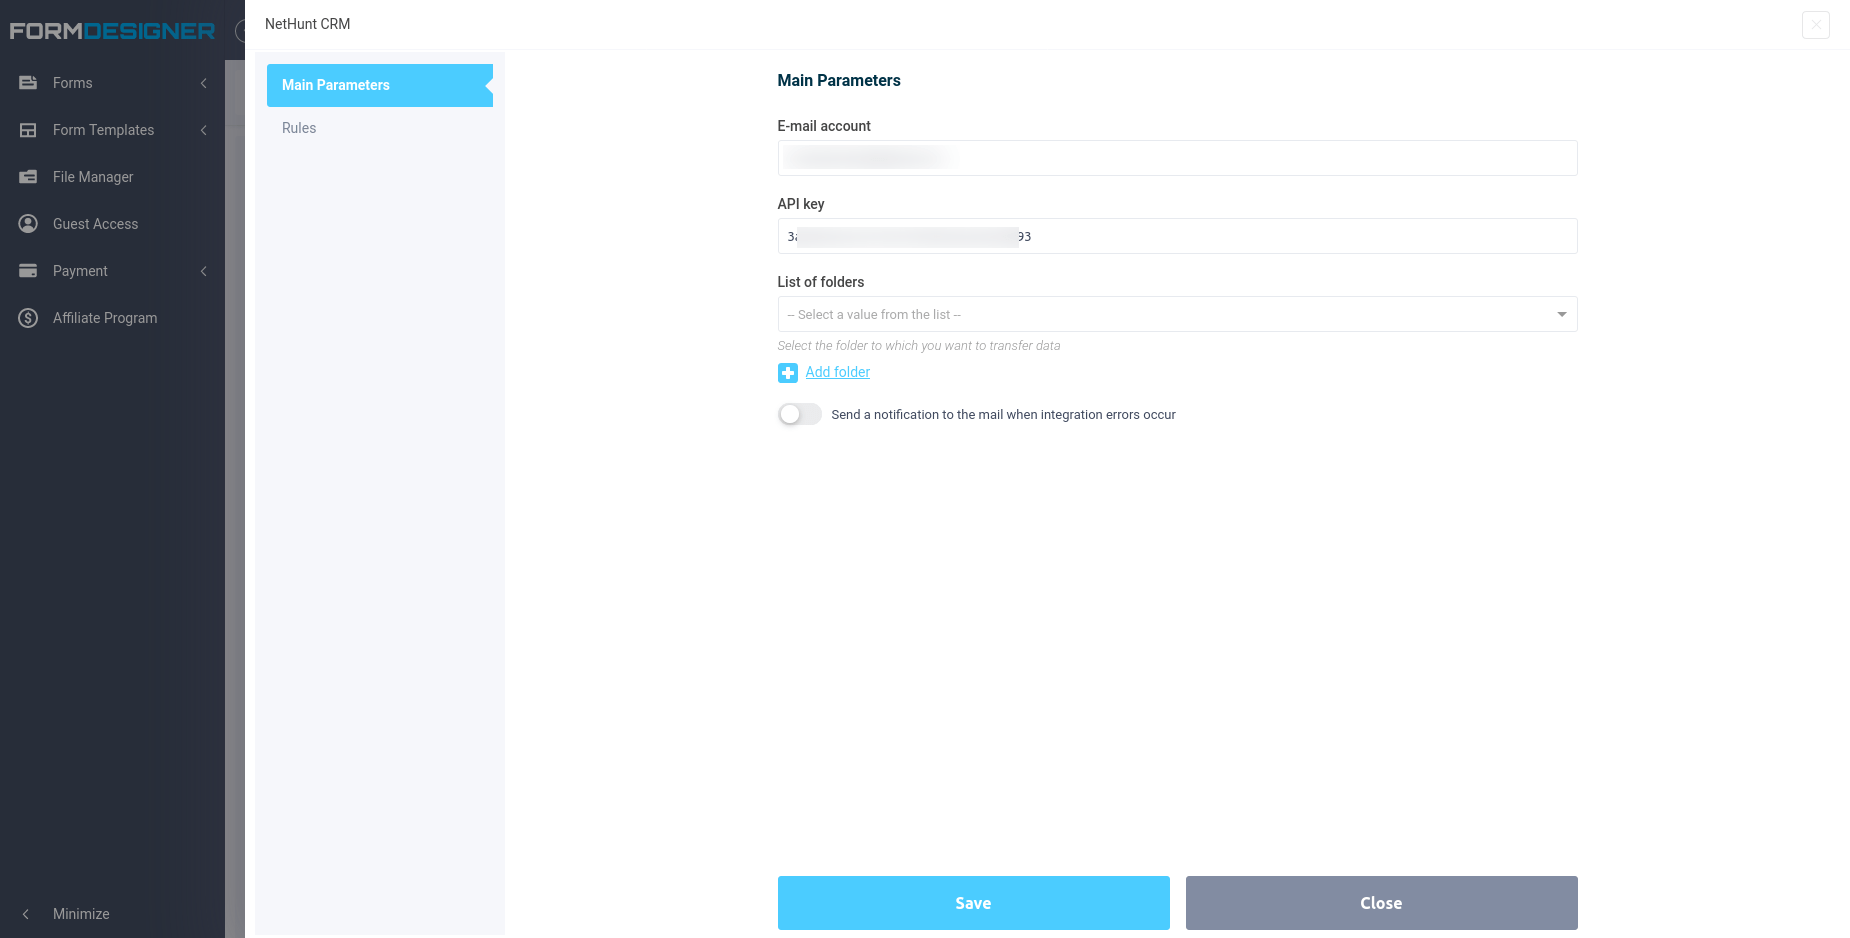
Here you need to enter the e-mail address of your NetHunt account and the API key, then click the “Synchronize” button. If the data is entered correctly, the remaining module settings will open in front of you:
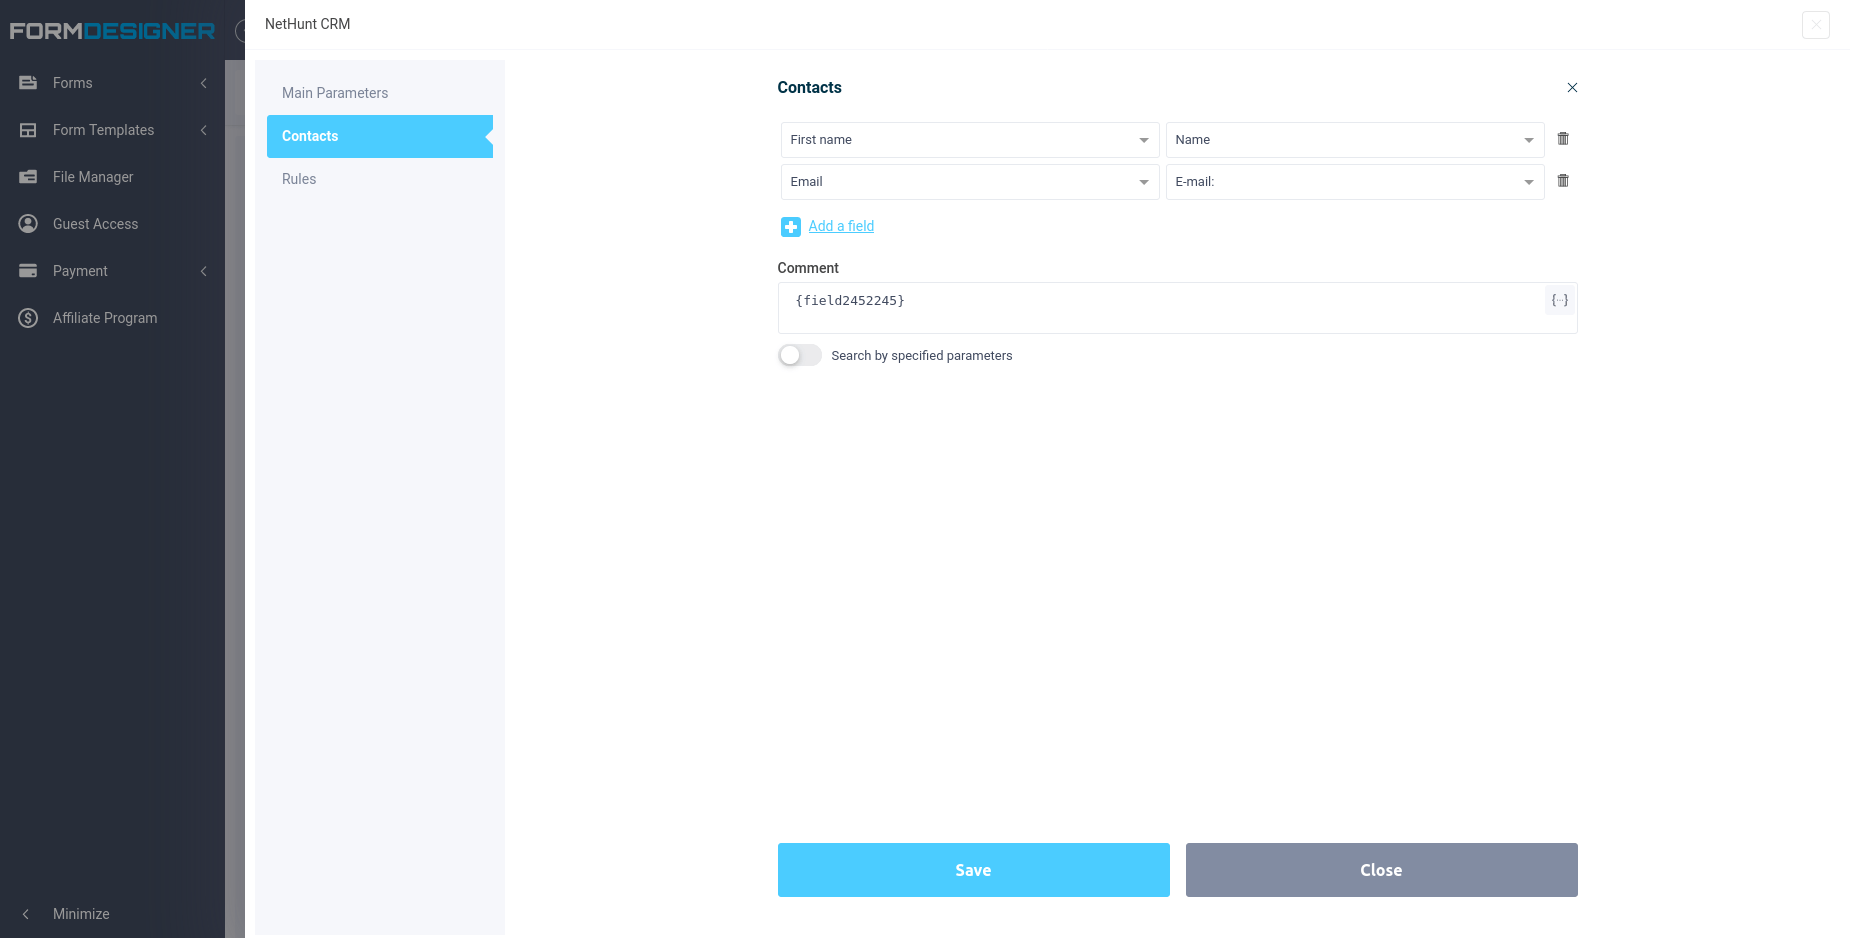
Next, you need to select and add a folder to which the data from the web form will be transferred. To do this, select the required folder in the list of folders and click the “Add Folder” button, after which a section will open in front of you where you need to configure what data to transfer to this folder:
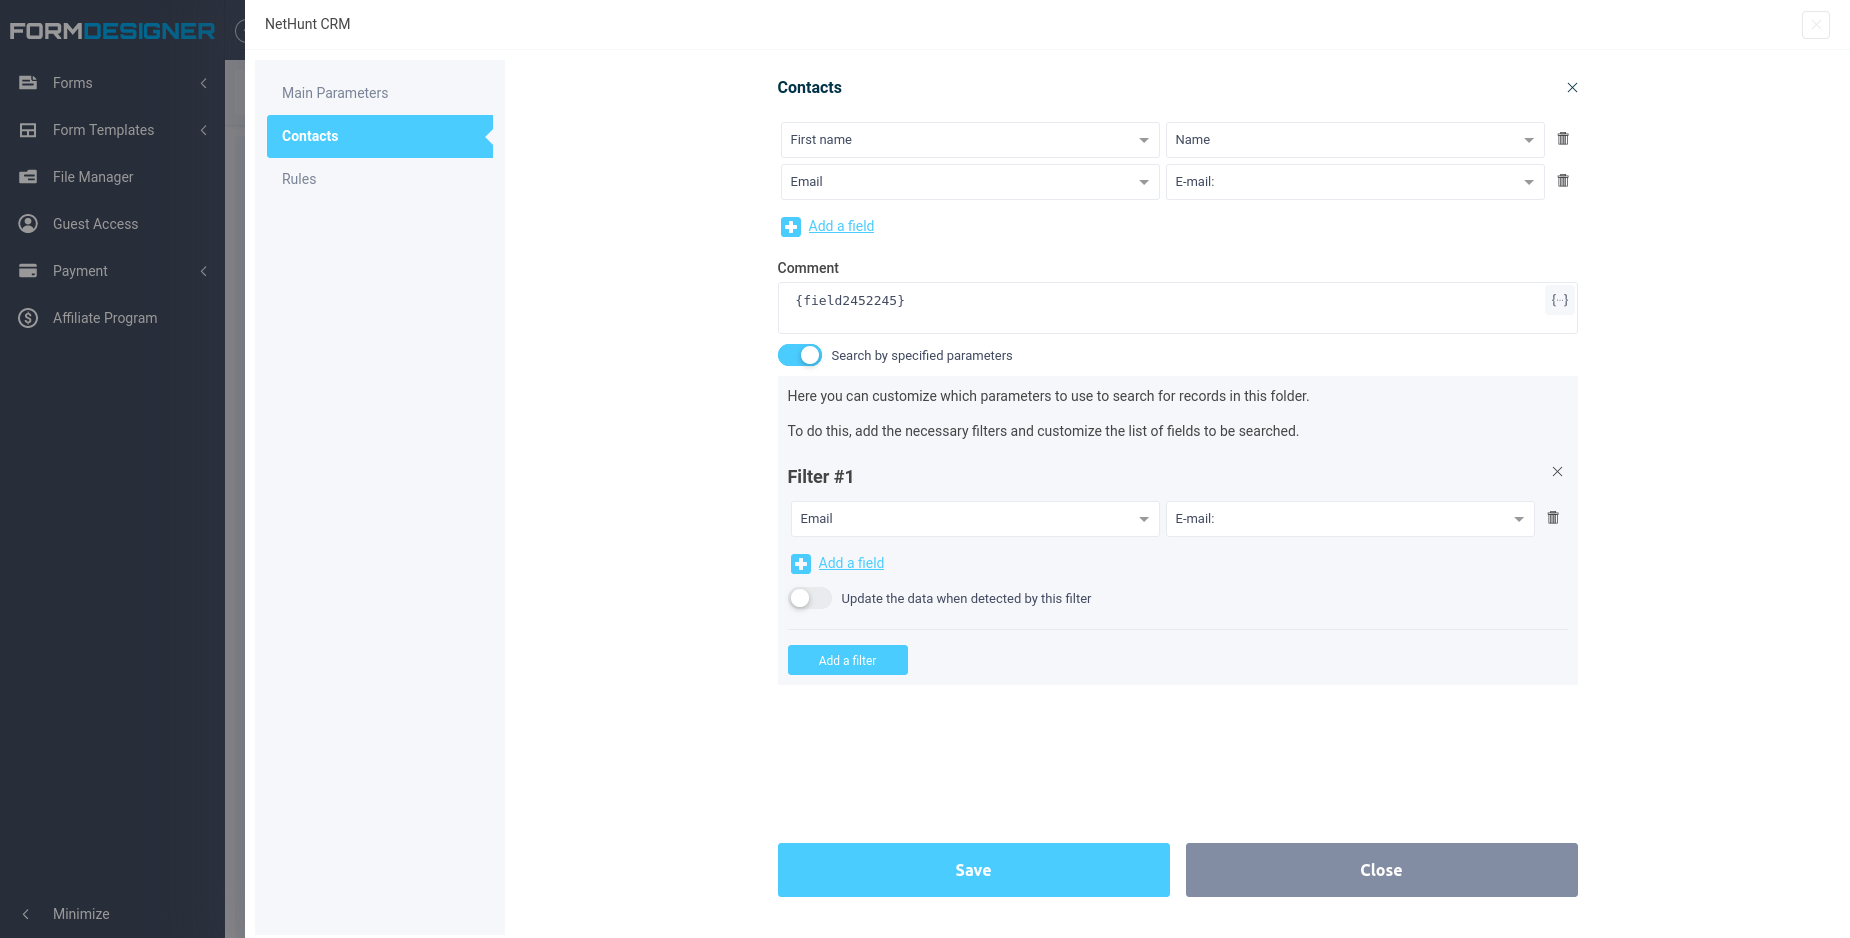
Add all the necessary fields that need to be submitted, and also indicate a comment that will be added when creating an application.
To control duplicates, you can configure a search for records using specified parameters. To do this, you need to activate the “Search by specified parameters” switch:
Here you can add filters and specify the parameters by which records will be searched and if at least one record is found, a new one will not be created, but the first record found will be used.
You can add several folders at once and transfer data to them. After all the parameters are configured, do not forget to click on the “Save” button, after which you can proceed to testing the integration.
All requests within the framework of this integration will be displayed in the “Logs” section

