With the integration module with "Google Drive", you can now store the files uploaded by the user in the cloud storage.
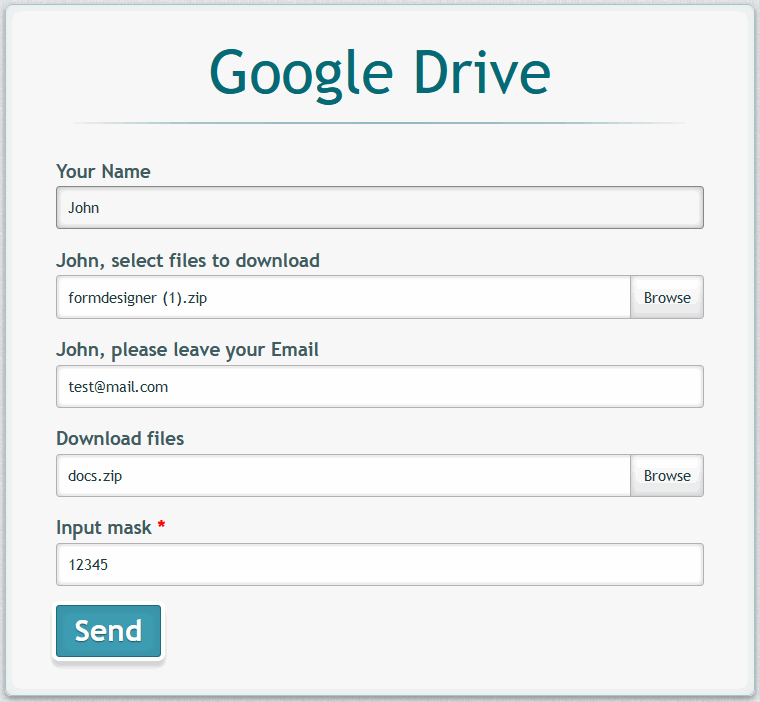
Before you set up your Google Drive integration, your form should contain an element from the additional fields - "Upload Files".
In order to activate the integration module, you need to go to your personal cabinet and select the "Modules" section in the required form:
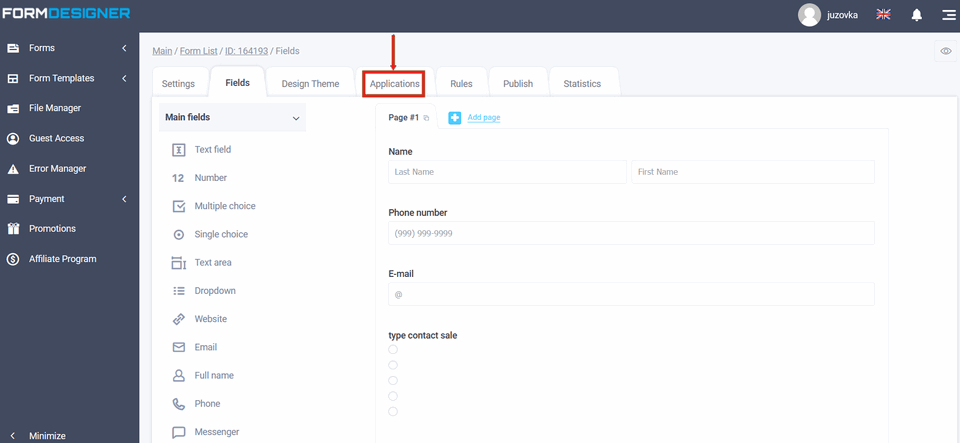
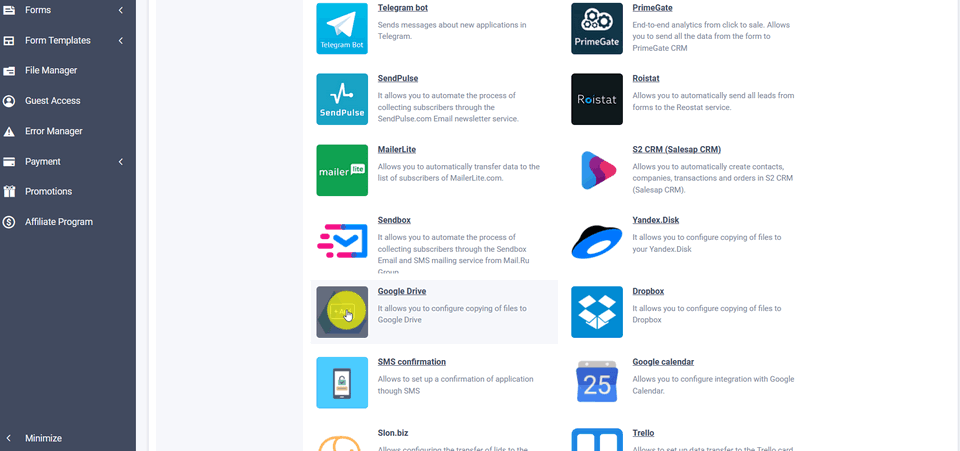
You will see a list of all available modules. Click the "+Add" icon under "Google Drive":
Module settings
Enter your Google Drive account as: [email protected] and click "Access Google Drive."

Google Authentication
If you are not logged in to Google in your browser, you will be redirected to an authentication page where you must enter your phone/mail address and password: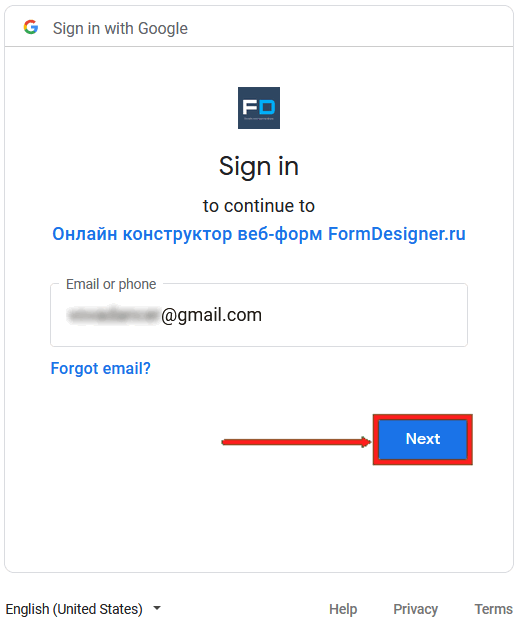
Google Authentication
If you are not logged in to Google in your browser, you will be redirected to an authentication page where you must enter your phone/mail address and password:
Confirm the permissions for the "FormDesigner.ru" app:
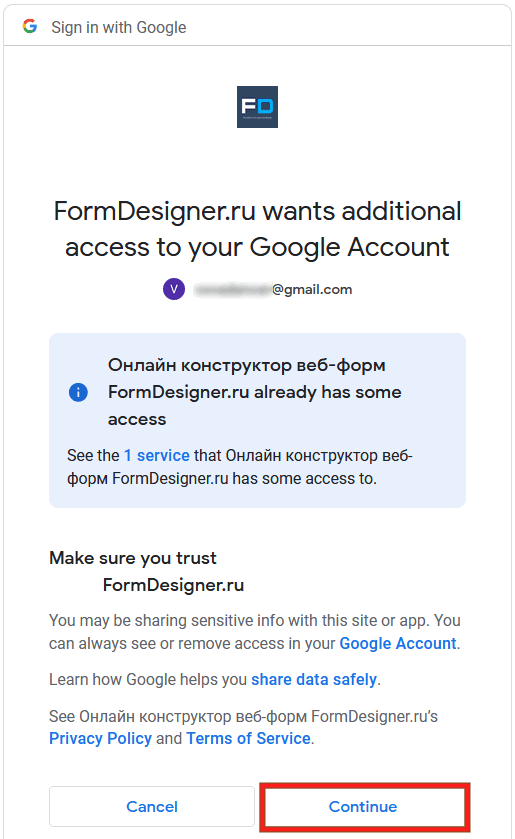
After authorization you will be taken to the module settings:
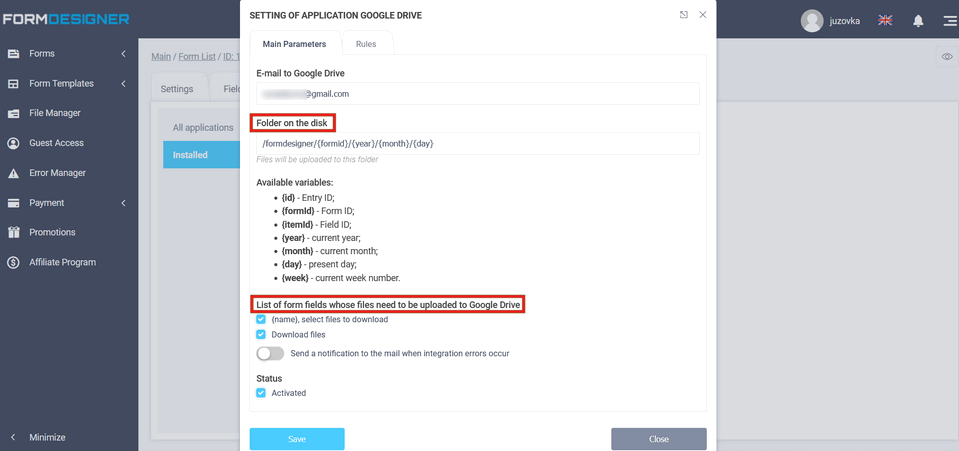
The default path to the Google Drive folder and subfolders is written in the "Folder
Drive," which are automatically created when you submit the form. In the field.
"List of form elements whose files should be uploaded to Google Drive",
enable the checkbox "File upload field" and click "Save".
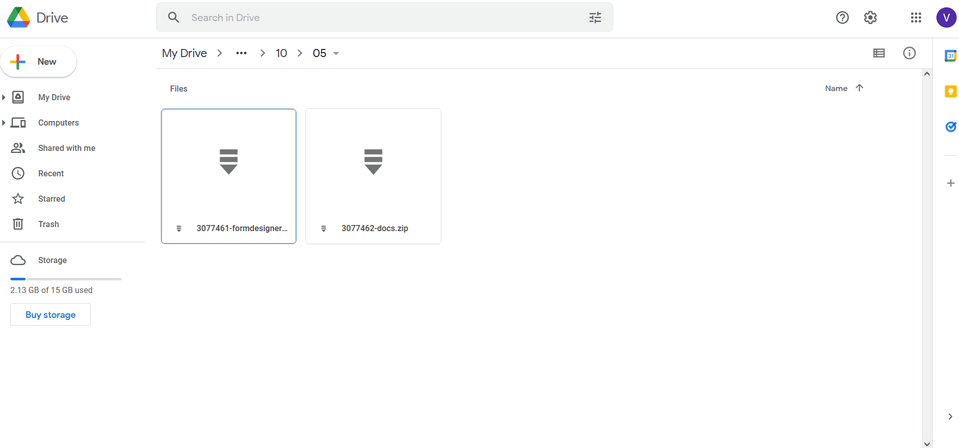
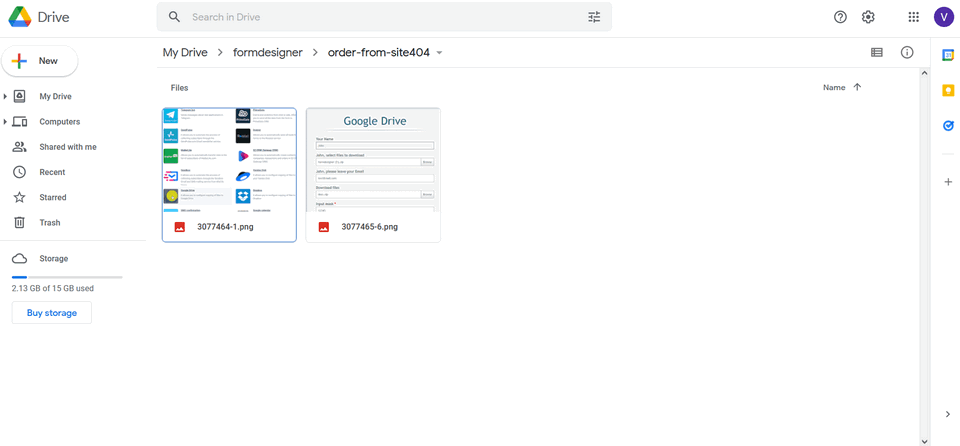
Files in Google Drive
You will find the files you receive in the folder you specify in the module settings, such as /formdesigner/{formid}/{year}/{month}/{day}:
List of available variables
According to the specified variables in the module setup, the resulting file will be located in the folder - formdesigner-form id-year-month-day.
It is worth noting that the path to the file, you can form yourself, using the available variables through the sign "/". At the moment, the following variables are available:
- {id} - Order ID
- {formId} - Form ID
- {itemId} - ID elements
- {year} - present year
- {month} - current month
- {day} - current day
- {week} - current week number
You can also specify any folder whose name may contain Latin characters, numbers, hyphen "-" and underscore "_":
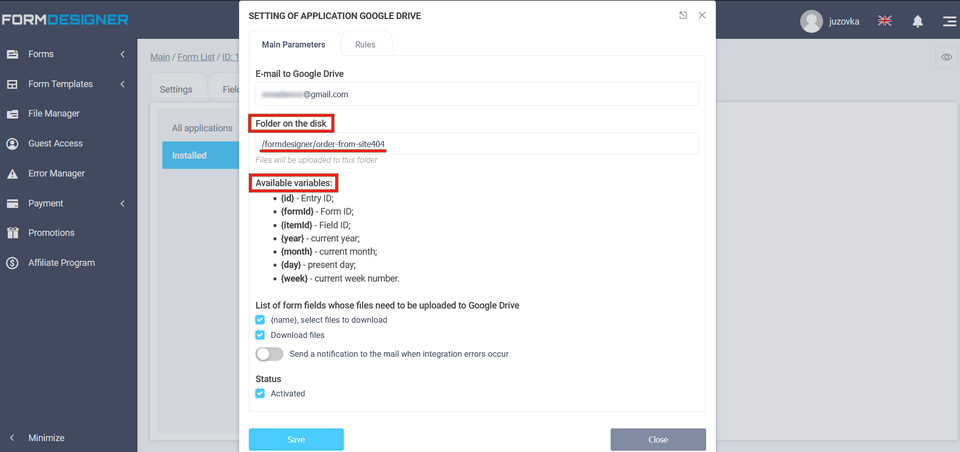
If you specify the necessary folder in the module settings, the uploaded files through
specified folder in the settings of the module and uploaded files will be located in this folder in Google Drive. It should be noted, that
The folder is created automatically when the form is sent, i.e. you do not need
separately create a folder in Google Drive:
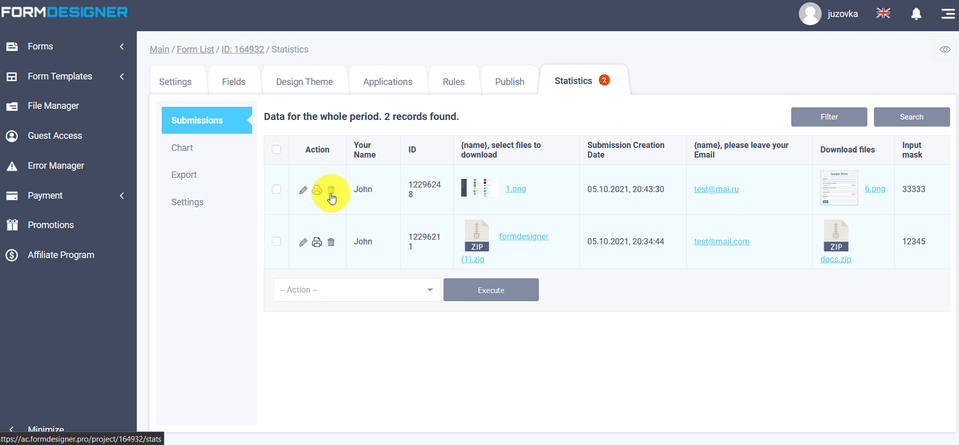
Edit and delete form files
In the "Statistics" tab, if you delete a form, the uploaded file stays in Google Drive:
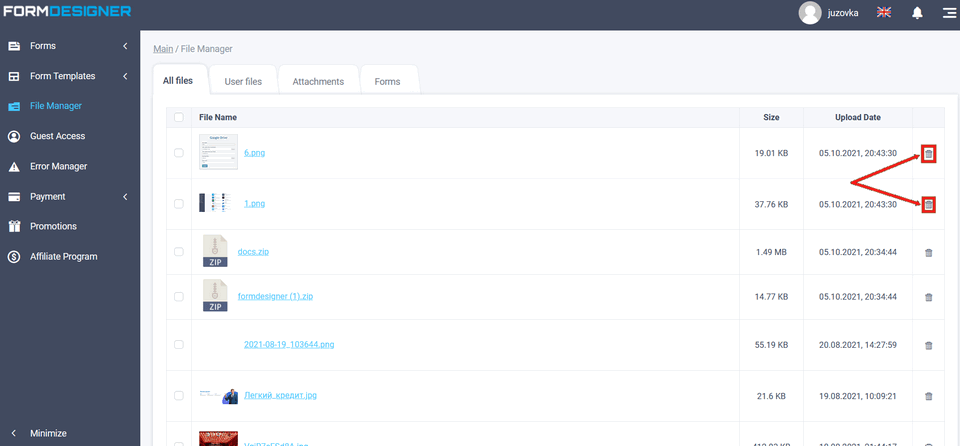
The same action will happen if you delete this file via File Manager :
If you edit the application and delete the uploaded file in the application, it will also be deleted in Google Drive.
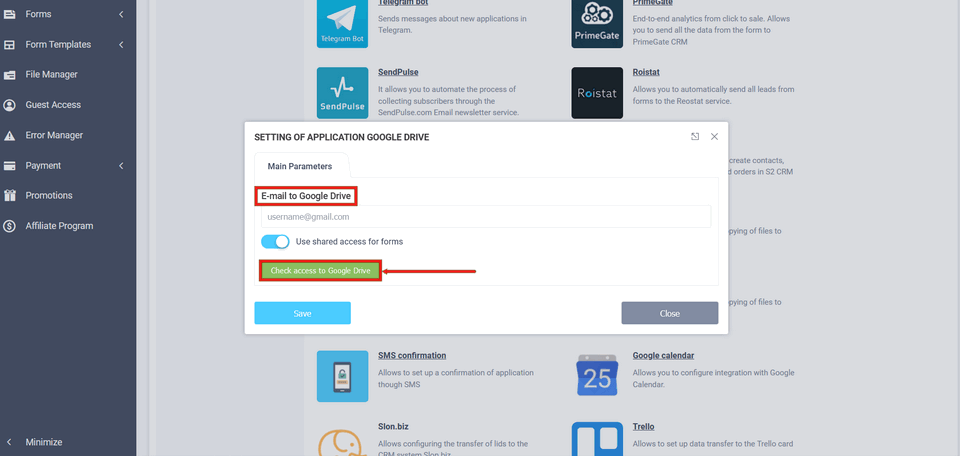
Public access for forms
Further, if you have configured a module for one form and you are going to integrate the module with other forms, you not obligatory to authorize in Google Drive again, you only have to input your e-mail, check "Use sharing form(s)" option. "Use Forms Sharing switch and click Check Access to Google Drive:
And you'll be immediately taken to the "Google Drive" integration module settings for the selected form.