To connect the integration module, you need to go to your personal cabinet and select the "Modules" section in the required form:
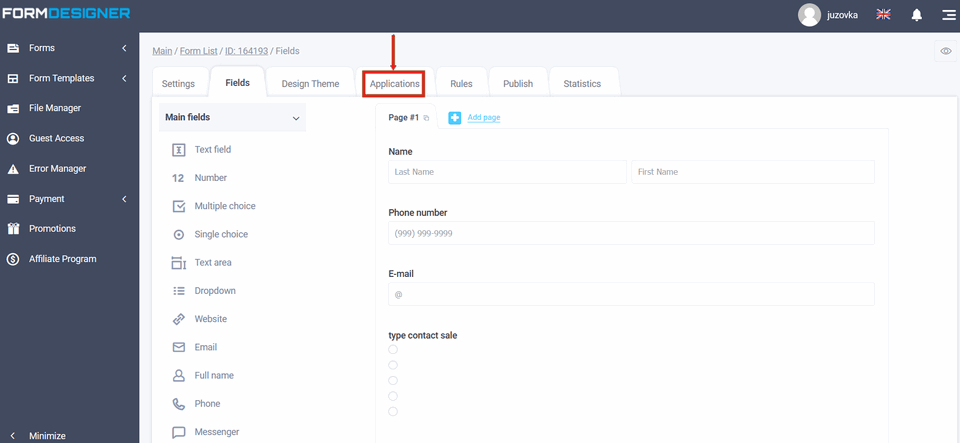
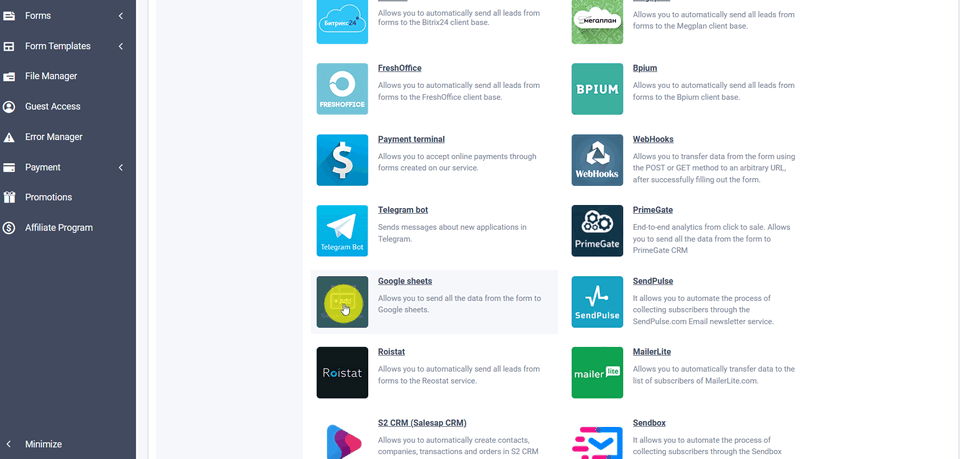
A list of all available modules will appear in front of you. Click the "+Add" icon under Google tables:
Application settings
You will see a popup with the basic settings for the Google tables integration application:
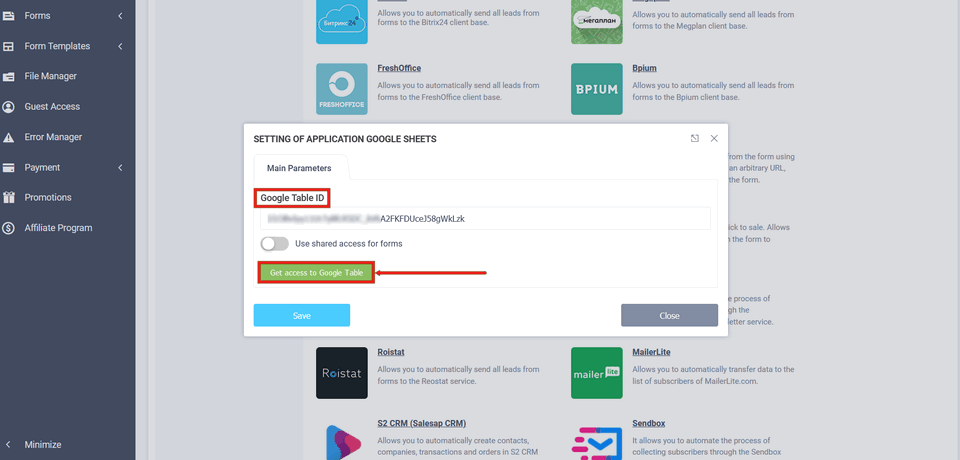
In the main settings of the application, in the "Google table ID" field, you must enter the id of the table whose value you need to copy from the address bar between "/d/" and "/edit":

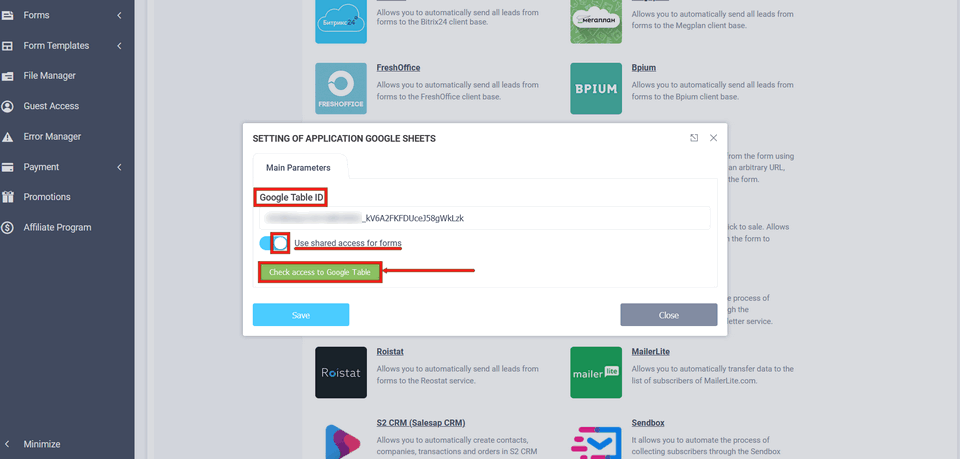
For the Google tables integration application there is "Use shared access for forms". If you have a lot of forms, you can access one form and share everything else.
Forms sharing
If you want to enable sharing, you must enable the
"Use shared access for forms, and then you see the
"Check access to Google table. Clicking this button will verify whether any other forms have access
forms configured access, and if so, this form will automatically
will be automatically authorized and gain access.
If you have not previously connected the module of integration with google tables, then copy the necessary value from the address bar in the field "Google table ID" above. Once you have pasted the value in the field, click on "Get table access" and you will be redirected to another page, where you need to confirm access to "Formdesigner" by selecting your Google account:
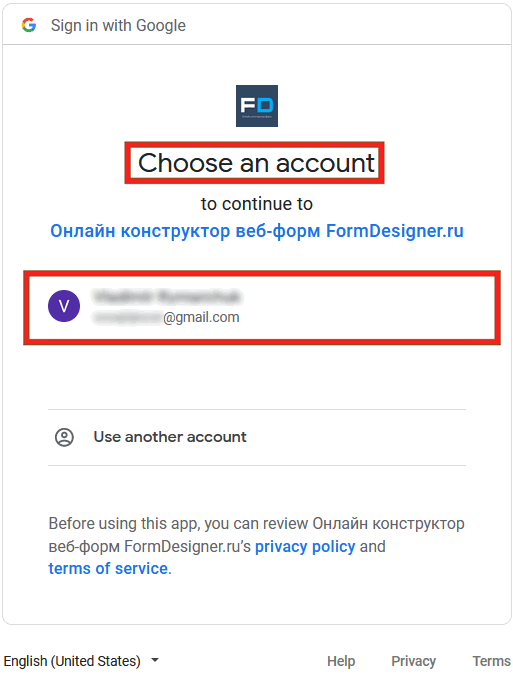
Click on your account and click the allow button:
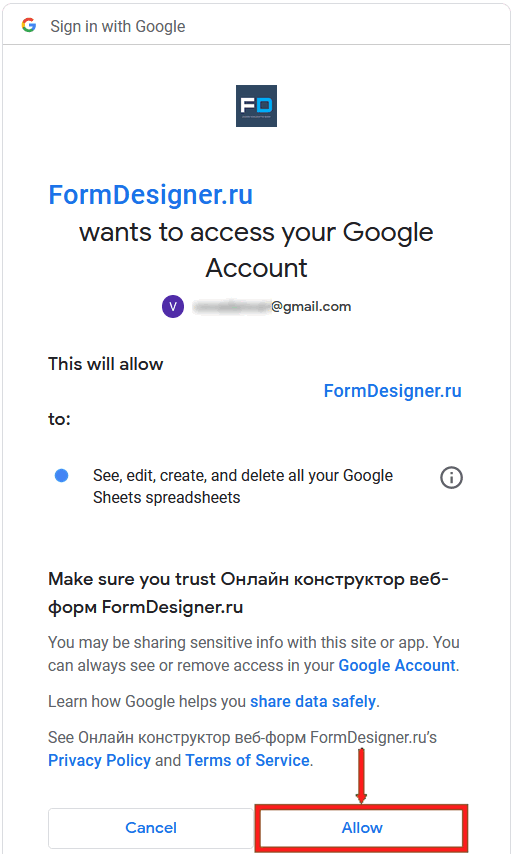
Table Columns settings
If you've done everything correctly and our application has access to the table, then the rest of the table data should appear in the module settings - the list of sheets and table columns:
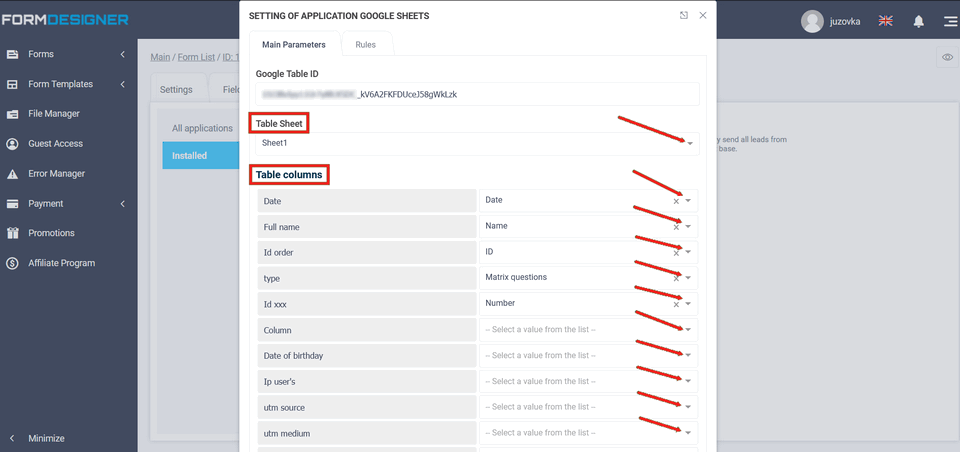
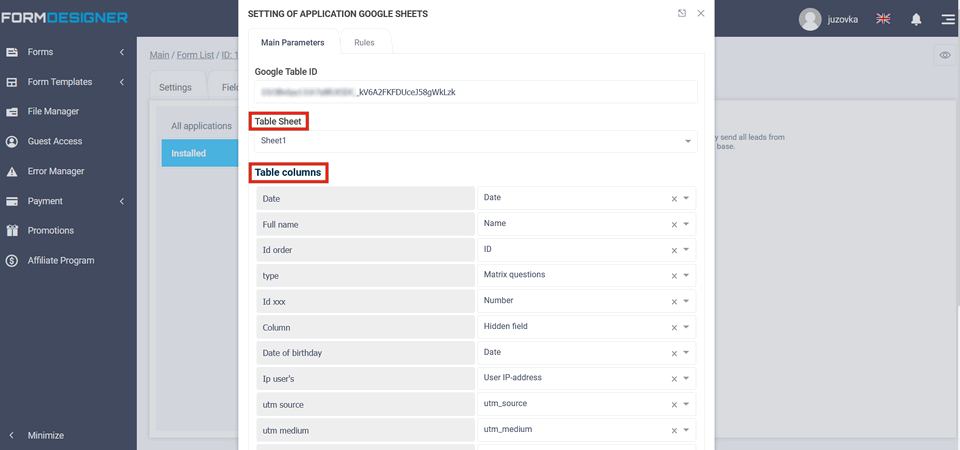
In the "Table Sheet" field, you can select the appropriate Google table sheet, and configure which table columns to pass data from the form into. The columns from the table will be displayed on the left, and the data from the form that can be transferred will be displayed on the right:
Important: In order for us to get a list of column names, they must be spelled out on the first line of the desired sheet of your table.
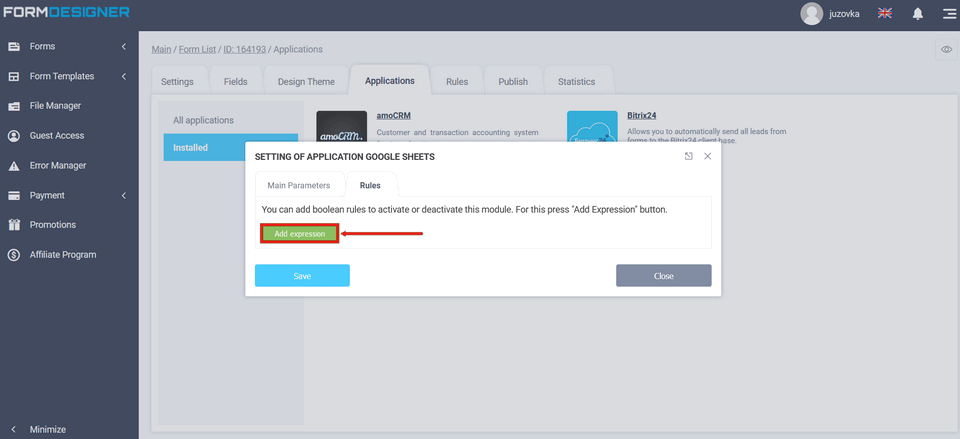
On the "Rules" tab, you can add logical rules to activate or deactivate the Google Sheets integration application. To do this, click the "Add Expression" button and select the rule you want to activate or deactivate the module:
Having configured all the matching fields and columns, you need to click the "Save" button. Now when the user submits the form, the desired data from that form will go into your table in Google docs.