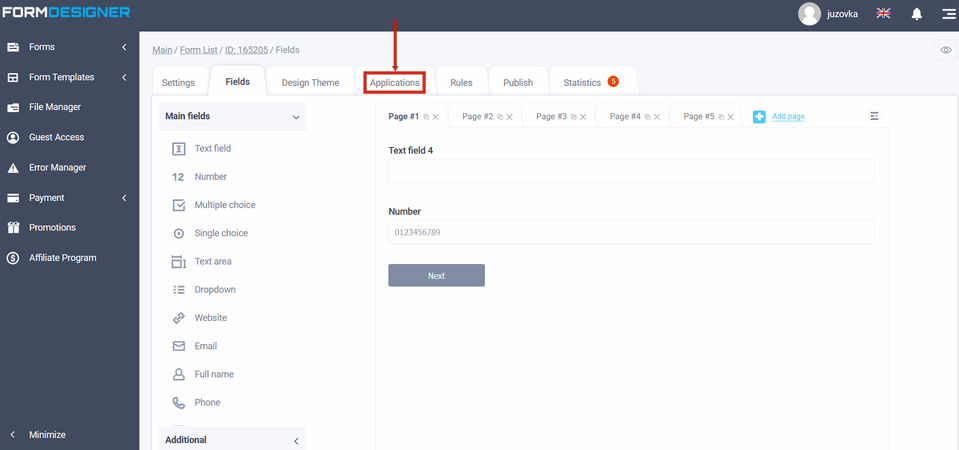
To connect the integration module, you need to go to your personal cabinet and select the "Modules" section in the required form:
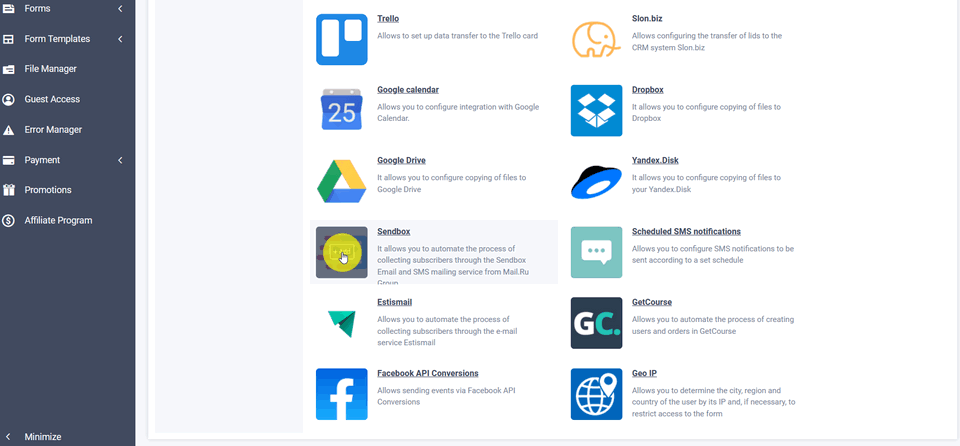
A list of all available modules will appear in front of you. Click on the "+Add" icon under "Sendbox":
Module settings
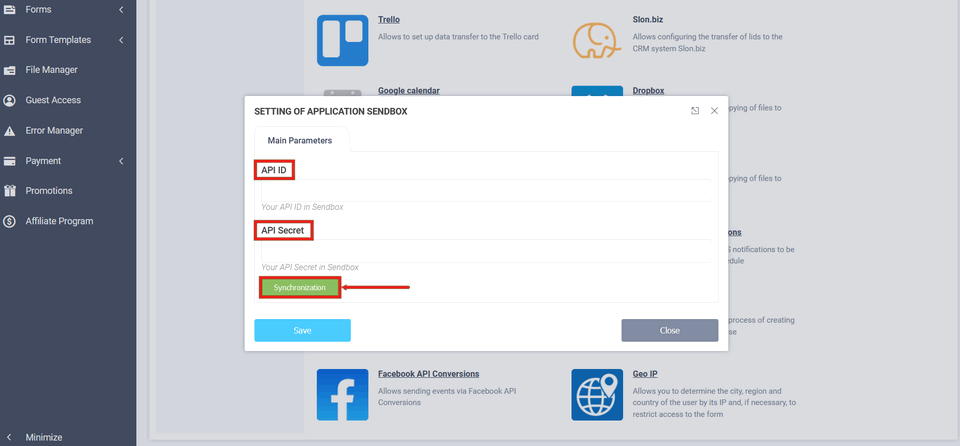
A pop-up window will open with module settings, where you need to enter the ID and Secret of your Sendbox mail service account in the "API ID" and "API Secret" fields. Next click sync and save:
Where to get the API ID and API secret in the Sendbox service
The parameters you need to get the key can be found in your personal cabinet settings in the "API" section of Sendbox settings. To find out where the "API ID" and "API Secret" are located, you need to enter the Sendbox account settings. To do this, click on the avatar in the upper right corner:

Next, click "Account Settings."

You will see your account settings and select the "API" tab:
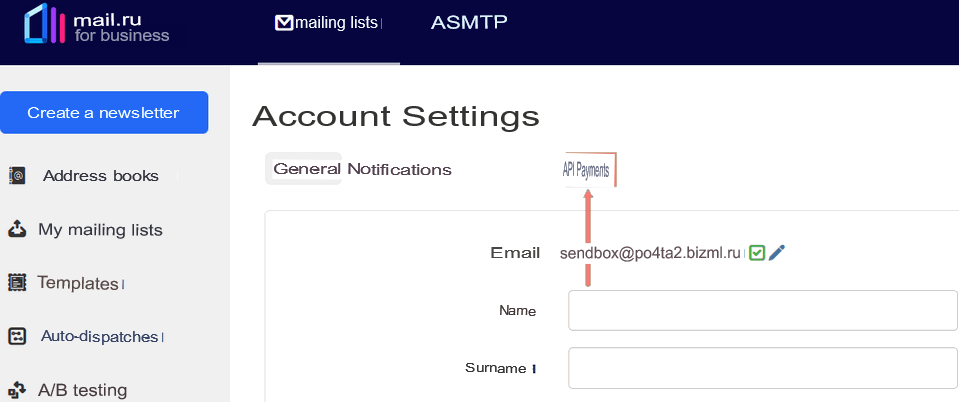
Click the "Activate REST API" switch:
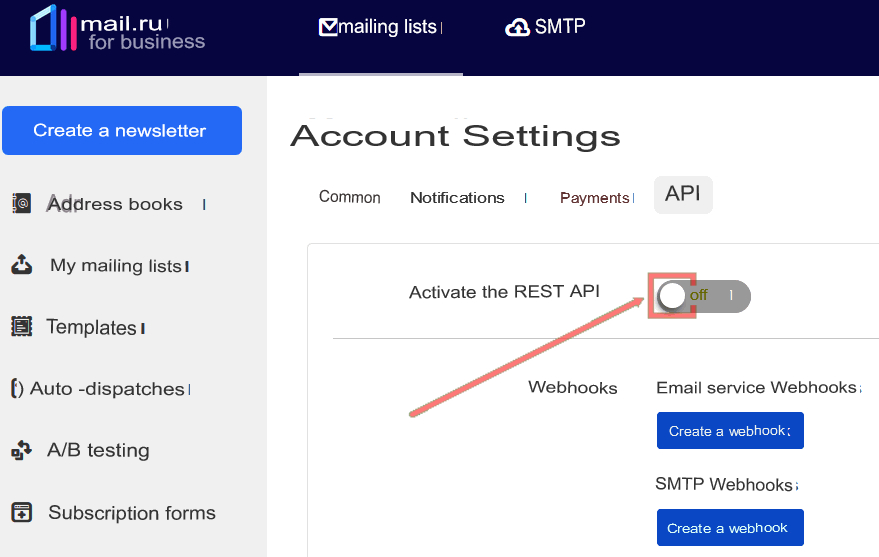
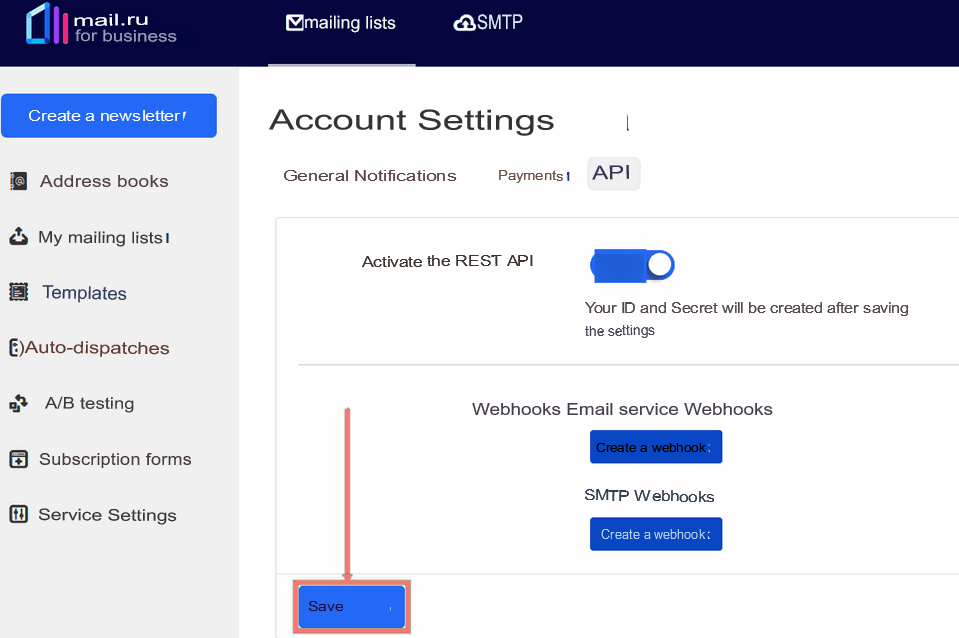
You will see the parameters for getting a key. Your ID and Secret will be created after you save the settings, i.e. click the "Save" button below:
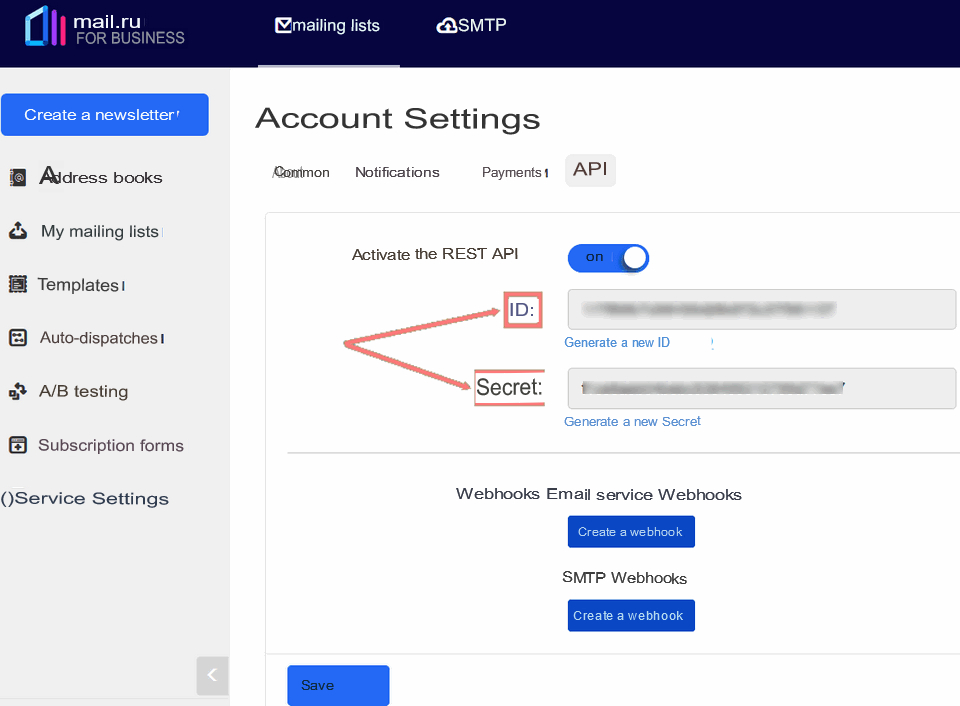
After saving the ID and Secret will appear, which you should copy to the API ID and API Secret fields in the integration module settings respectively, and click sync as shown in the screenshot above:
If you have copied everything correctly, you will see the main settings of the "Sendbox" module:
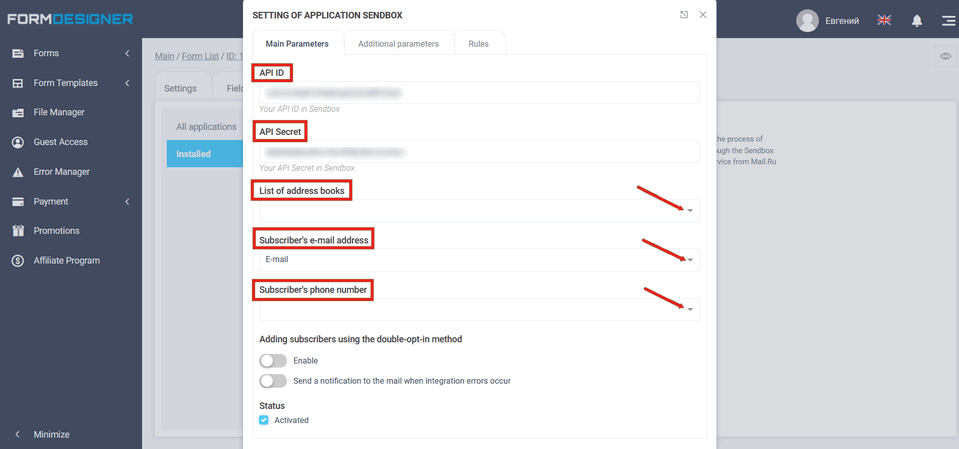
In the "Address Book List" item you can select the address books created on the Sendbox service to which users who fill out the form will be subscribed.
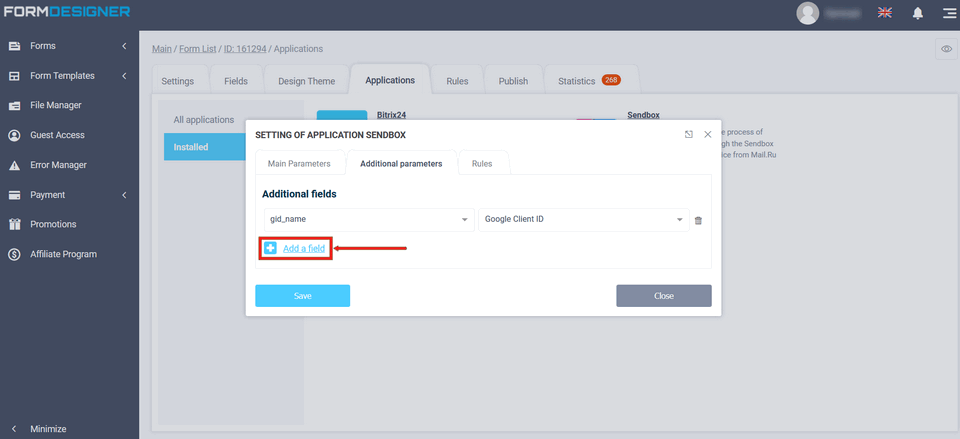
On the "Extras" tab, you can add a parameter from the form and select its corresponding item on the left:
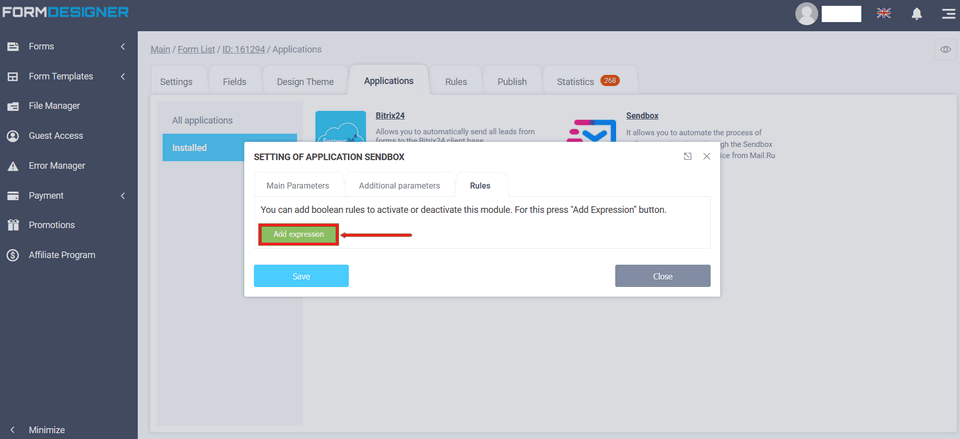
Logic module activation rules
In the "Rules" tab, you can add logical rules to activate or deactivate the Sendbox integration module. To do this, click the "Add Expression" button and select the rule to activate or deactivate the module:
