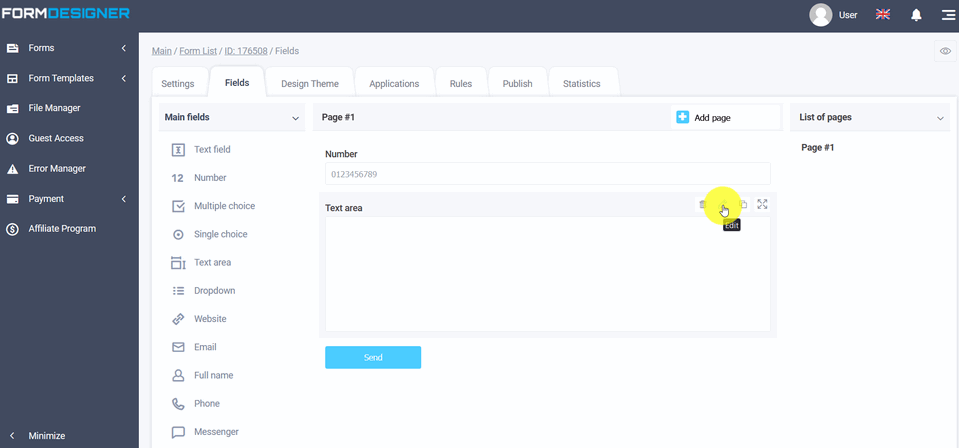
To add the "Text area" element, you need to click on the selected item or drag it to the right, then you will see the added element on the right:

To enter the edit mode of the "Text Area" element, click on the "Edit" icon:
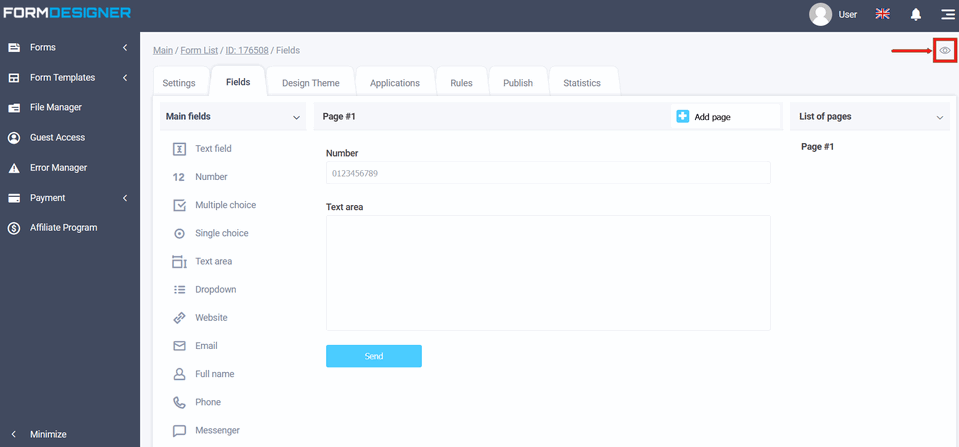
To view the configured item, click on "View Mode":
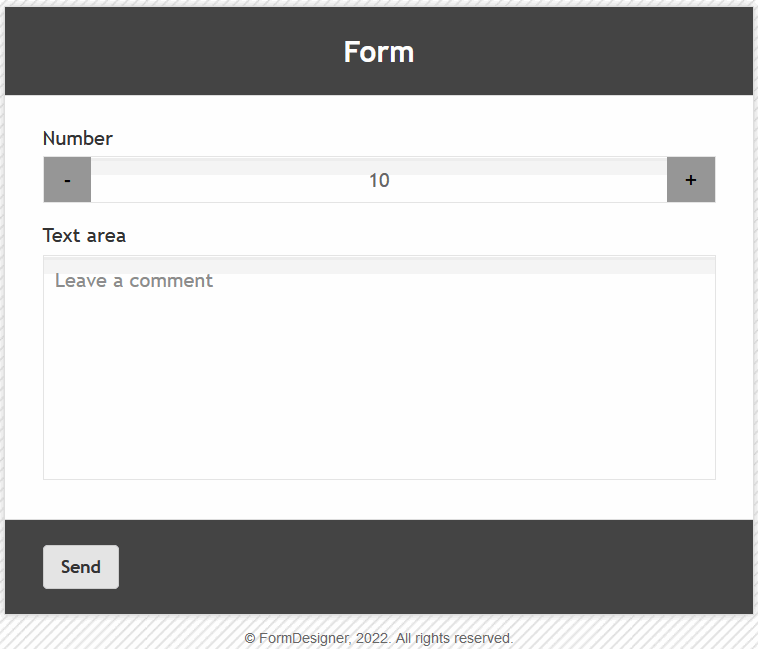
Your form will open in the browser with the configured element:
The "Text area" element is used to enter one or more lines of text. This field is scrolled, which makes it possible entering texts of various volumes into it. For example, you can create guestbooks. The "Name" field - you can specify the text in it, as well as you can disable the display of the name in this field when you click on "do not display the name of the form". In the "Default Value" field, there will be a certain text is displayed until the user begins to enter data, while he must delete the default text. In order for the text to be displayed only until the information is entered, the "Hint inside the field (placeholder)" is used for this. If you activate the checkbox "Display character counter in the field", then a block with the number of characters and the maximum value will be displayed text area:
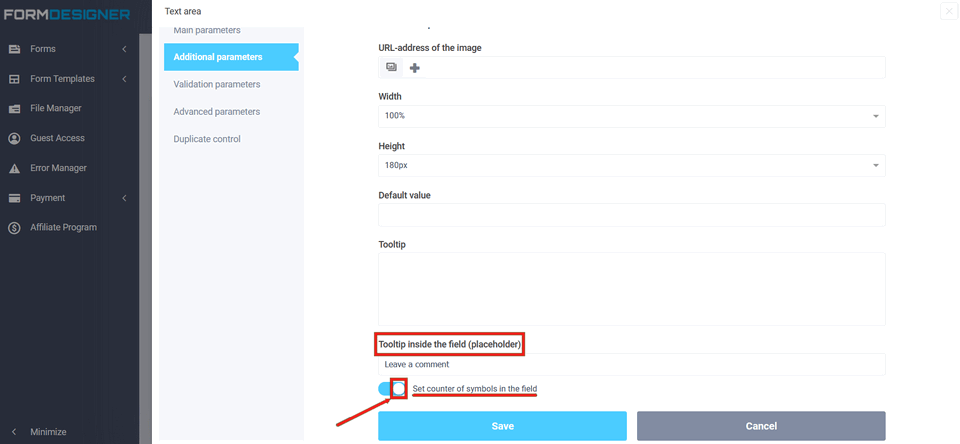
A distinctive feature of the "Text area" element from the "Text field", is a feature thanks to which, you can configure the number of characters over 255 characters (by specifying the number in the maximum number of characters field). For example, you can use the "Text Area" element for a comment or a purchase request. The value and description of other fields, you can see here " The main parameters of the elements".